Text Annotation Guide
This guide will help you:
- Upload Text data to Diffgram using the Diffgram UI
- Label the text and create relations between text tokens.
- Generate an export JSON for ingestion on training your ML model.
Video
Pre-Requisites
- A Working Diffgram Installation Install
- A text file, you can download a sample from here. So far Diffgram supports only .txt format
- Diffgram Python SDK (optional)
CORS Required for Self Install
CORS configuration required for your Diffgram Install
1. Uploading file to the Diffgram
The easiest way to start with Diffgram text annotation is to upload text files through the Diffgram UI (we assume you already have a project created)
To start importing data, click on the "Project" button on the main menu and find the "Import" button:
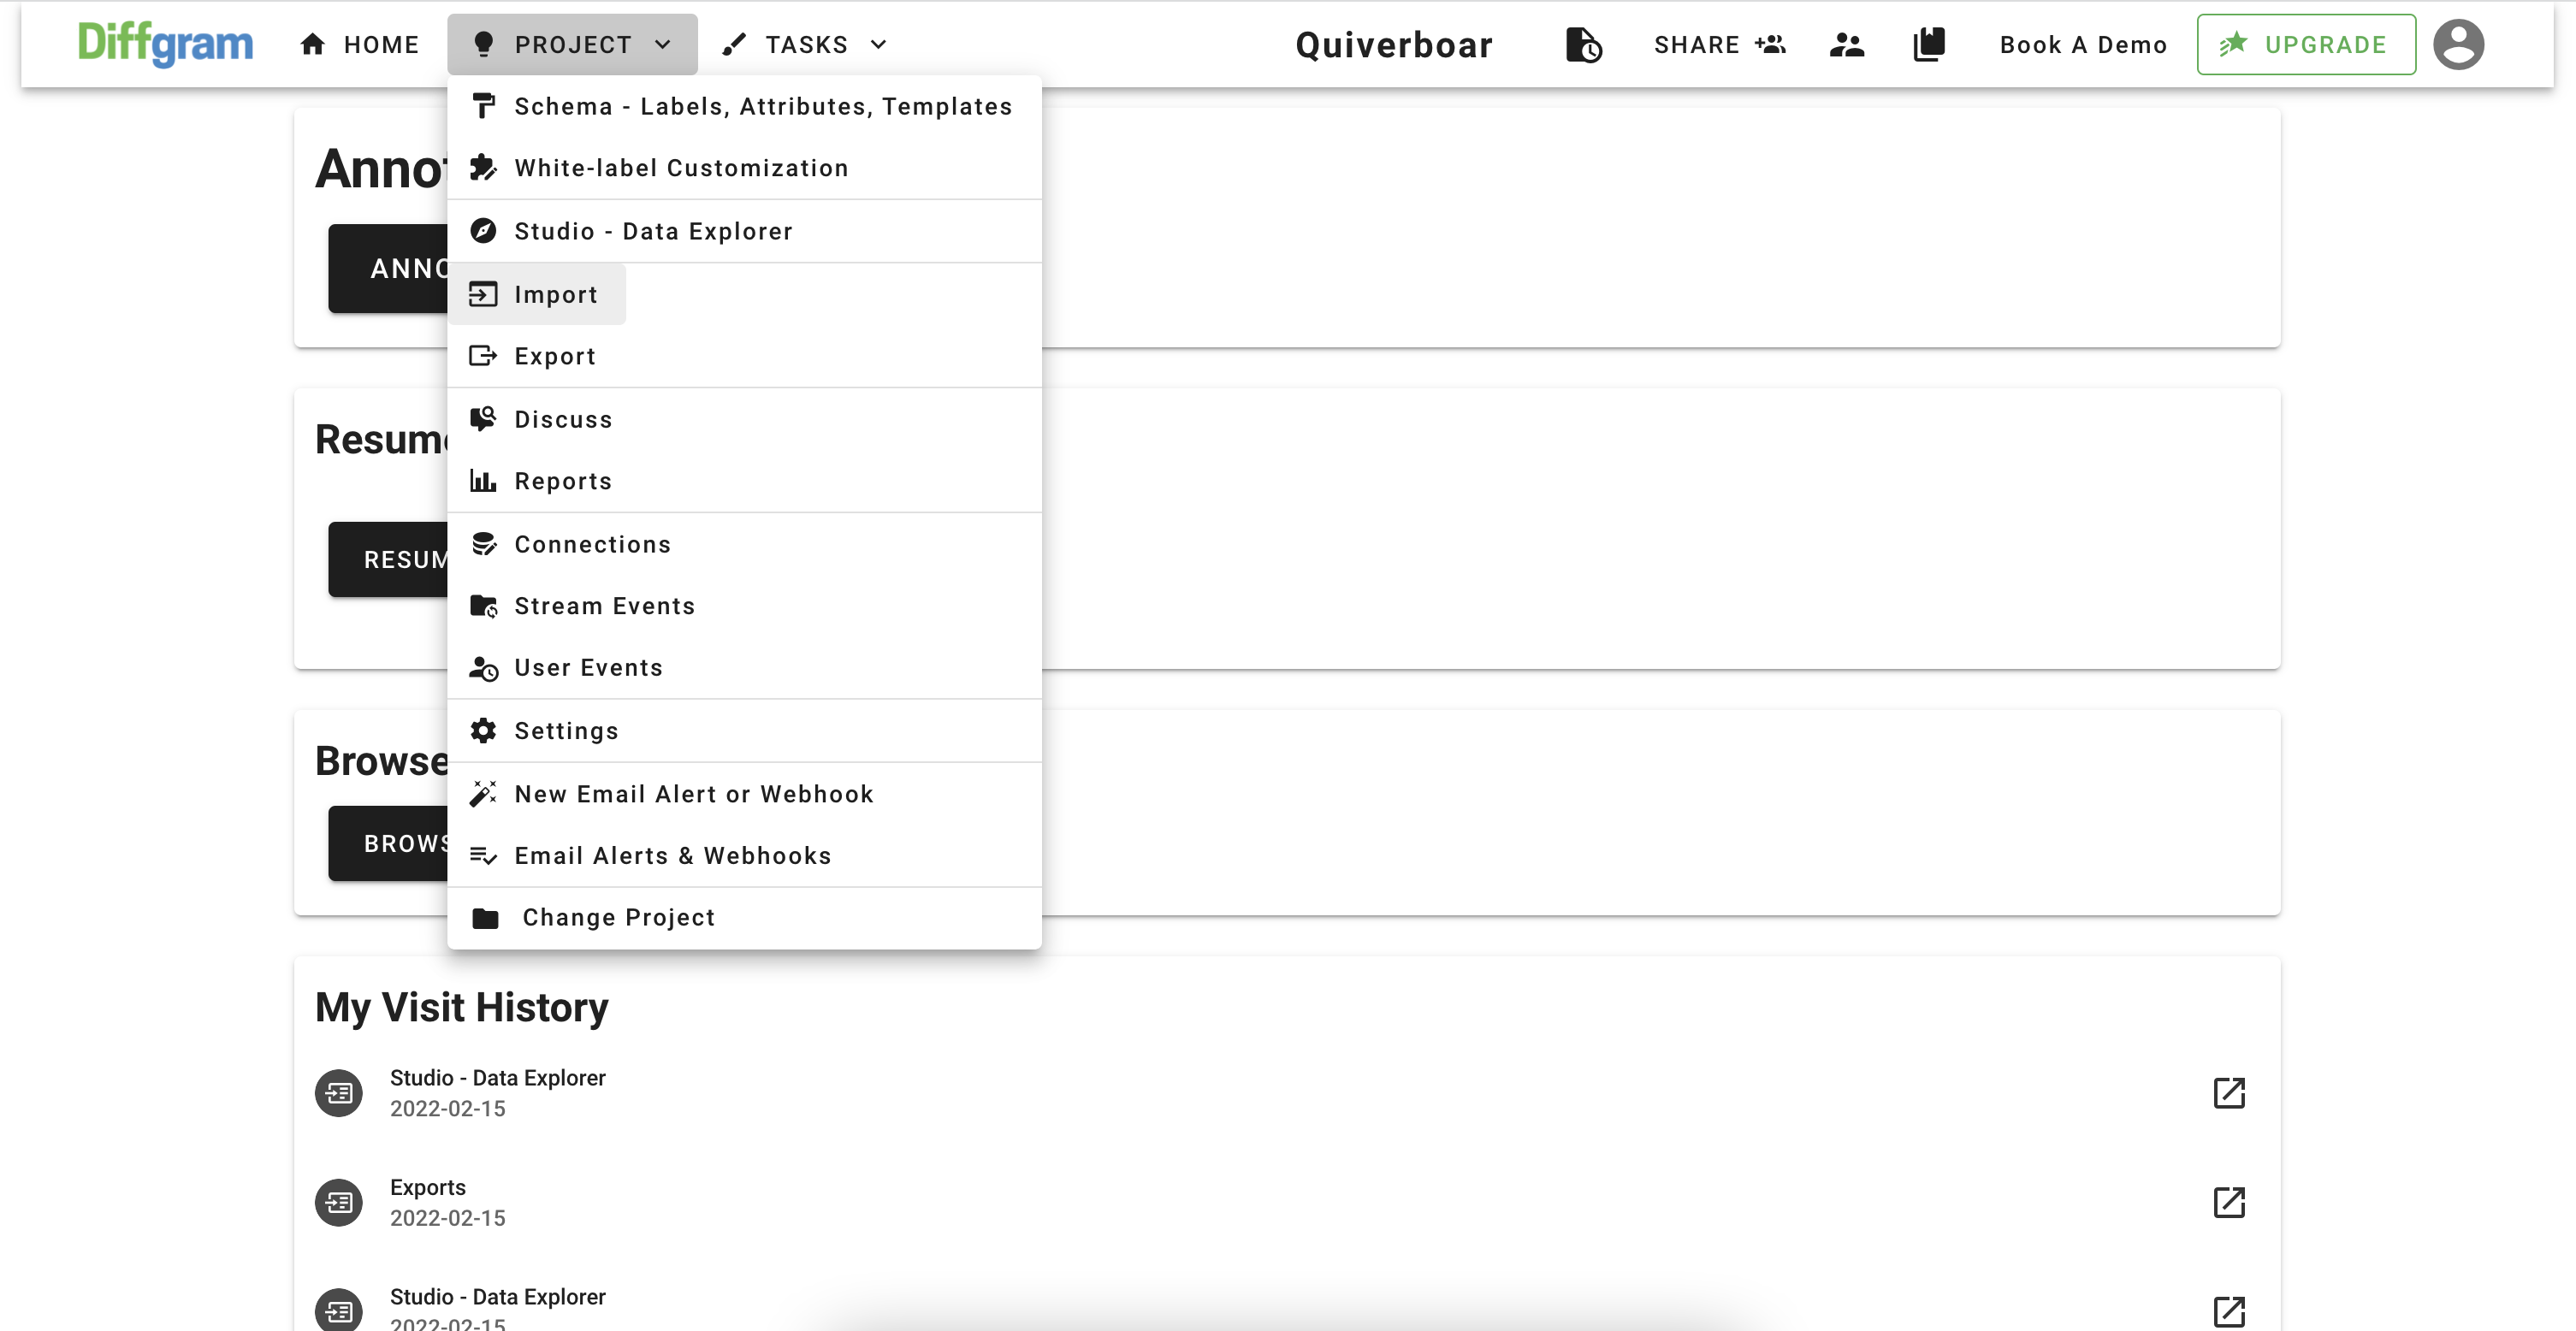
When you are on the Import page, click the "Start New Data Upload" button and follow the instructions (keep in mind that for now, we support only .txt files for the text annotation)

After a few seconds you will be able to see your files on the import page:

To start annotating, simply press "File ID" of the file you want to open
2. Overview of the interface
If you are already worked with Diffgram before, the text annotation interface is similar to the rest of the interfaces. If you are completely new to Diffgram, our screen is divided into 3 main parts:
- Toolbar - panel with all the available tools
- Sidebar - where you can see a list of the created instances
- Annotation field - a place where your file is being displayed and you can annotate it
Toolbar
We have a pretty minimalistic toolbar, where you can perform the next operations: undo/redo, select label, save status, move to previous and next files, see available hotkeys

Sidebar
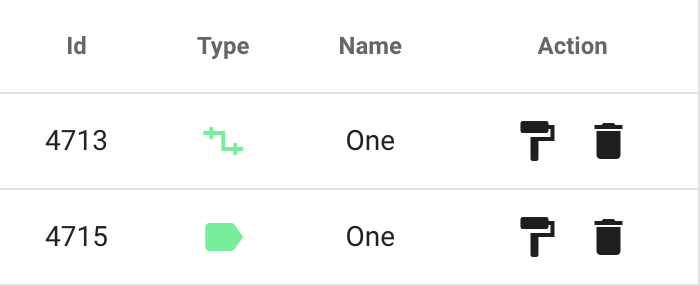
The sidebar is the container where you can see all the created instances and can modify them. The instance list includes the next data:
- Id (visible only for super admins) - unique database id of the instance
- Type - the of the instance ("text token" or "relation") with the corresponding color of the instance label
- Name - a label name
- Action - available action for the instances. So far there are two actions: "Change Label Template" and "Delete Instance"
Annotation field
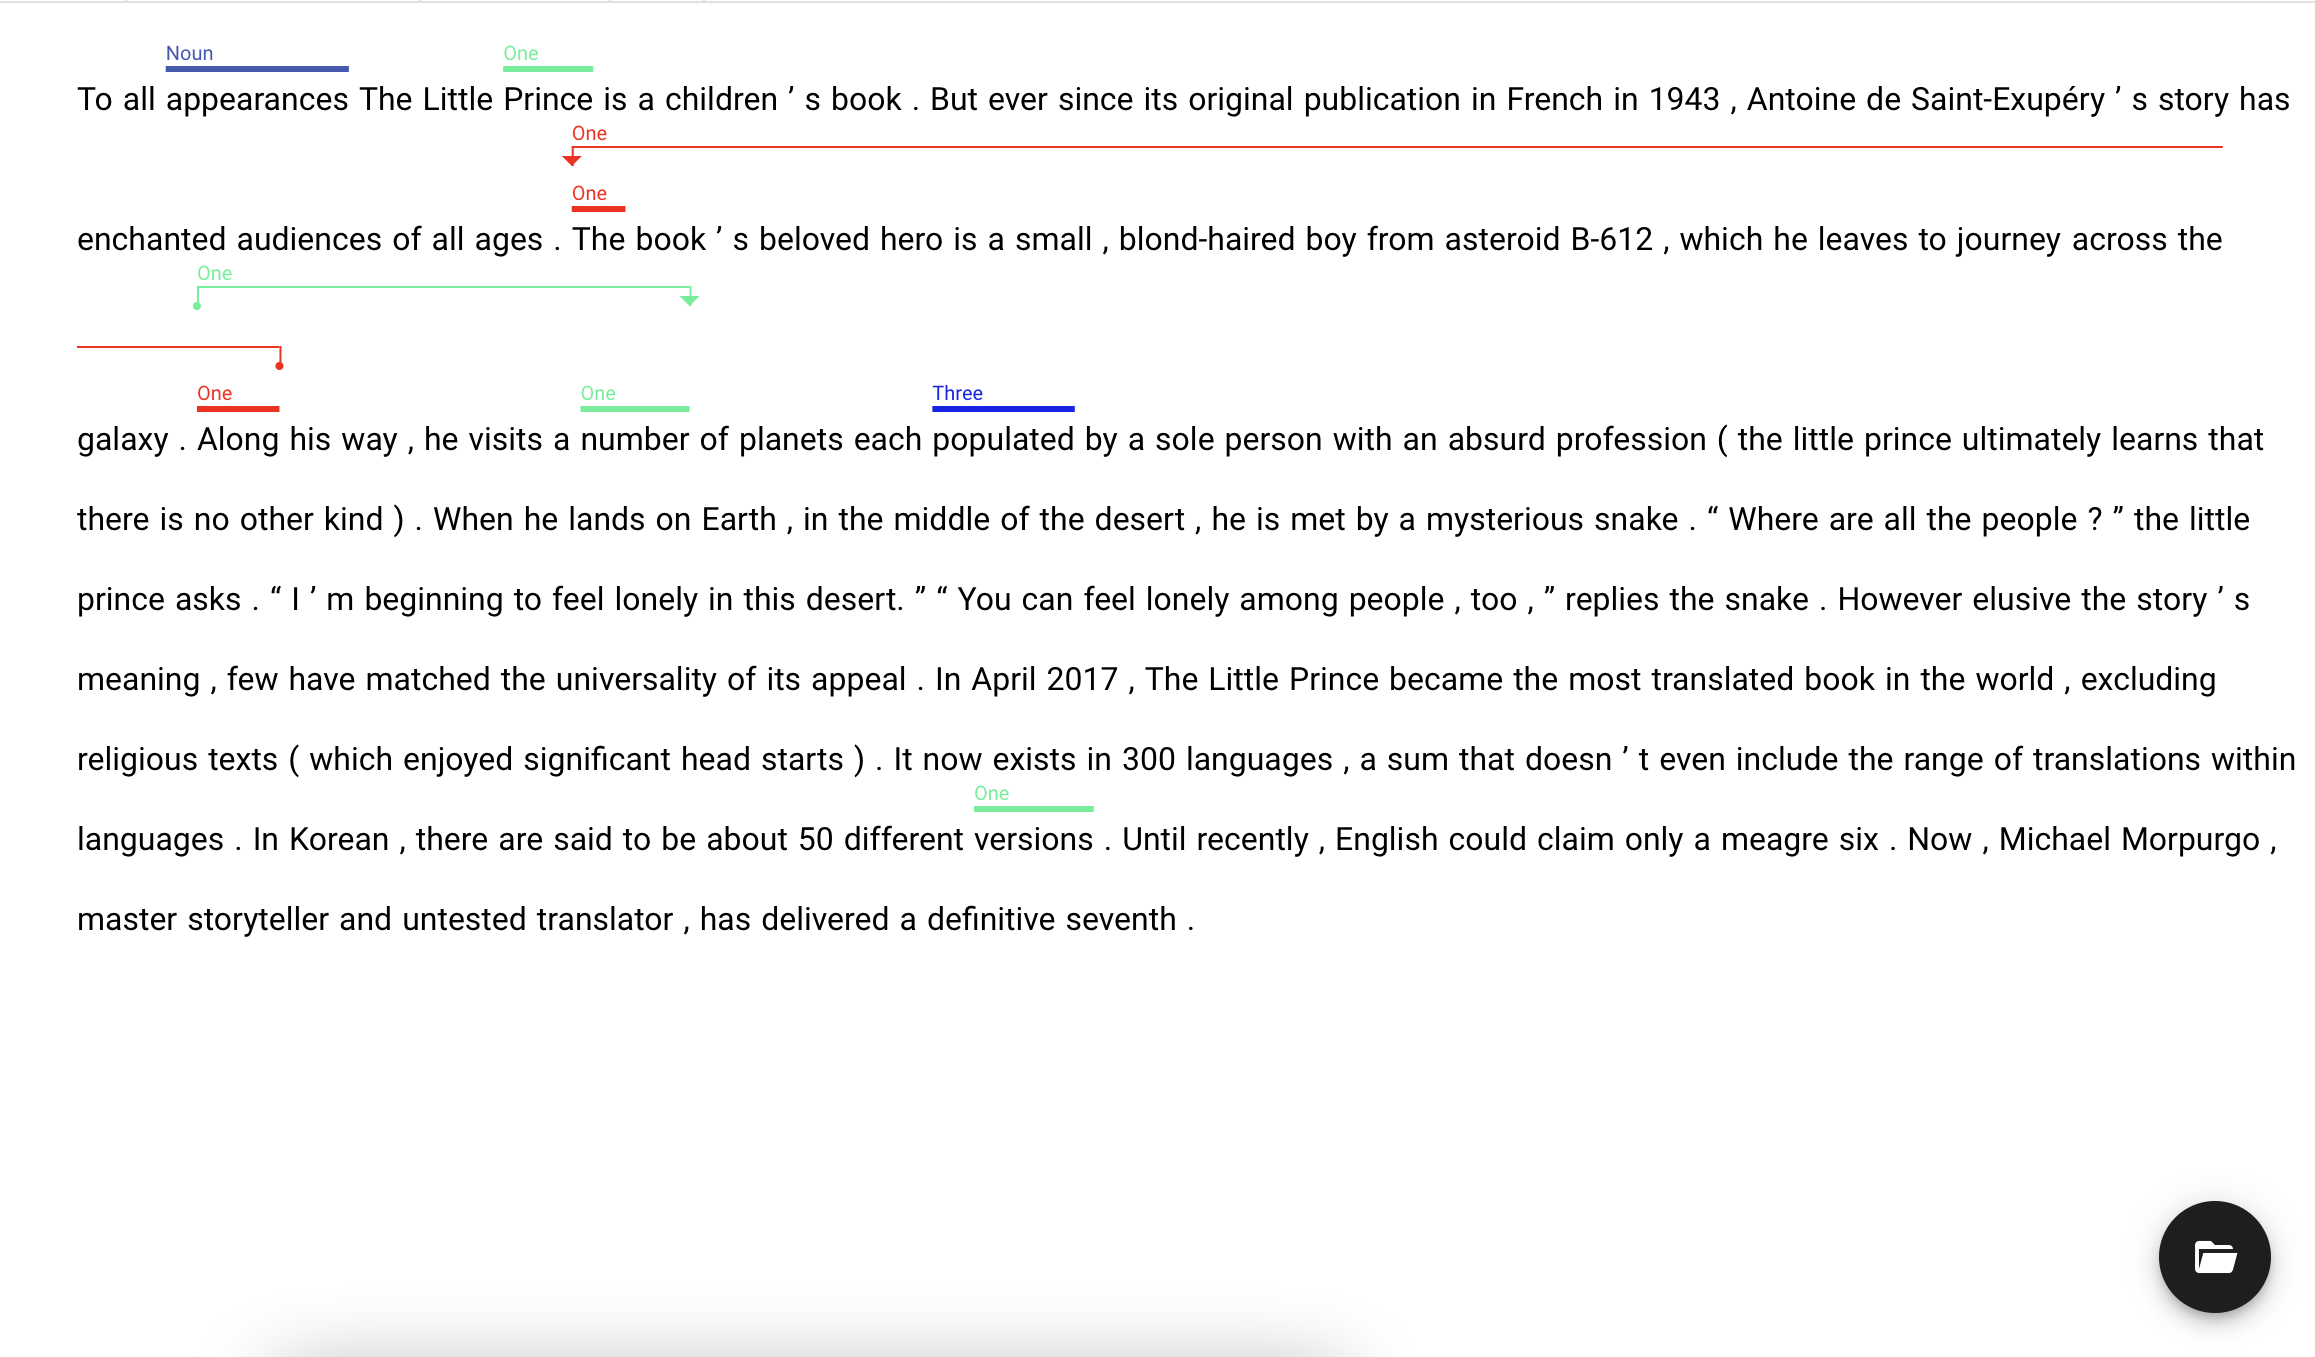
On this part of the screen, you will be able to see uploaded text and all the instances you have created
3. Text annotation
At this point, we assume you have the text file uploaded and you are familiar with the UI of the text interface, so we can jump on annotating our text file.
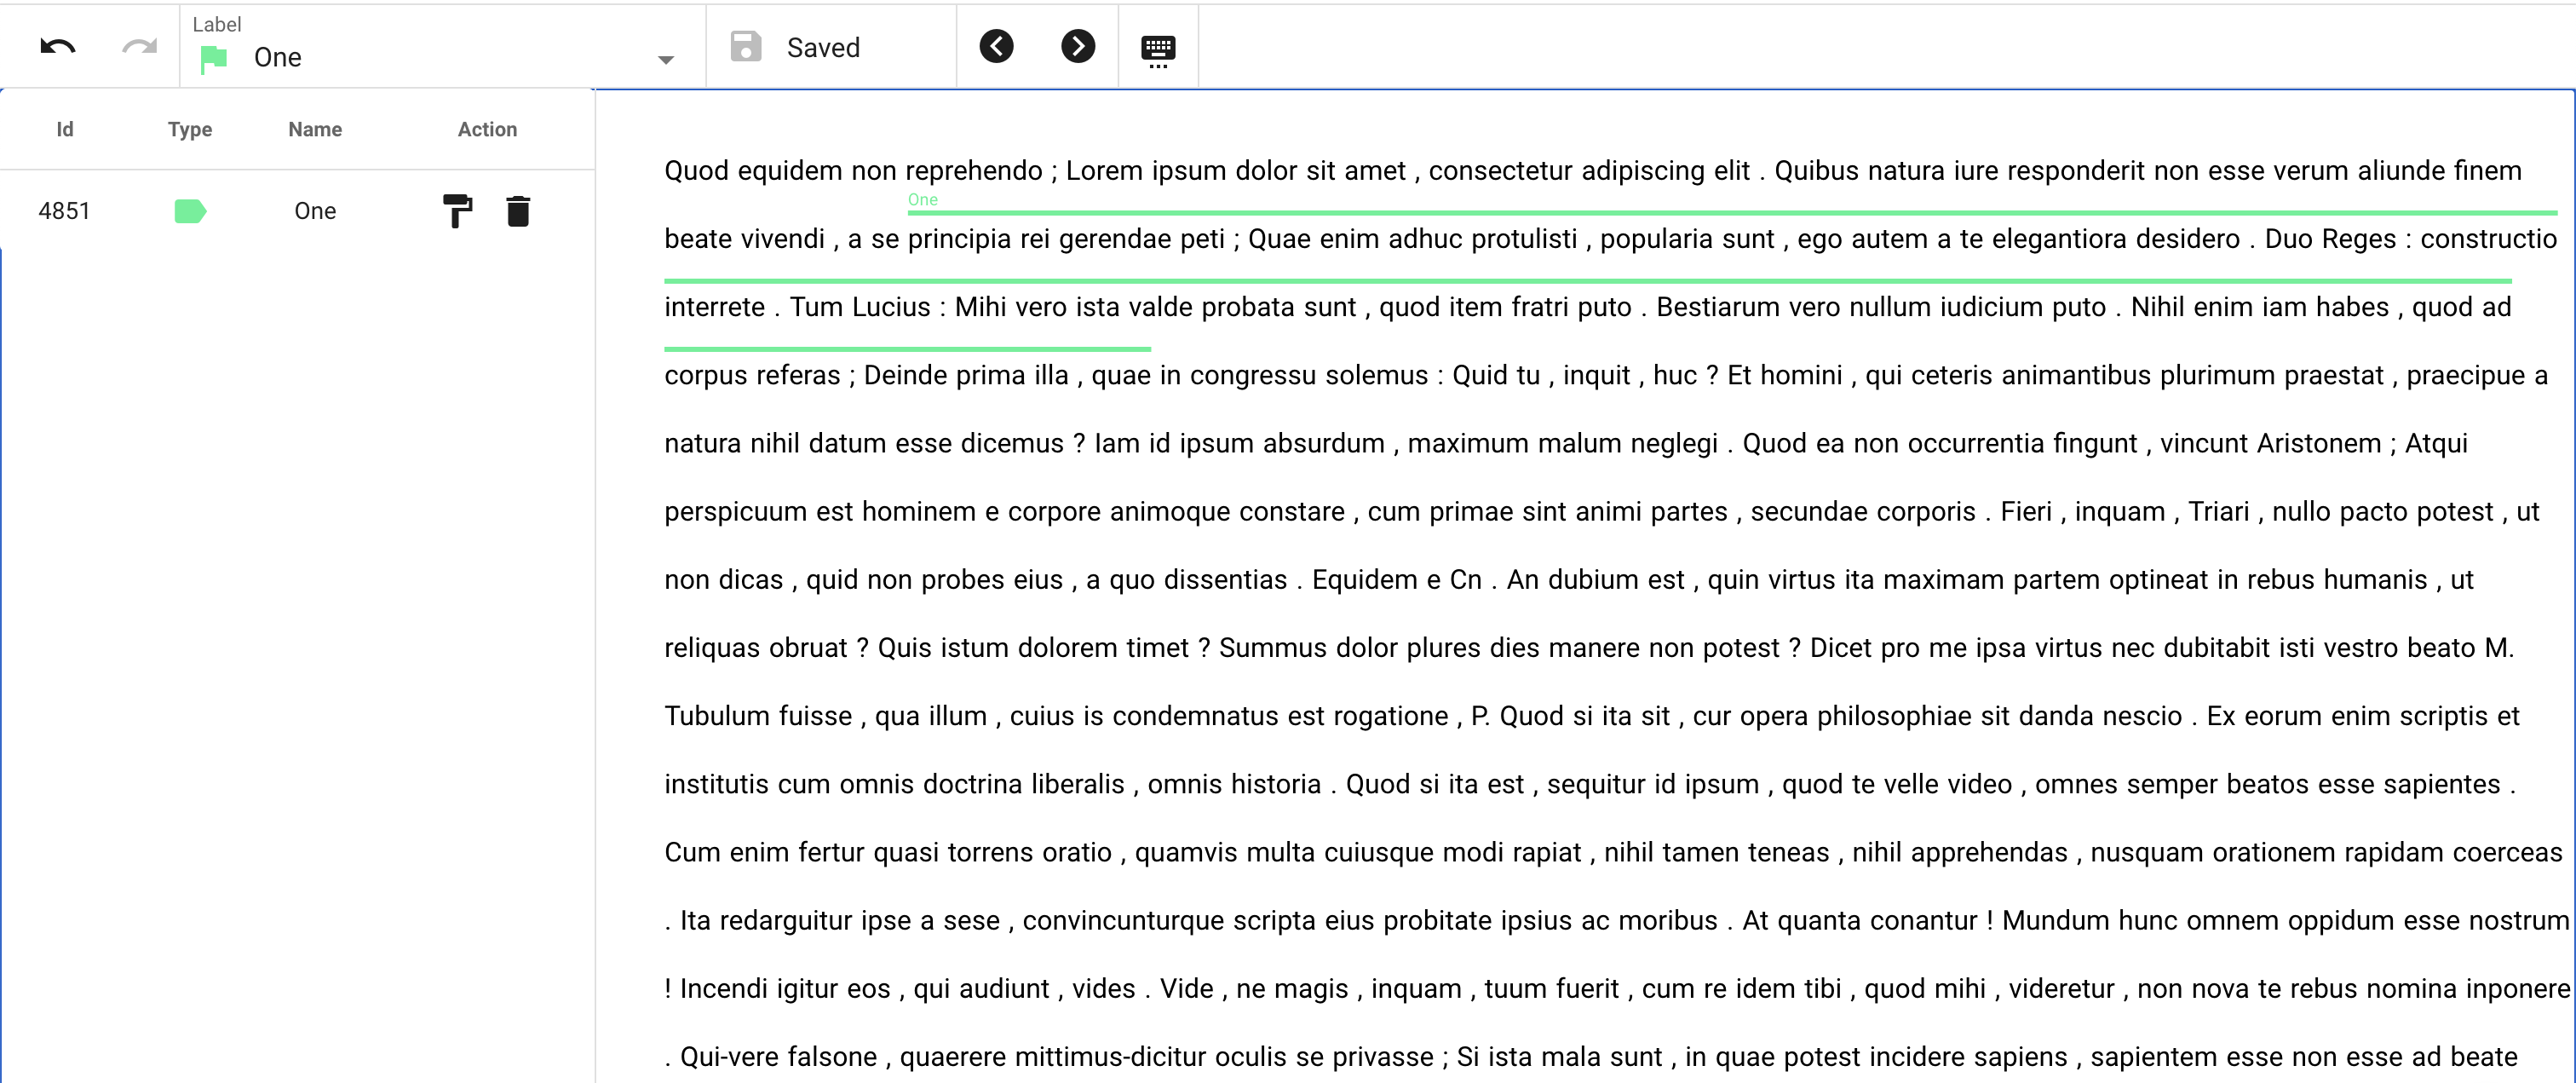
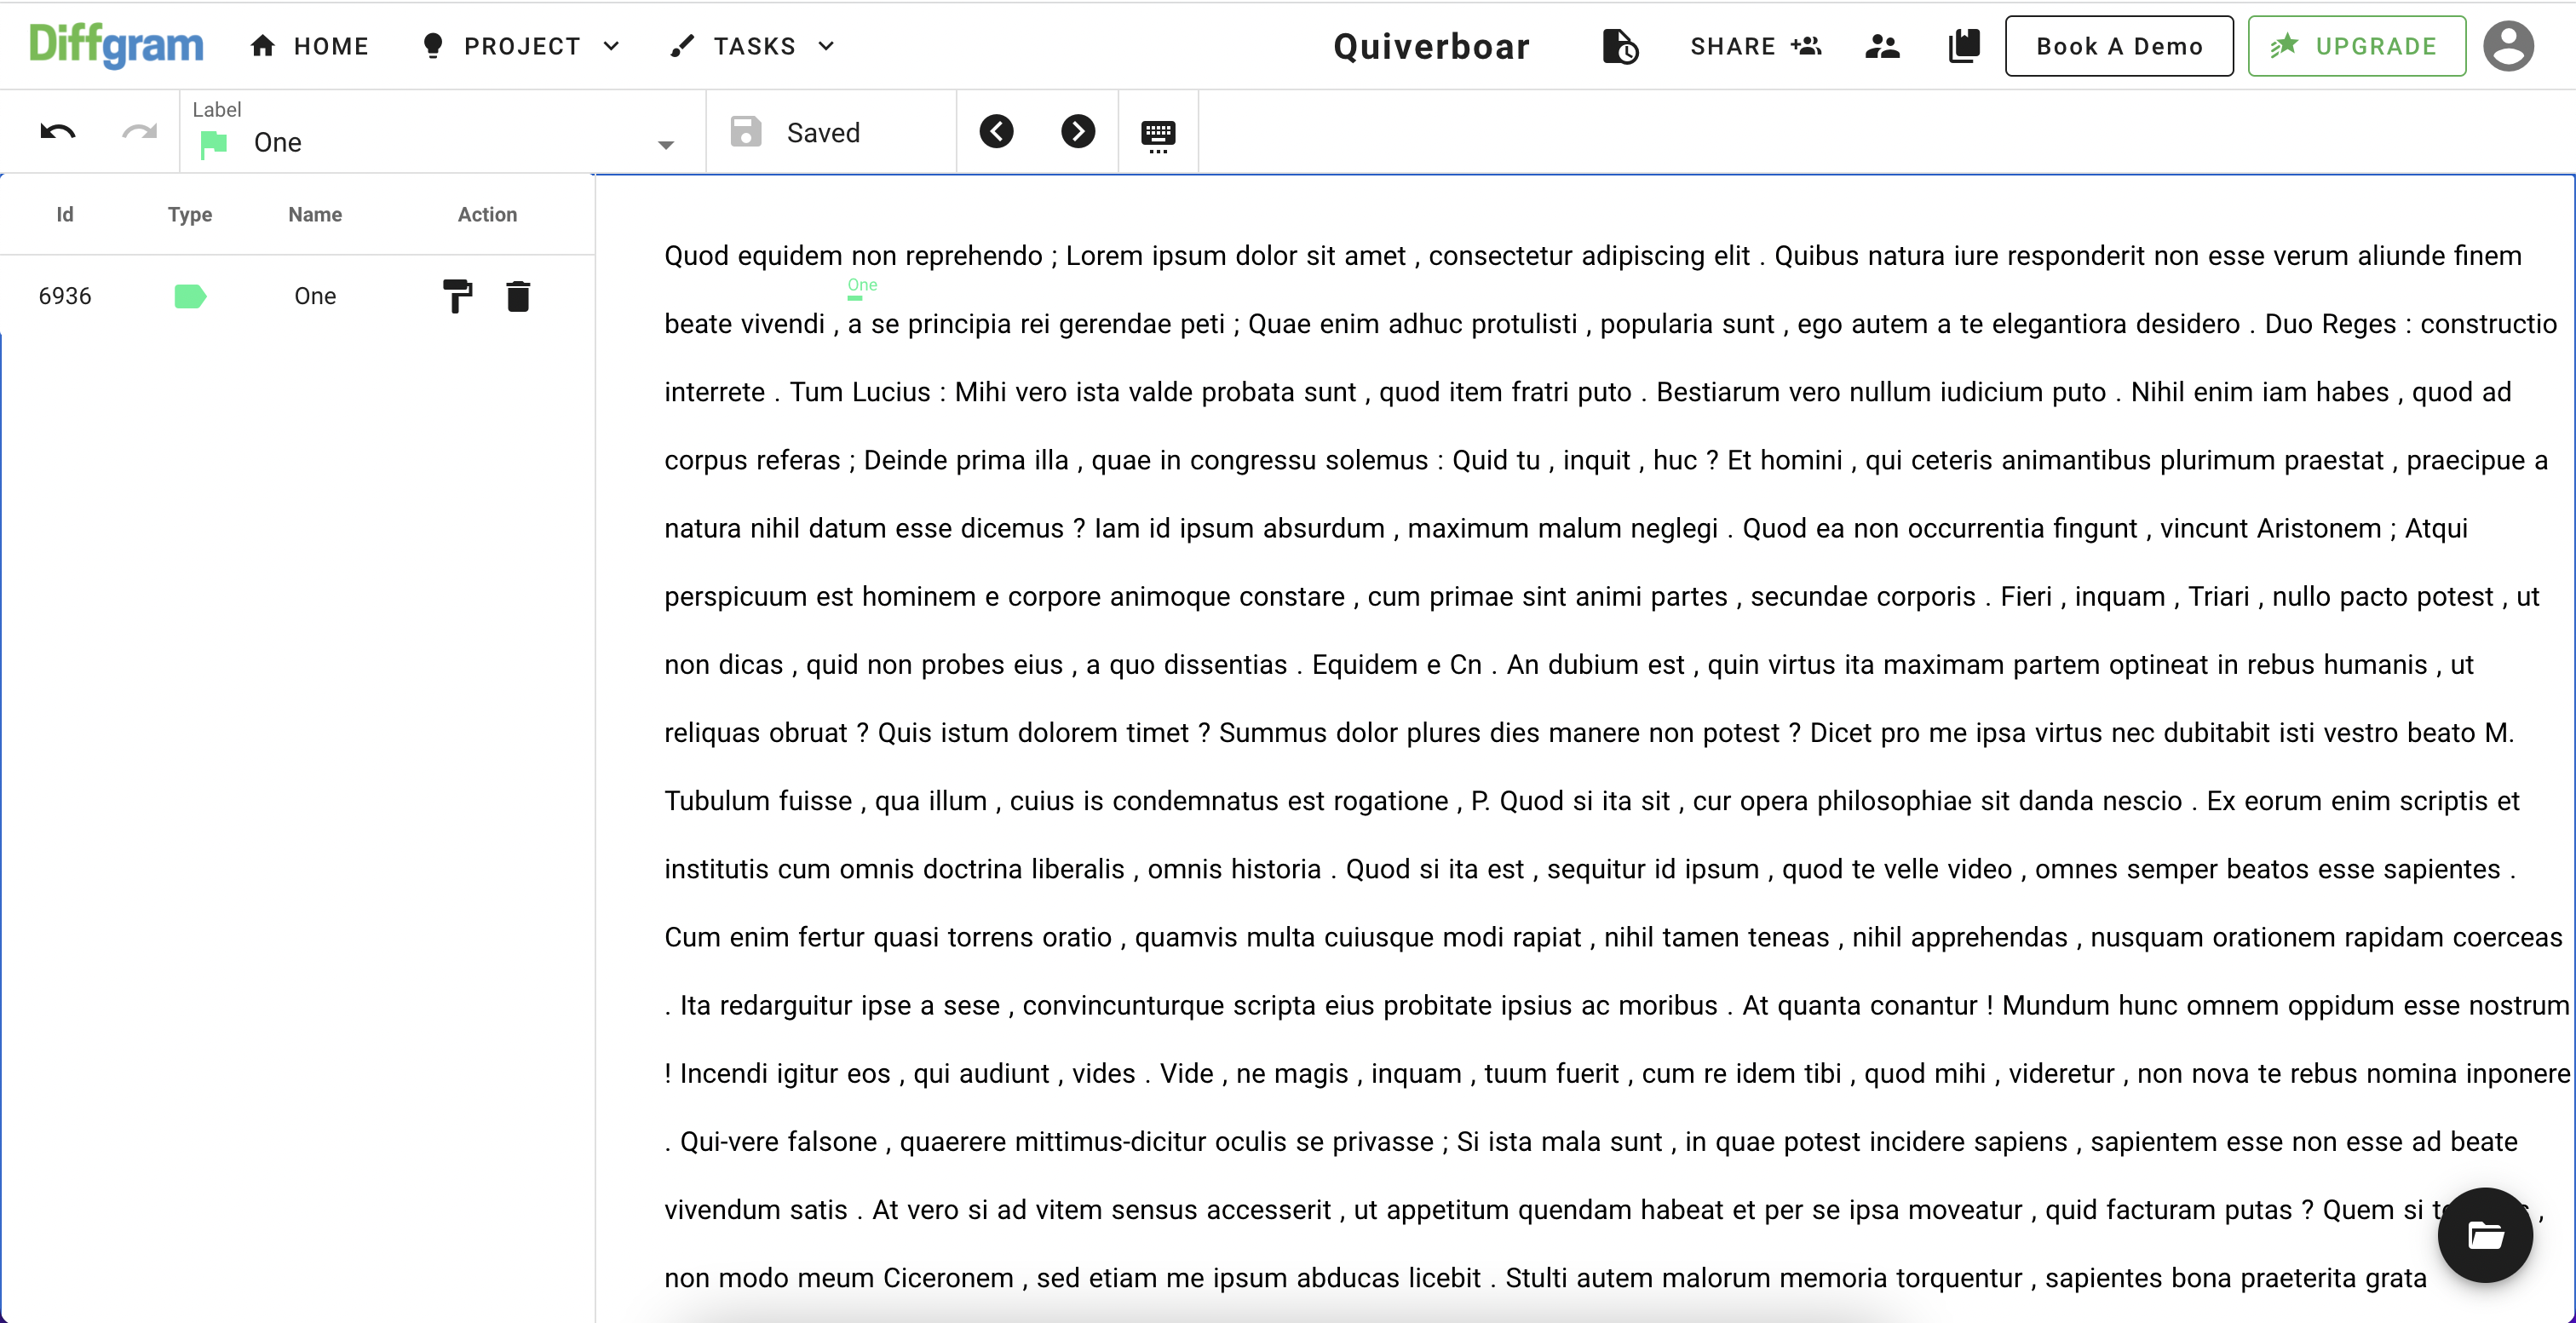
First what we need to do is to select the peace of text on our annotation field to create a text token:
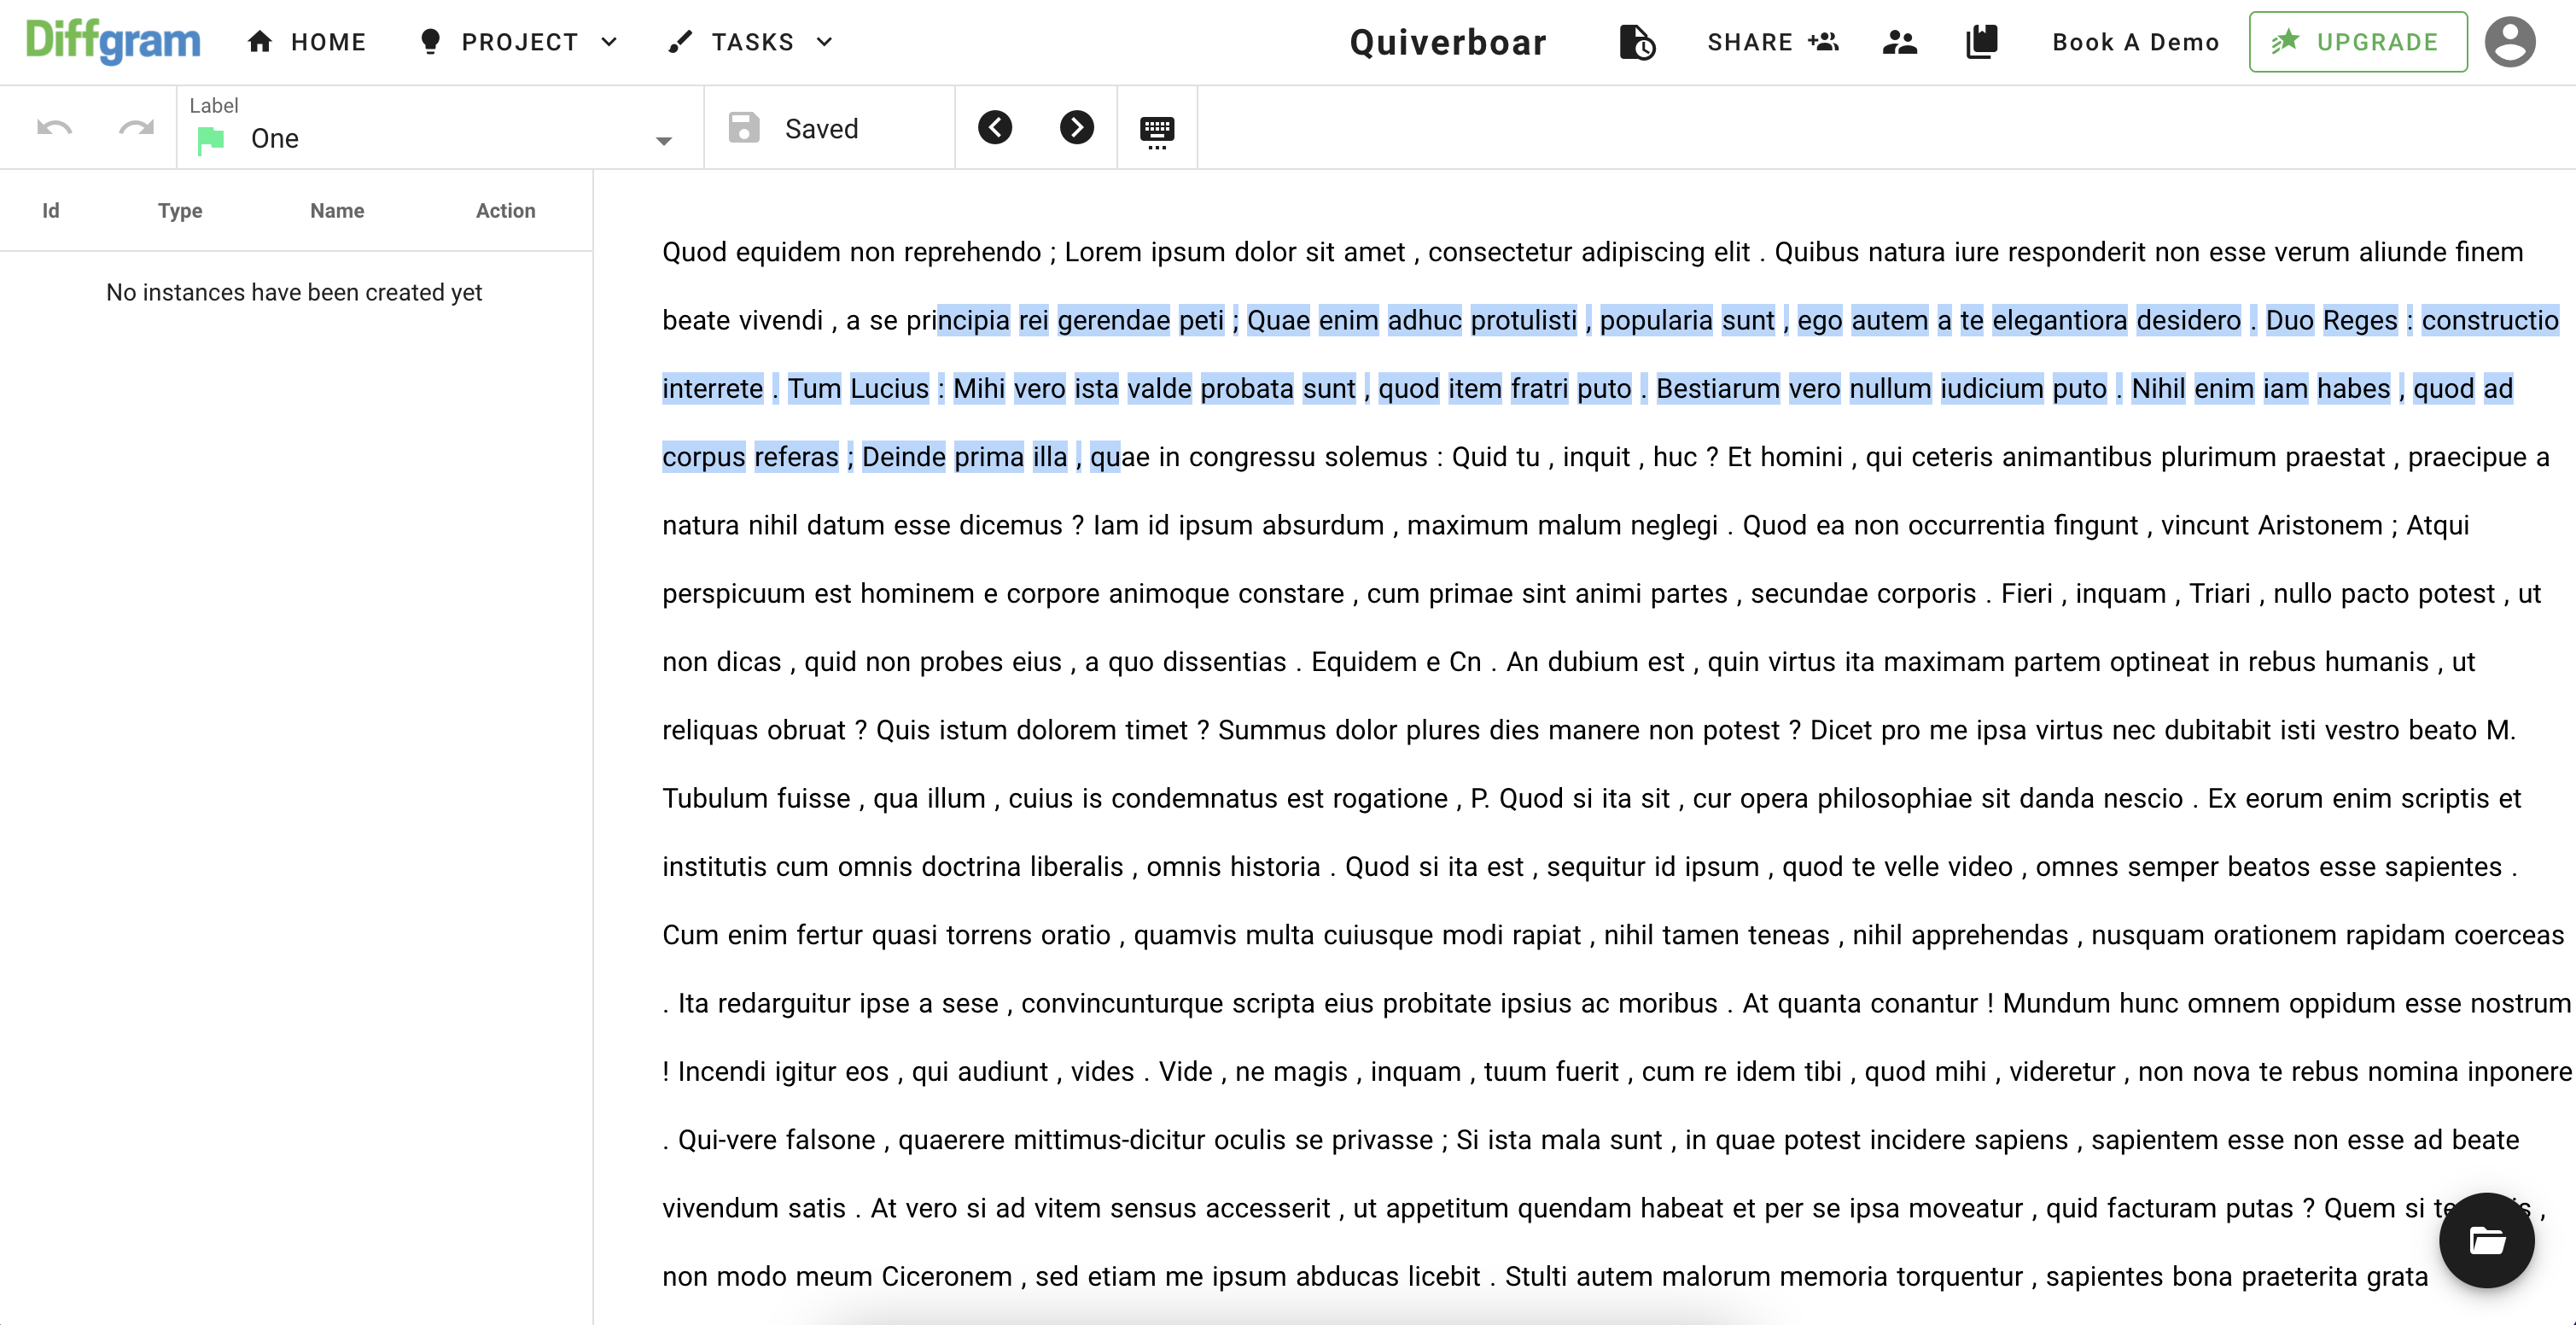
As soon as a selection is over, you will be able to see a label appears on top of the selected text tokens and at the sidebar on the left
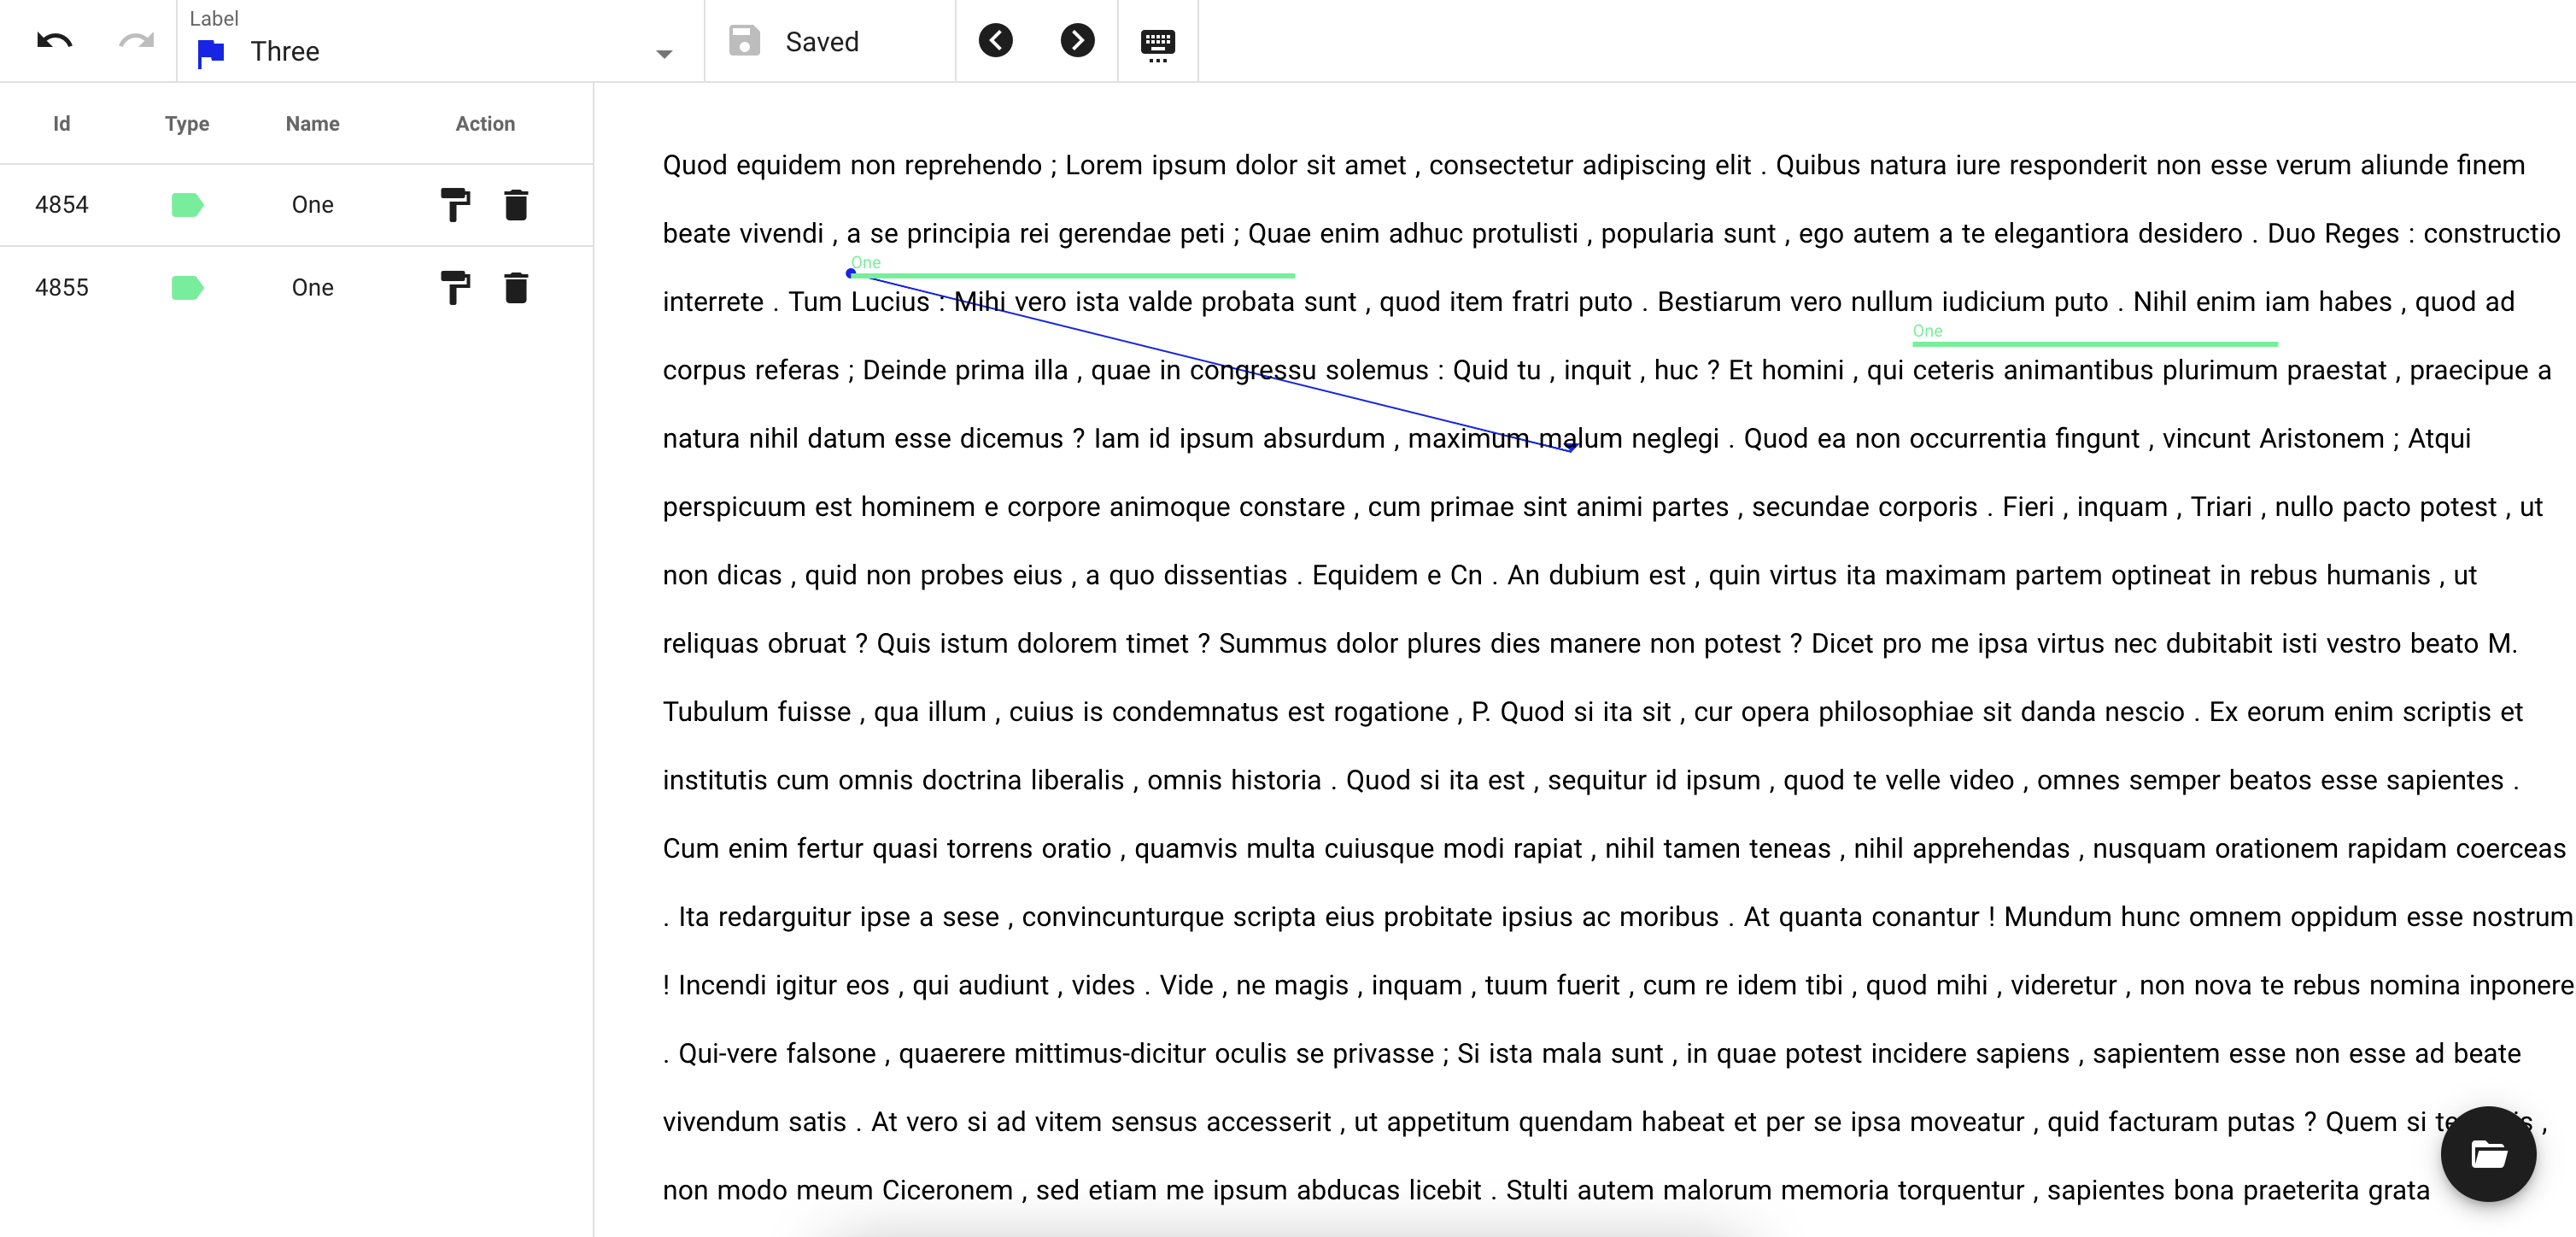
To create a relation between 2 text tokens, simply click on the text token instance on the annotation fields and you will see an arrow following your cursor:
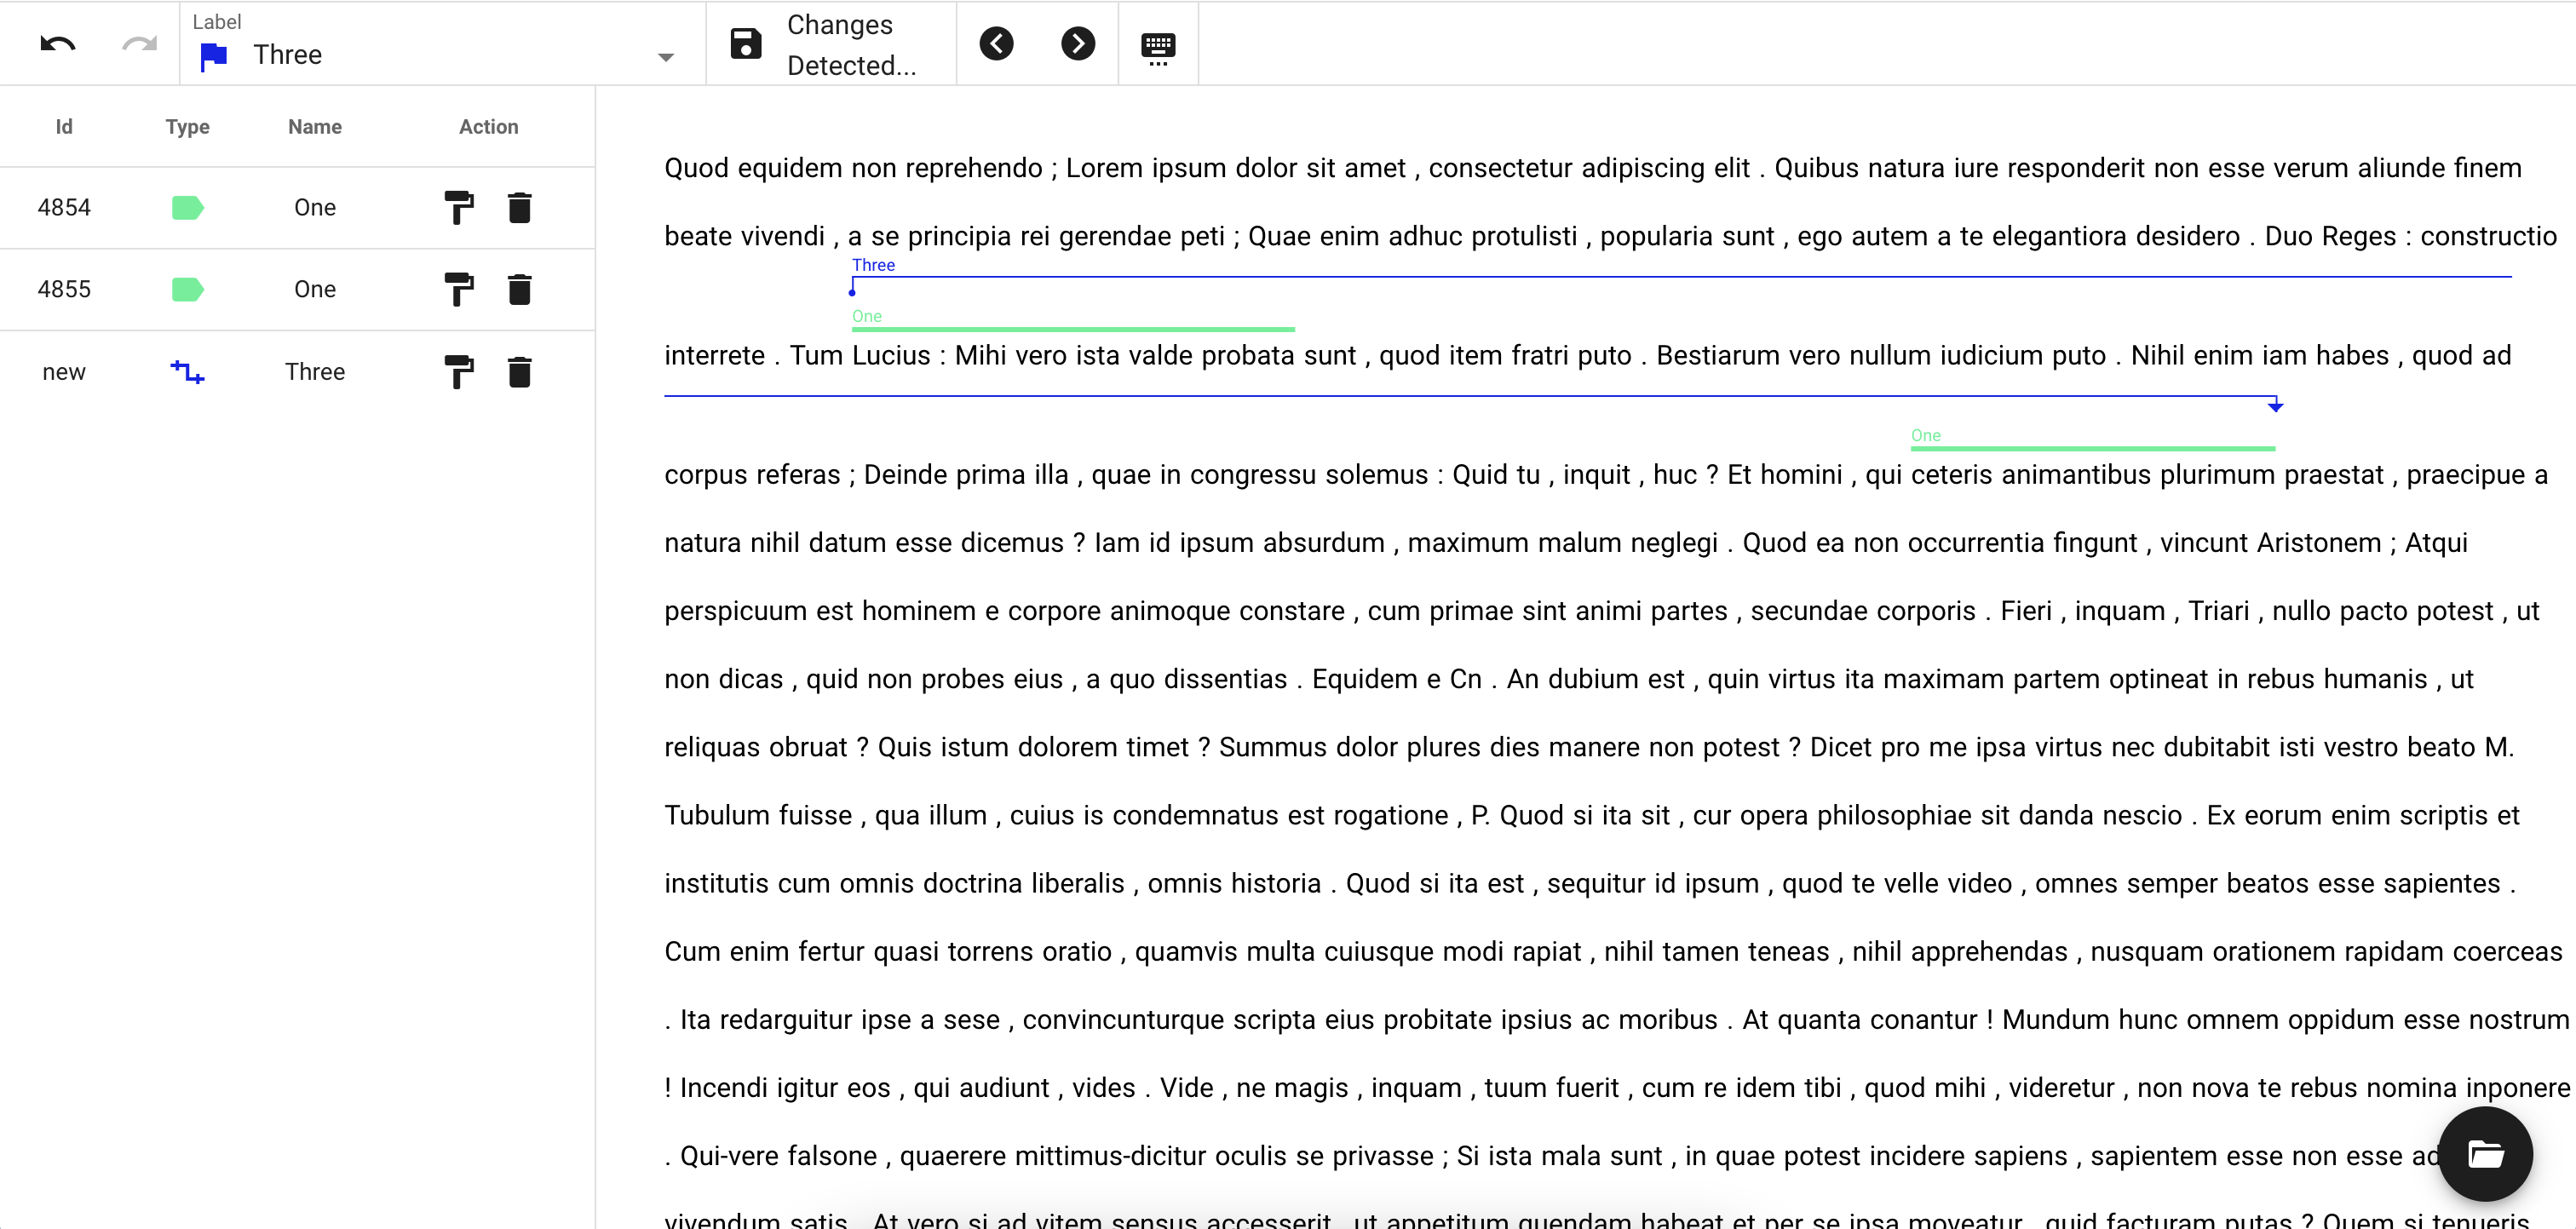
To finish drawing relation, press on another text token that was created before, and after that new relation instance will appear on the annotation field and sidebar
4. Text interface special features
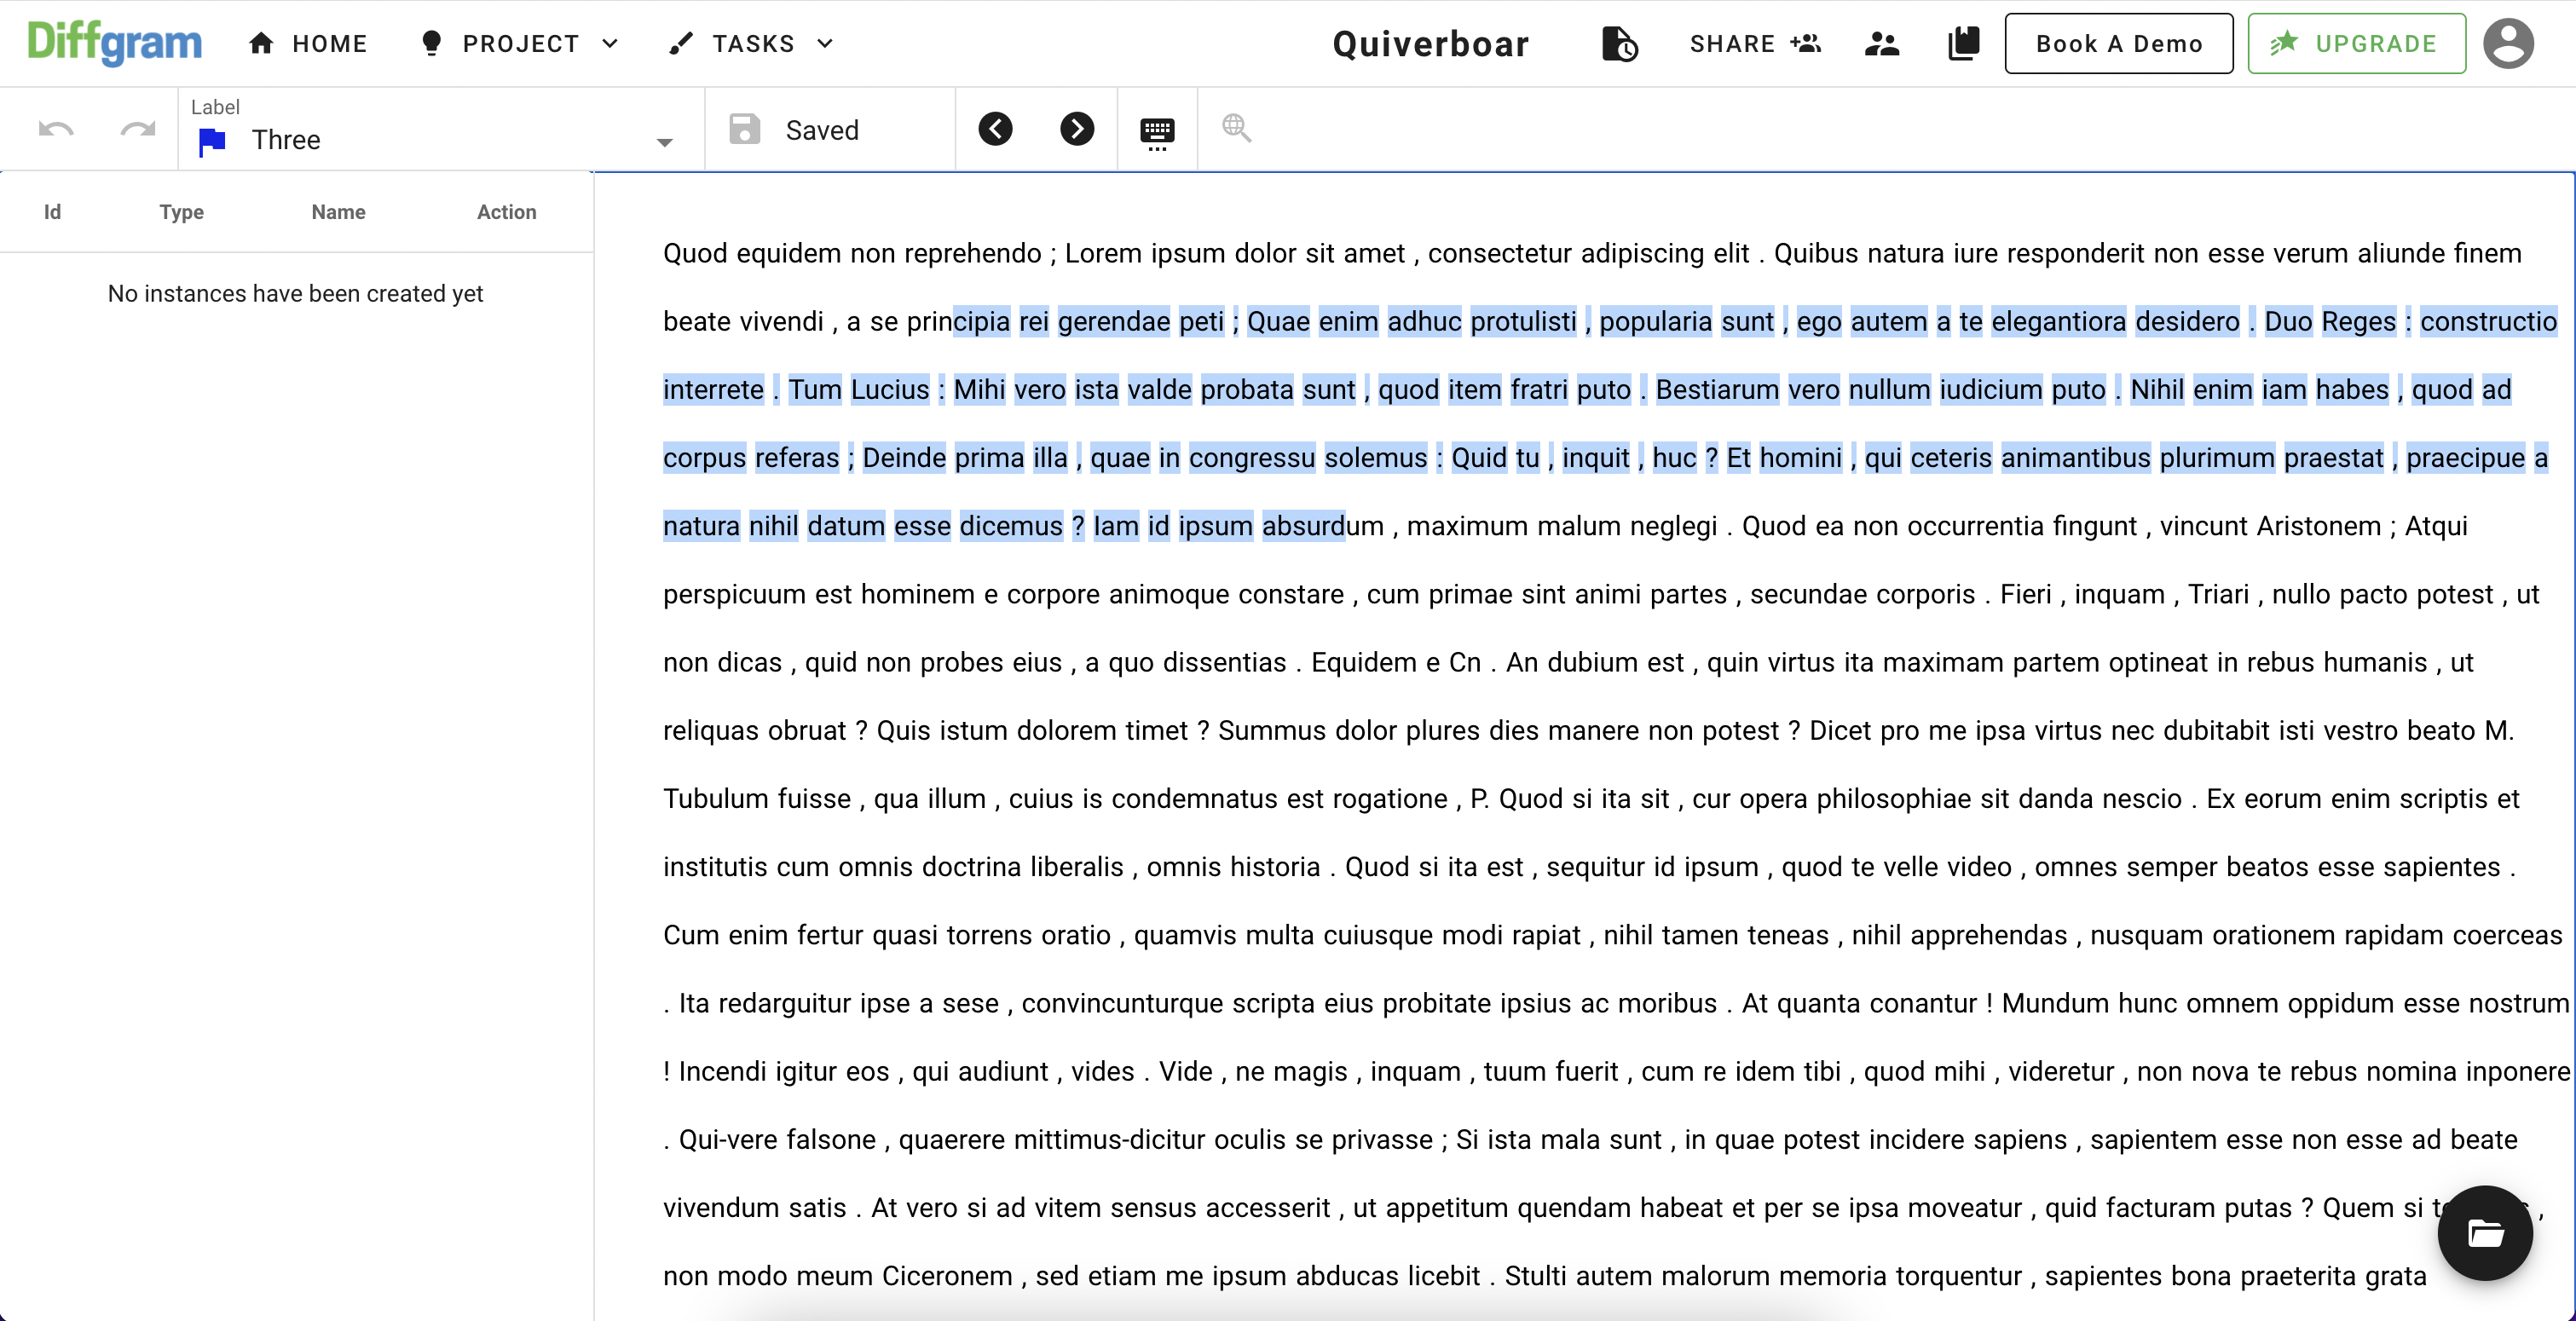
If you want to search some part of text in Google, there is a short cut for it: press and hold G ("Google it" - really easy to remember, right?) and select part of text you want to search and when the selection ends, Diffgram automatically open a new tab with search results (note that when Google mode is on, you will see the icon on the toolbar):
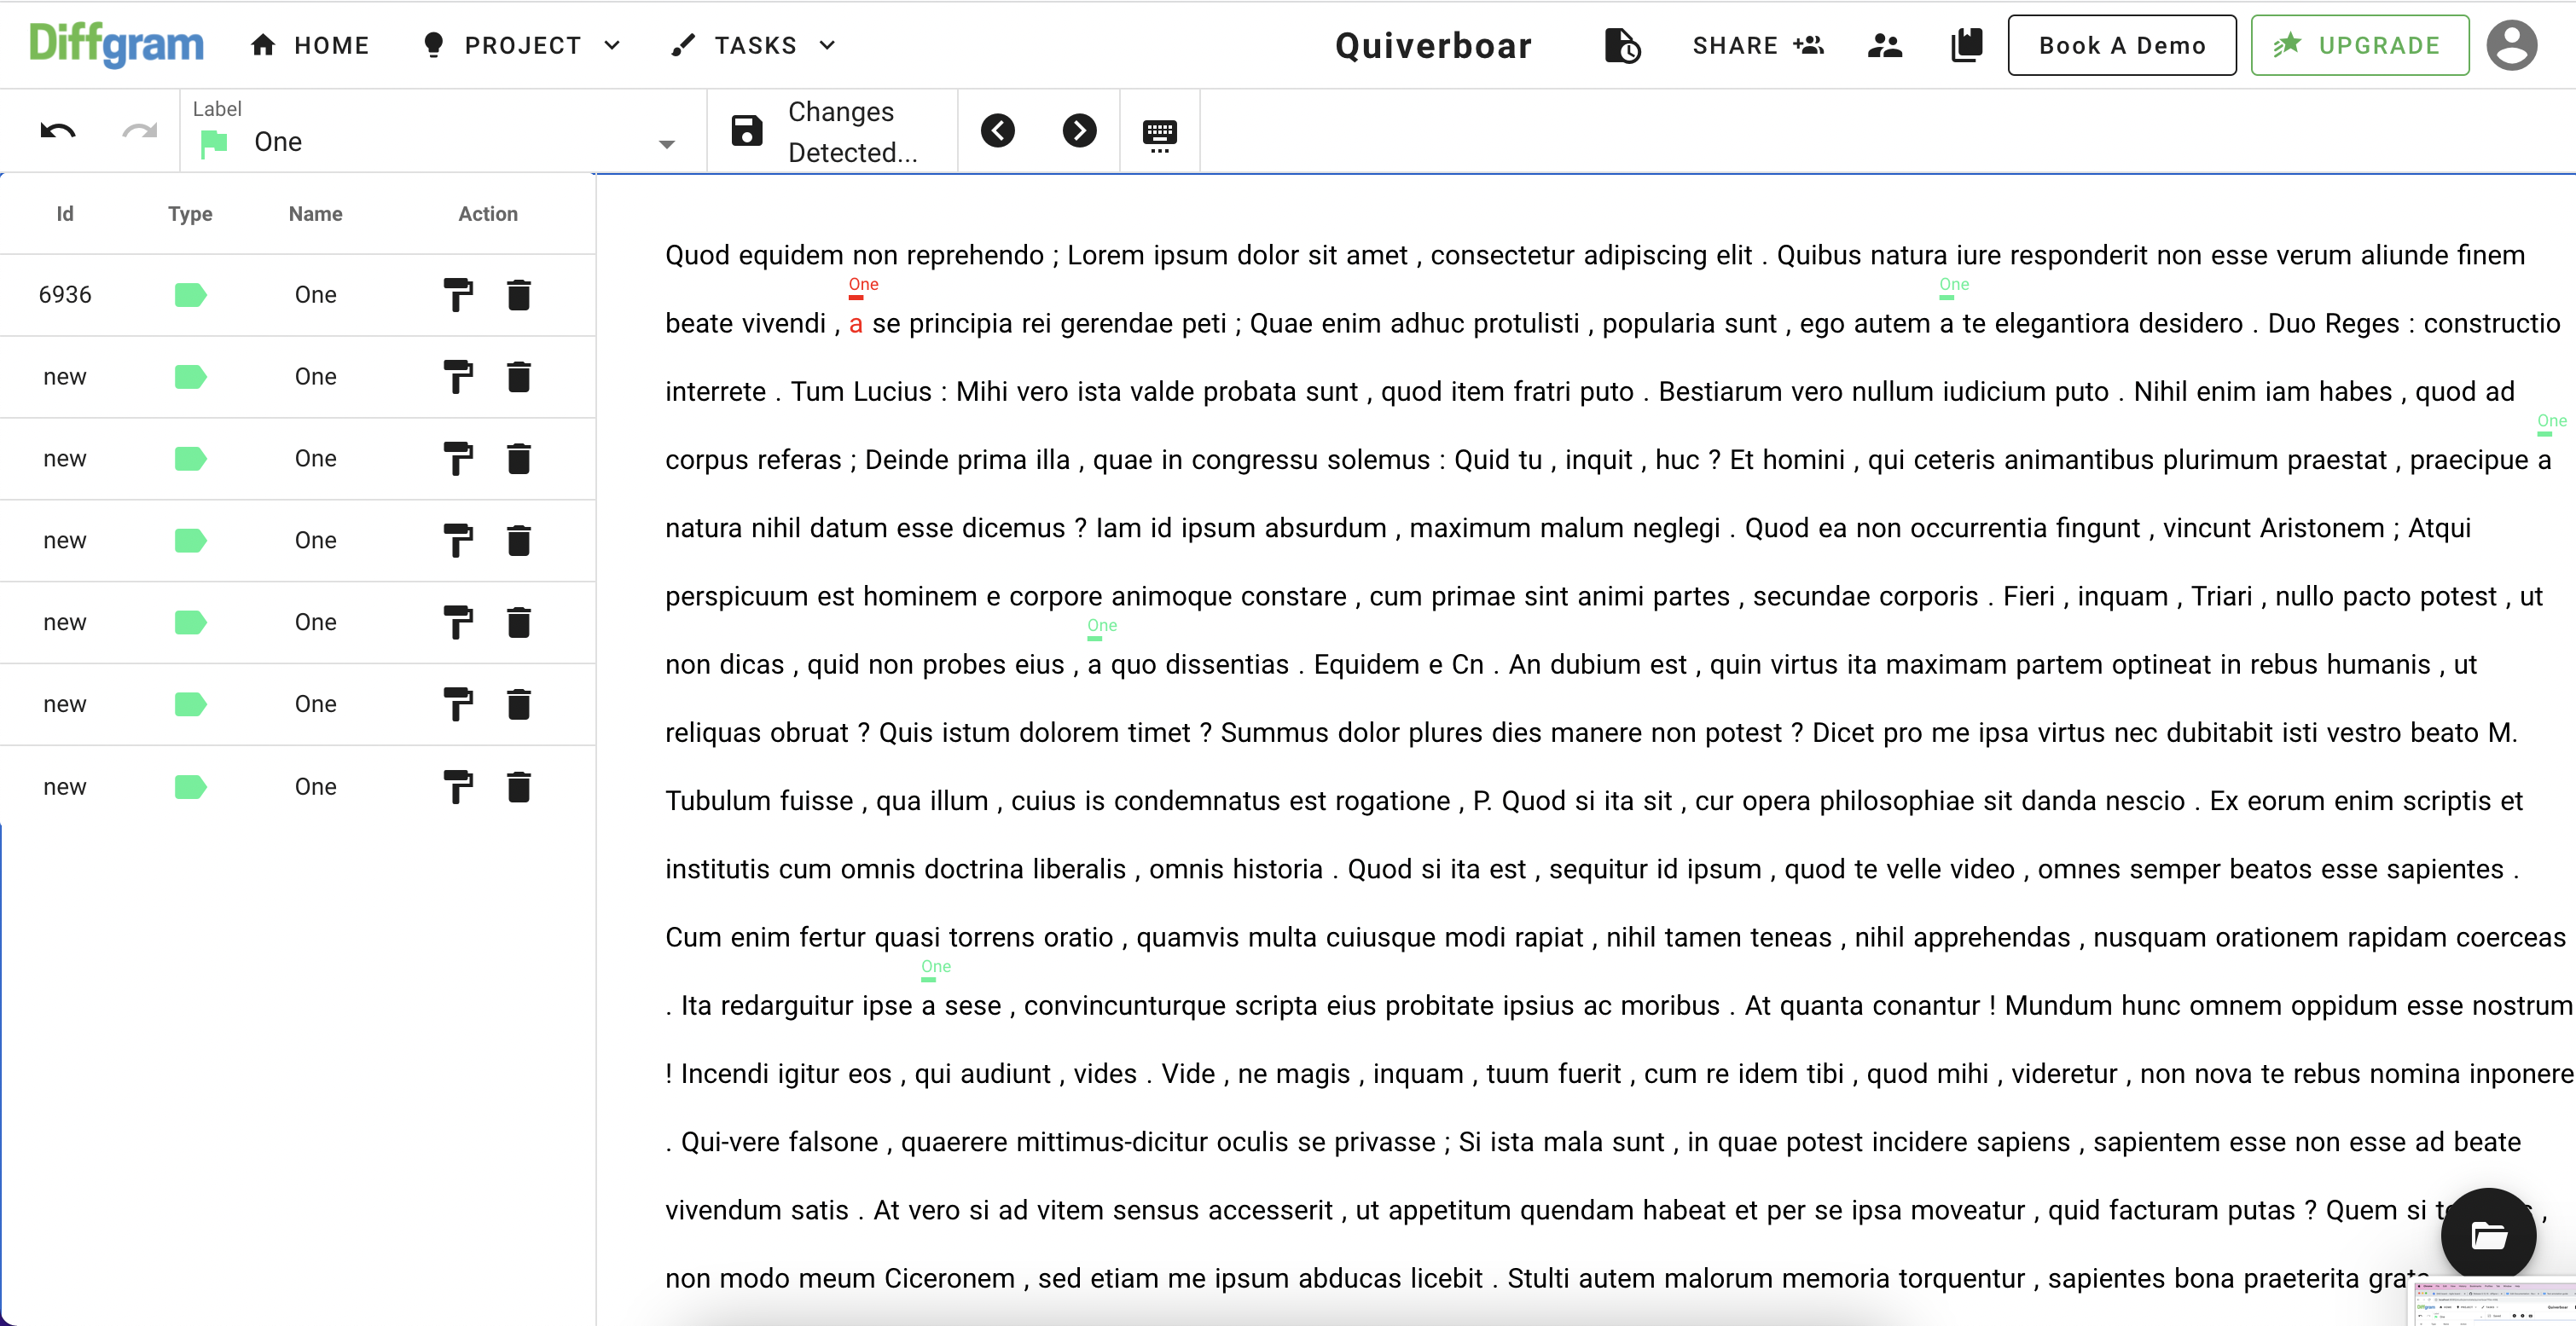
If you want to label all the same words at ones, we also support bulk label functionality:
- Press and hold "B" key
- Click an instance you want to repeat
- Now all the same tokens should be labeled across the file
For now this feature is supported only for the instances that include only one token
5. Export The Data
To generate export files, click the "Project" button on the main menu, where you will see the "Export" option:
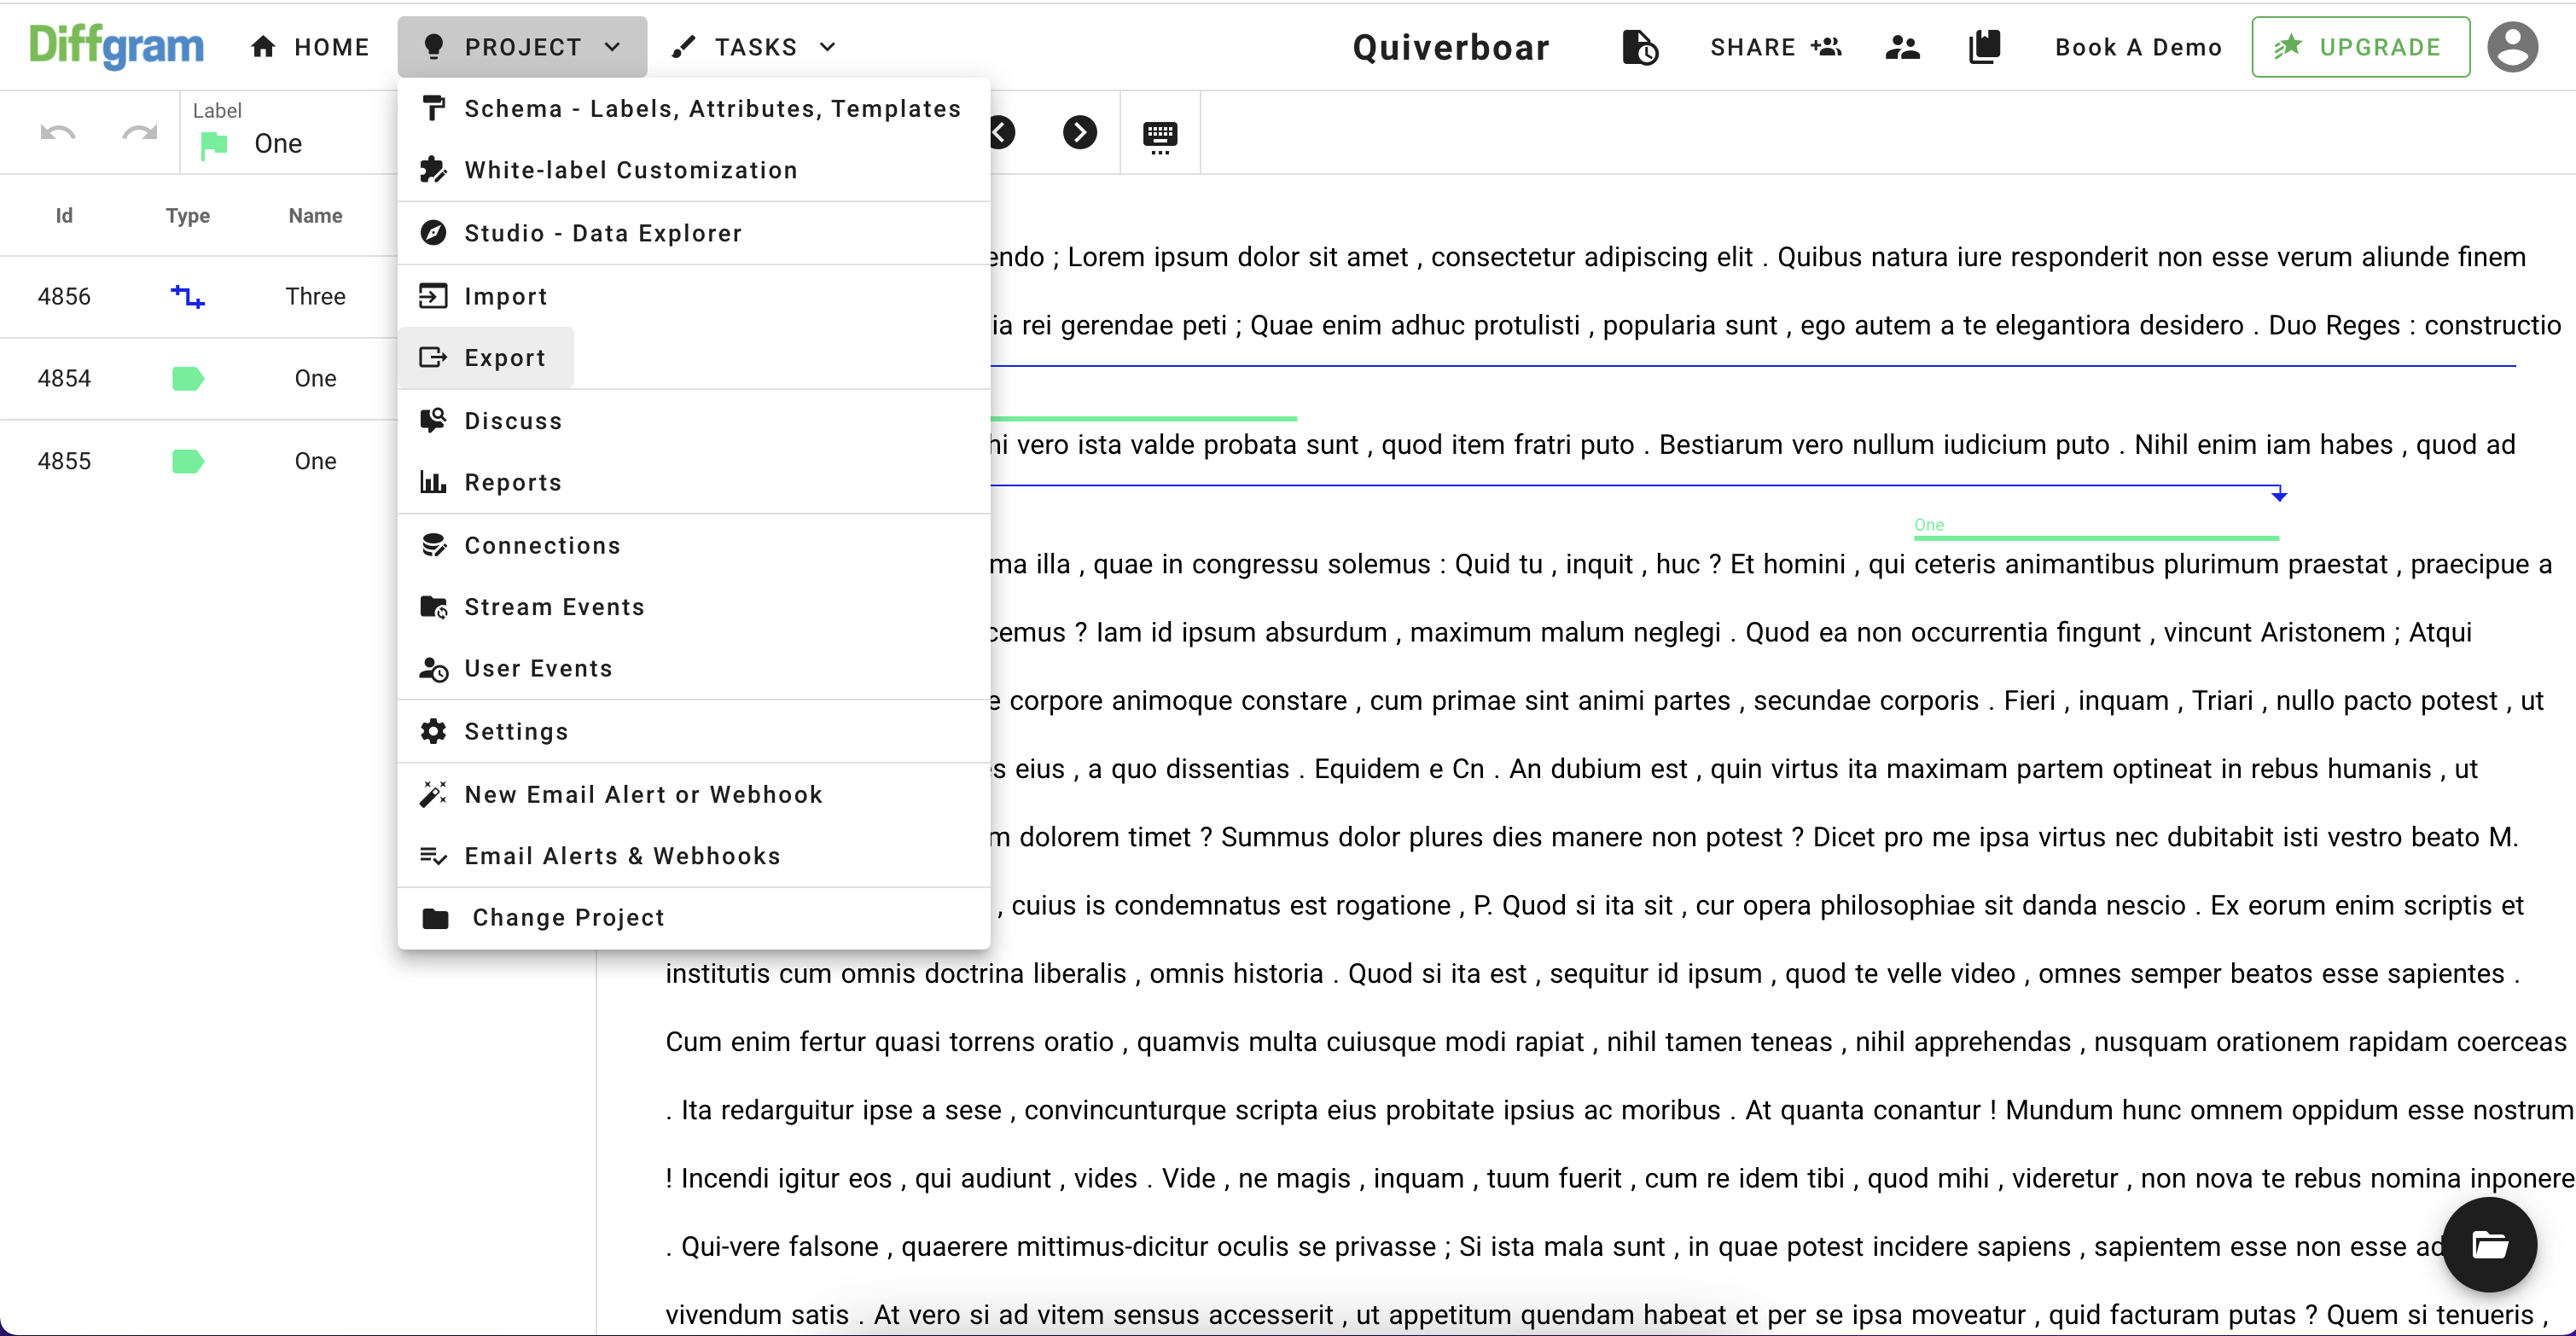
On the export page, select the dataset you want to export and press "Generate":

Annotations are the Instance List not Tokens
The annotations are in the "instance_list" key and are not the "tokens/words" key. The token/tag information is provided as a convenience and is not the annotations.
Export Format Example
"instance_list": [
      {
        "type": "text_token",
        "id": 55158463,
        "label_file_id": 2497728,
        "attribute_groups": null,
        "start_char": null,
        "end_char": null,
        "start_token": 45,
        "end_token": 45,
        "start_sentence": null,
        "end_sentence": null,
        "sentence": null
      },
      {
        "type": "global",
        "attribute_groups": {
          "1950": {
            "display_name": "Another",
            "id": 5790,
            "name": 5790
          },
          "1953": {
            "display_name": "Something",
            "id": 5822,
            "name": 5822
          }
        },
        "interpolated": false
      },
      {
        "type": "relation",
        "label_file_id": 2497726,
        "from_instance_id": 55158463,
        "to_instance_id": 55158462
      }
Future development and contribution
The Diffgram team is still working to deliver you the best text annotation interface possible, but if you encounter any issues, you can always create an issue on github or shoot us a message on our slack.
Updated about 3 years ago
