New Engineer Welcome
Setting Up Your Bare-Metal Local Dev Env
How to get your local set up and running for engineering.
Getting Started Tasks
- Read this doc in full
- Set up Must Have Dependencies
- Running the Services
- Use the Main Entry port of 8085
- Test the installation is working
- Further reading: Backend Architecture
When is a Bare-Metal installation Beneficial?
Using docker-compose (Install) provides a complete local playground with minimal manual effort. Whereas setting up a bare-metal installation is maximum effort. In general, the reasons to do the Bare-Metal approach are:
- Full control of the system, including changing dependencies, hot reload, etc.
- No dependency on docker.
Depending on your needs, you may wish to run some portion of the system in docker.
Must Have Dependencies
Please note that you must have these dependencies set up correctly.
- Code Access
- OS Env Set Up
- Python Environments.
- Diffgram Env Variables
- BLOB Storage
- Postgres
- First Database Migration
- Rabbit MQ
- Frontend
Code Access
Clone the repository.
OS Env Set Up
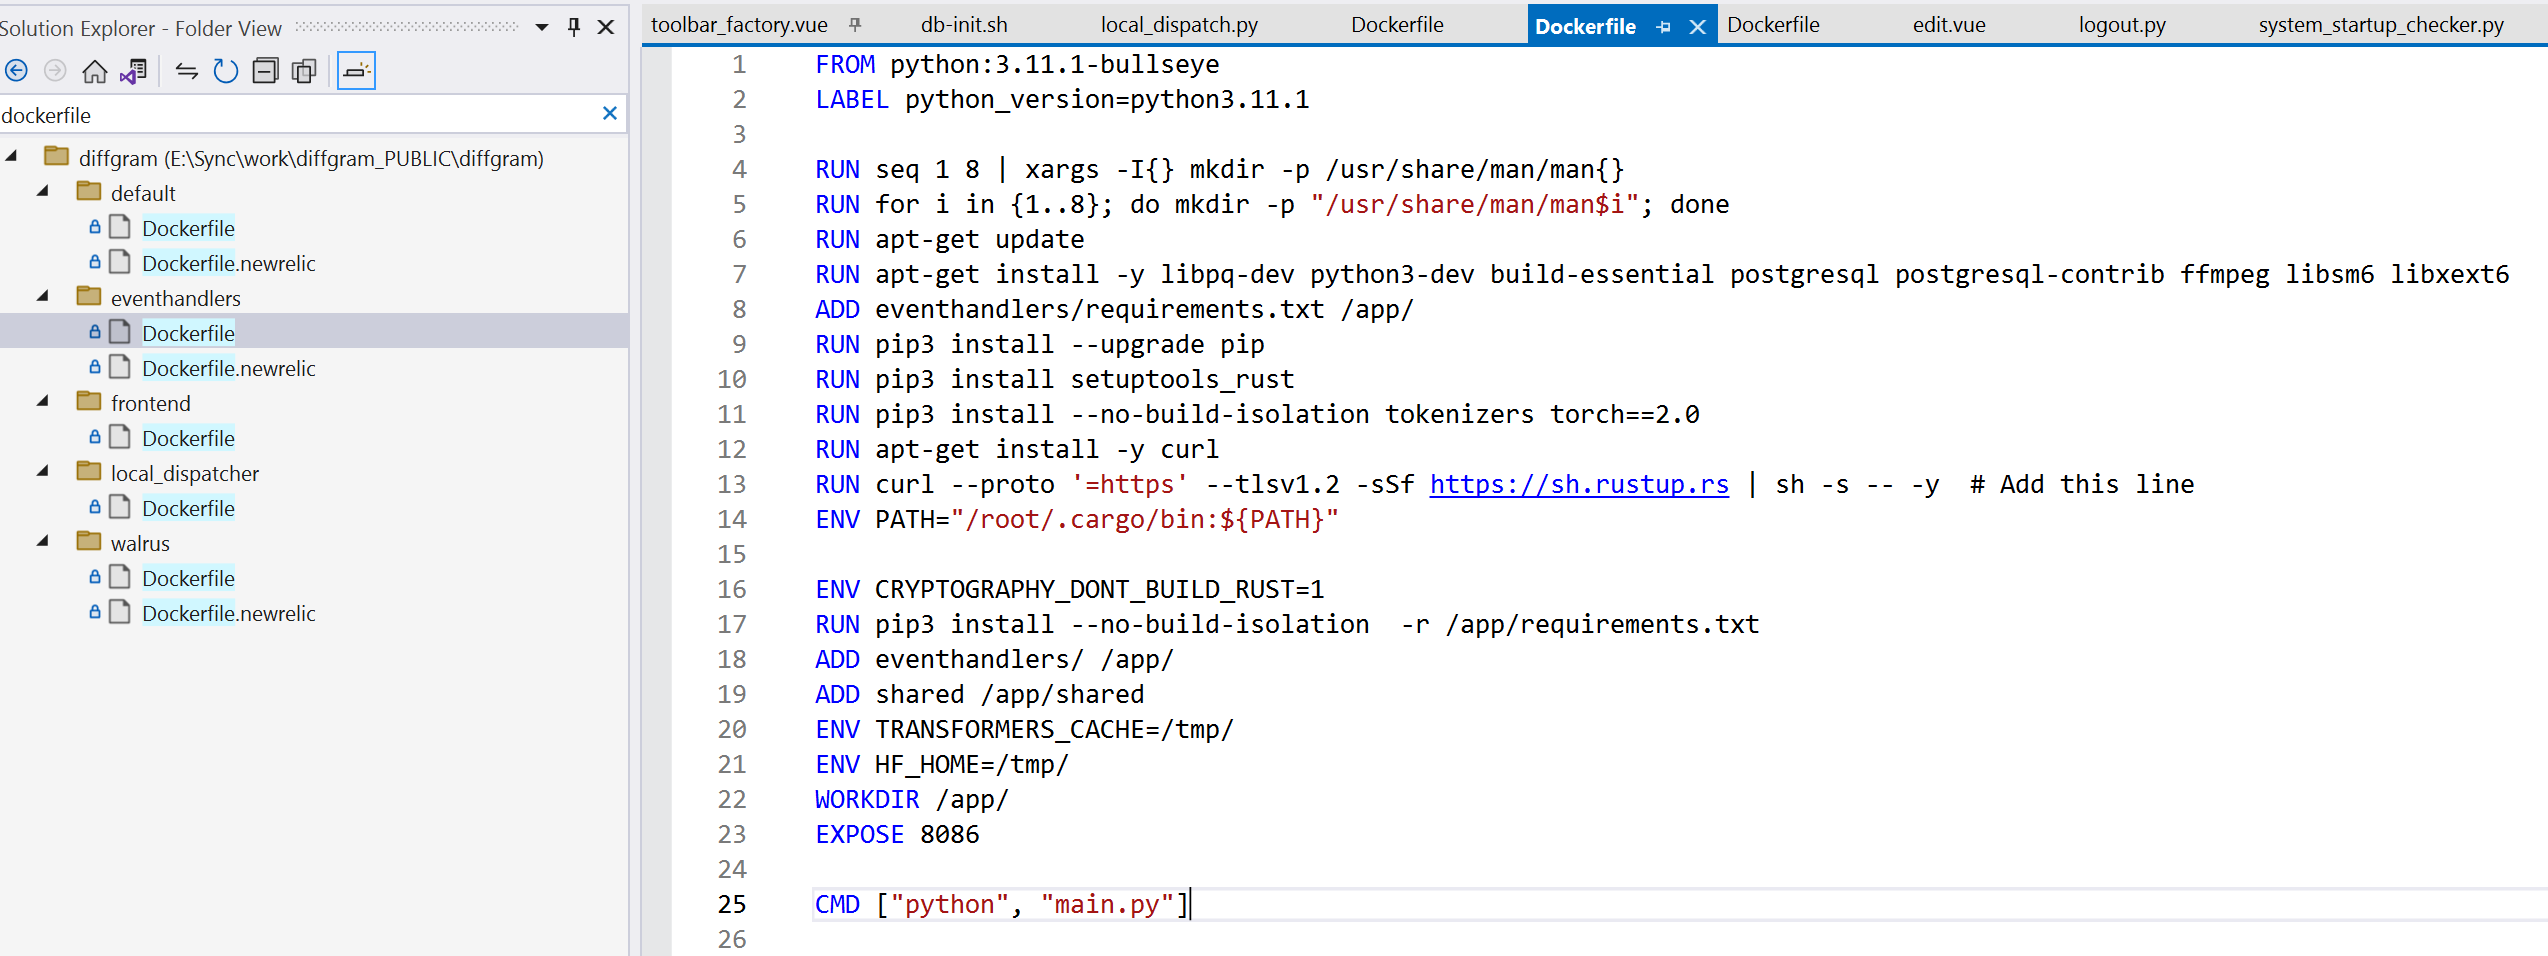
Each service has a few assumptions around the OS. Things like which python version, etc. Use the Dockerfiles as a reference. These files describe the specifics that are known to work, such as which python env, sub libraries etc.
Using Docker Directly for Specific Services
You may run some parts of the system in Docker directly.
Python Environments.
Each service has an independent requirements.txt.
Export or set PYTHONPATH
The python path must be set. The specifics of setting this vary by OS. Please search for the specifics for your machine.
Conda Or venv
For each service:
- Create a virtual env using Conda,
venv, or your preferred provider. - Use
pip install -r requirements.txtto install the python dependencies.
Full example:
cd replace_with_path_to_service
conda create --name diffgram_walrus python=3
pip install -r requirements.txt
You may need to install different OS dependencies for certain Python packages to work. Those are outlined in the OS Env step above.
Diffgram Env Variables
Separate from OS and Python setup, there is a configuration file for Diffgram itself.
To create this .env file use the install.py script to set up your env variables. This will generate the .env file with the values. The file should be placed in your diffgram directory. To learn more about general concepts see Secrets.
Also see Domain Configuration - Some of these settings (e.g. Env variable section) may be needed even when the domain is local.
BLOB Storage
You must configure a storage provider, e.g. Minio, AWS, GCP, etc
Postgres
You must have a Postgres DB setup.
Options
- Install locally
- Install with docker
- Use a remote postgres instance
First Database Migration
Options
- To manually construct the initial database, or update to the latest version run
db-init.sh. - Manually call
cd shared;andalembic upgrade head. Note the python path must be set or this may fail.
Context
The structure of the database is defined in code through SQL Alchemy classes. The migration and history of the database uses Alembic. This will start with 77907aedd319_diffgram_initial_db, and migrate through all revisions to present. This is a more durable approach then simply calling the SQL Alchemy classes directly.
Rabbit MQ
Follow the official install guide.
Frontend
Node
NodeJS
NodeJS must be installed.
- Install NodeJS
- Run
yarn installto install local front end packages. - Build. eg to get icons
Running The Services
Once you have the dependences fully installed you can run the services.
Local Proxy Ingress - Main Entry
Please note there is a local_dispatch.py file that acts as an Ingress between the services and is the main entry to the system.
It's important to use the dispatcher (default port 8085). to ensure the overall system works as expected. Otherwise there will be unexpected and out-of-band errors. Do not try to access through the frontend service directly.
Starting the Services
If you are doing local development, one option is to have a shell/CLI tab per service. You can do this with any modern bash tool like ZSH or BAT scripts in Windows.
Python
- Activate the virtual env.
- For each backend service execute the
python main.pyto start the service. Load flask with hot reload on.
Frontend
For the frontend service you should run yarn dev to start the Node Server.
Supporting Services
Start Storage (e.g MinIO) if applicable. For example in Windows start "" minio.exe server e:/minio
It is Assumed that Postgres and RabbitMQ are already up and running (e.g. at System startup). Otherwise the service startup checks will fail.
You can access localhost:8085 on your browser and you should see the diffgram login screen.
Create your first user
Create your first user, this user will be set up automatically as a super admin.
Services Table Reference
These are the default ports in both the services and the local_dispatch.
| Name | Ports | File | Diffgram | Note |
|---|---|---|---|---|
| Dispatcher | 8085 | local_dispatch.py | Yes | Main Entry, Emulate Production Ingress |
| Default | 8080 | default/main.py | Yes | |
| Walrus | 8082 | walrus/main.py | Yes | |
| Frontend | 8081 | frontend | Yes | yarn run dev |
| Eventhandlers | 8086 | eventhandlers/main.py | Yes | |
| Postgres | 5432 | No | Set as Database URL | |
| RabbitMQ | 5672, 15672 | No | ||
| MinIO | No |
Makefile option (Beta)
Updated over 2 years ago