Create Schema
Rename Default Schema
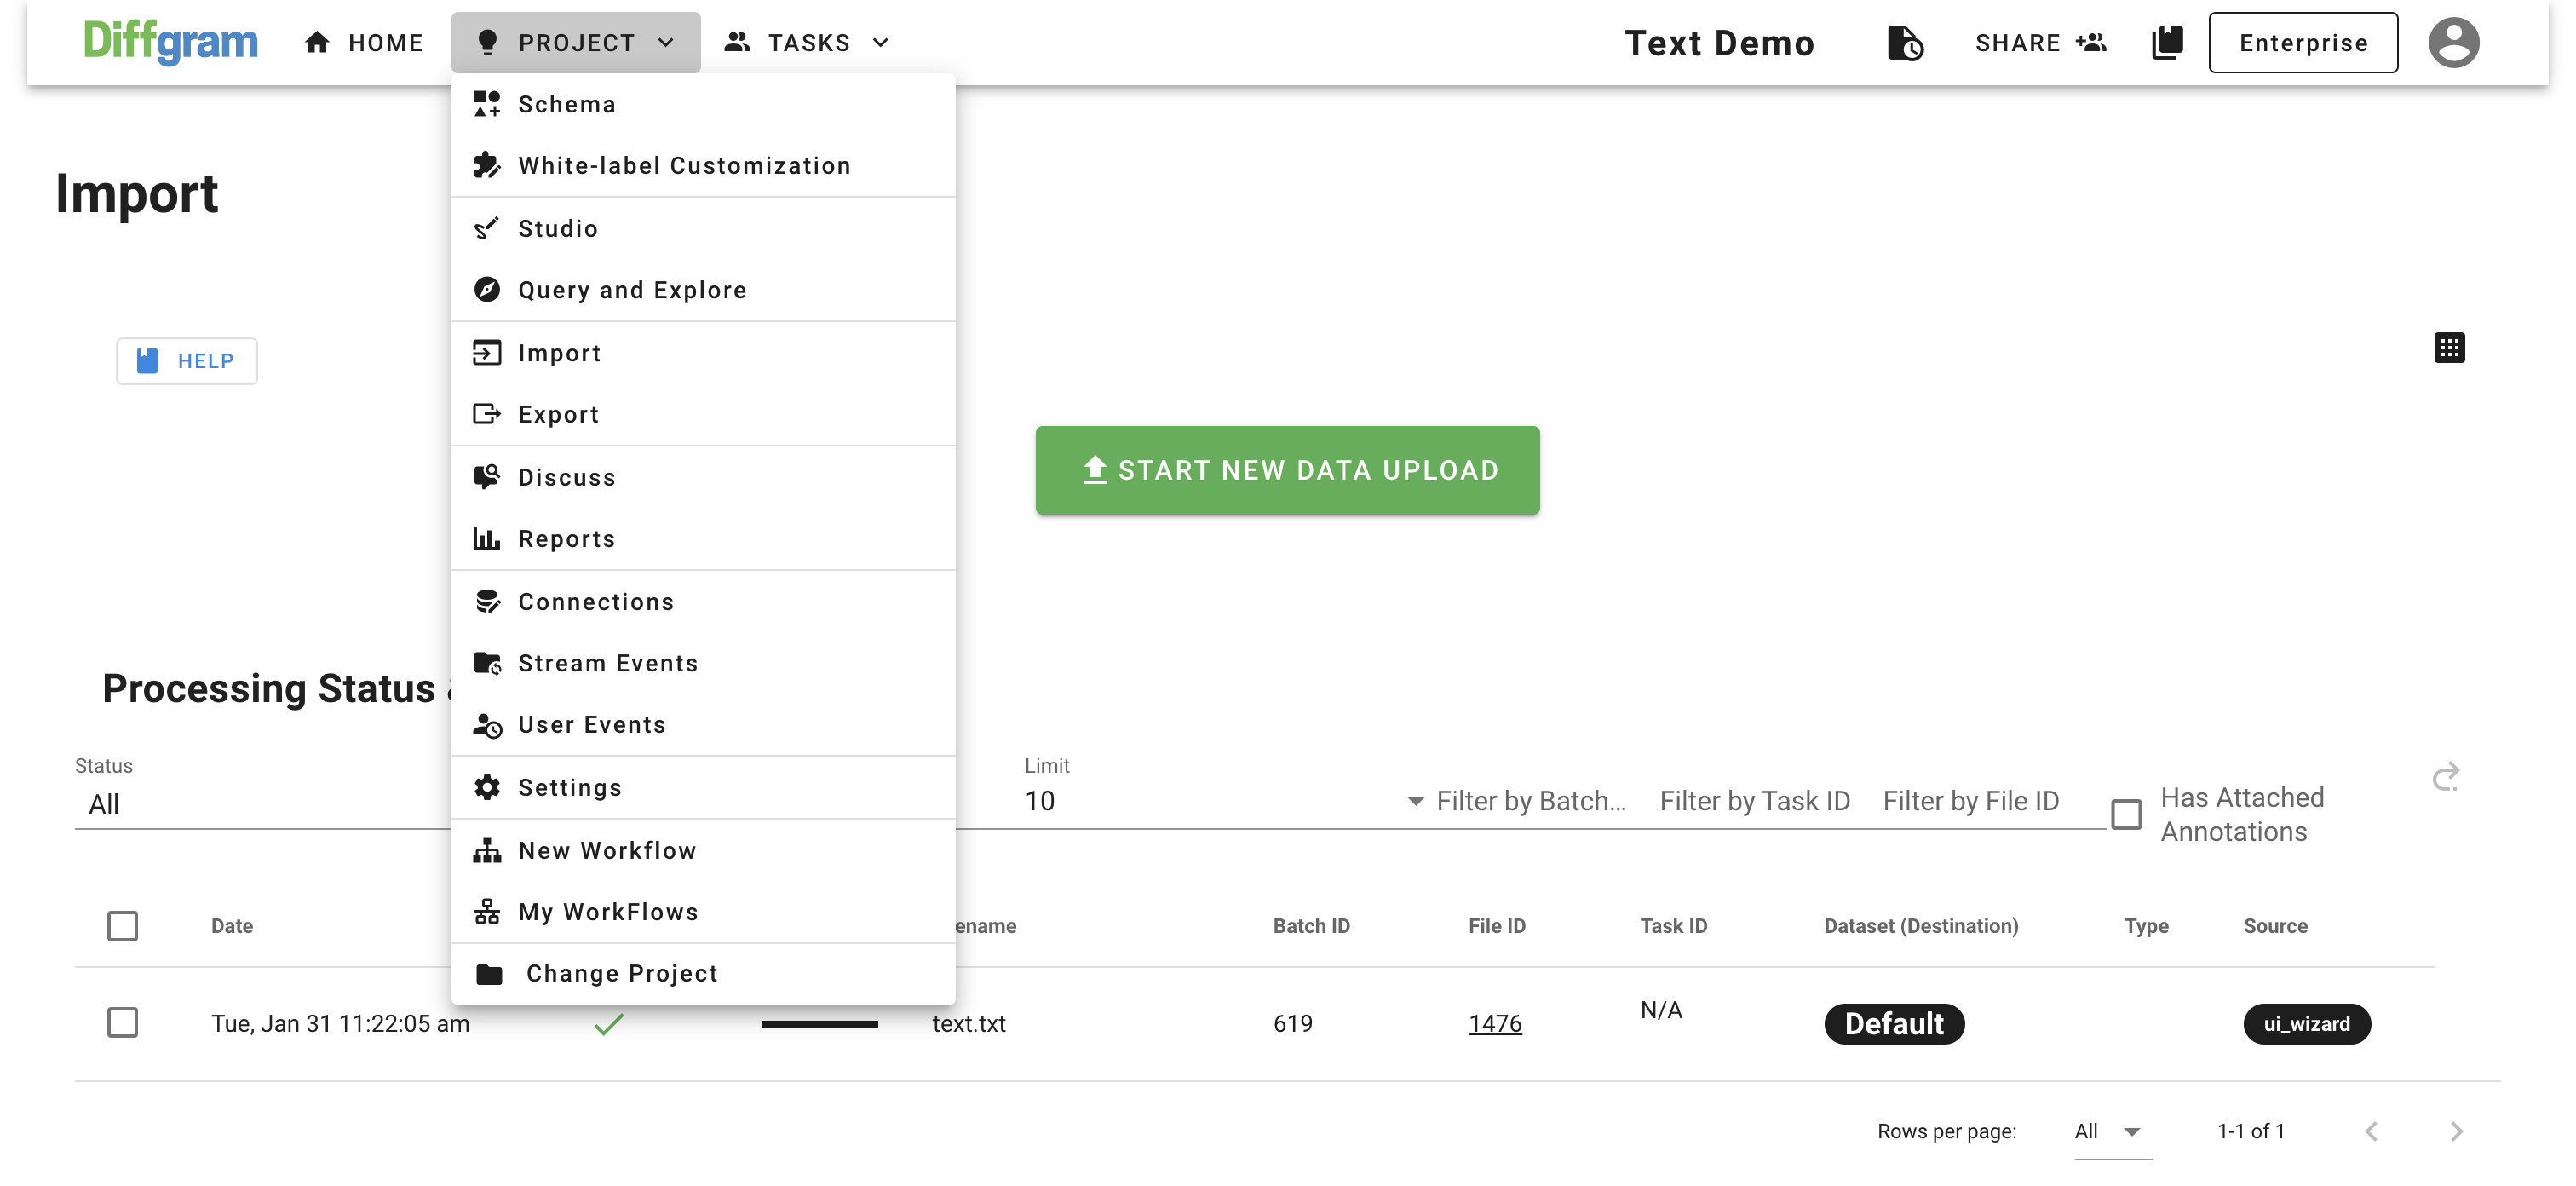
To go to schema manager, click on the Project > Schema
If you have not created a schema before, you should see the same screen as in the image below:
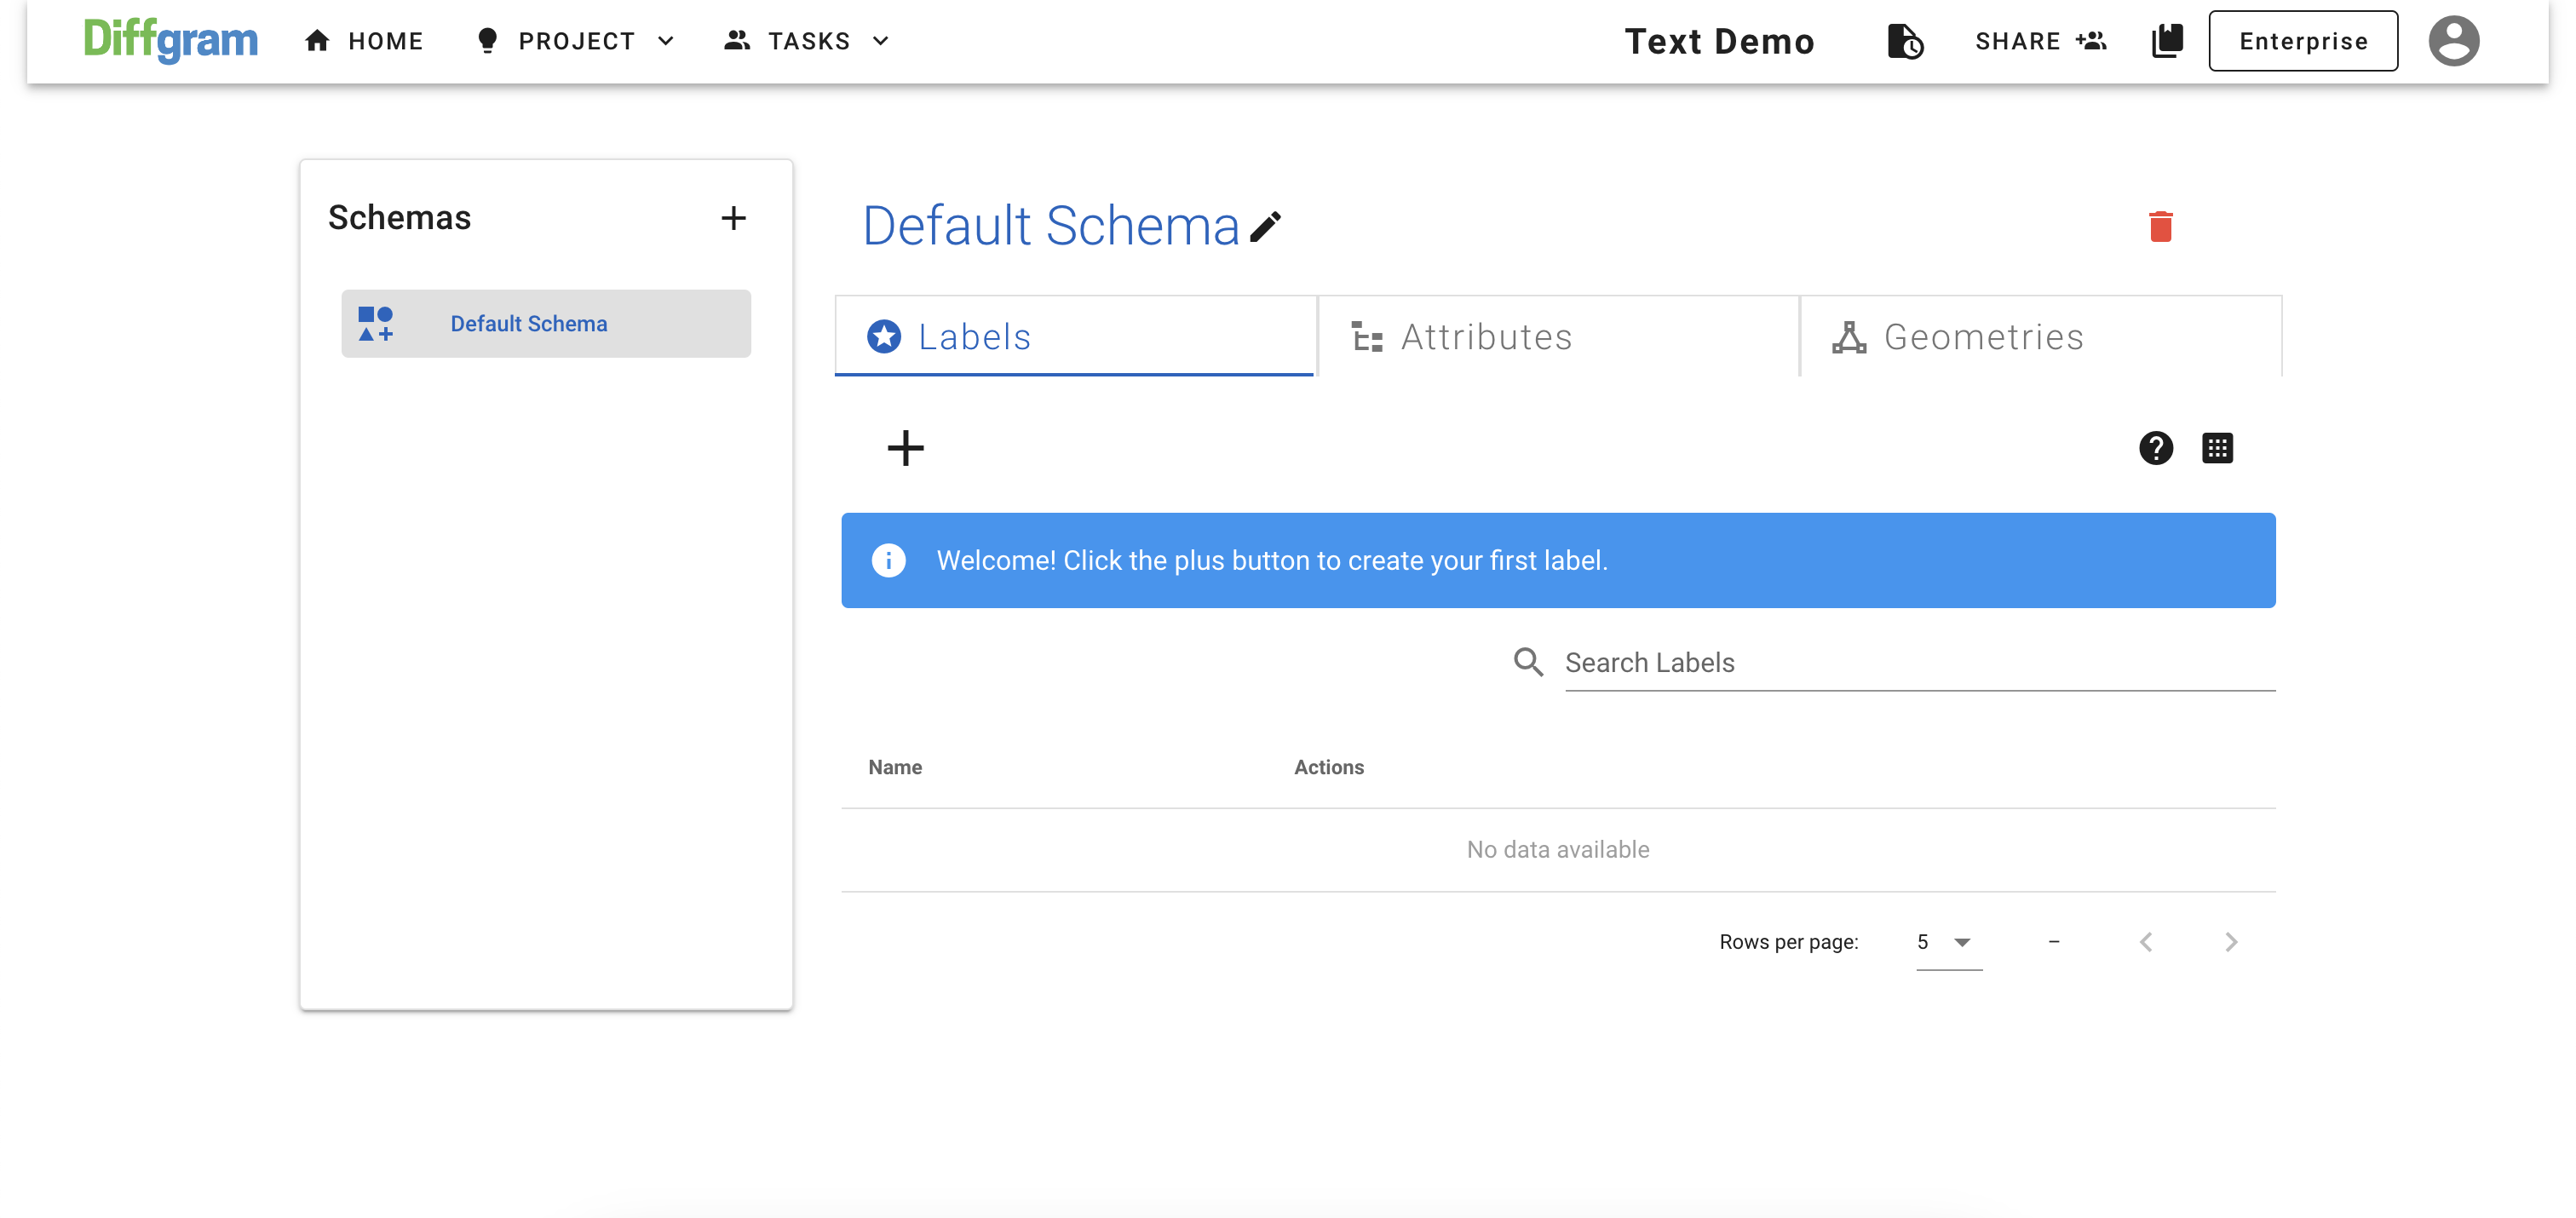
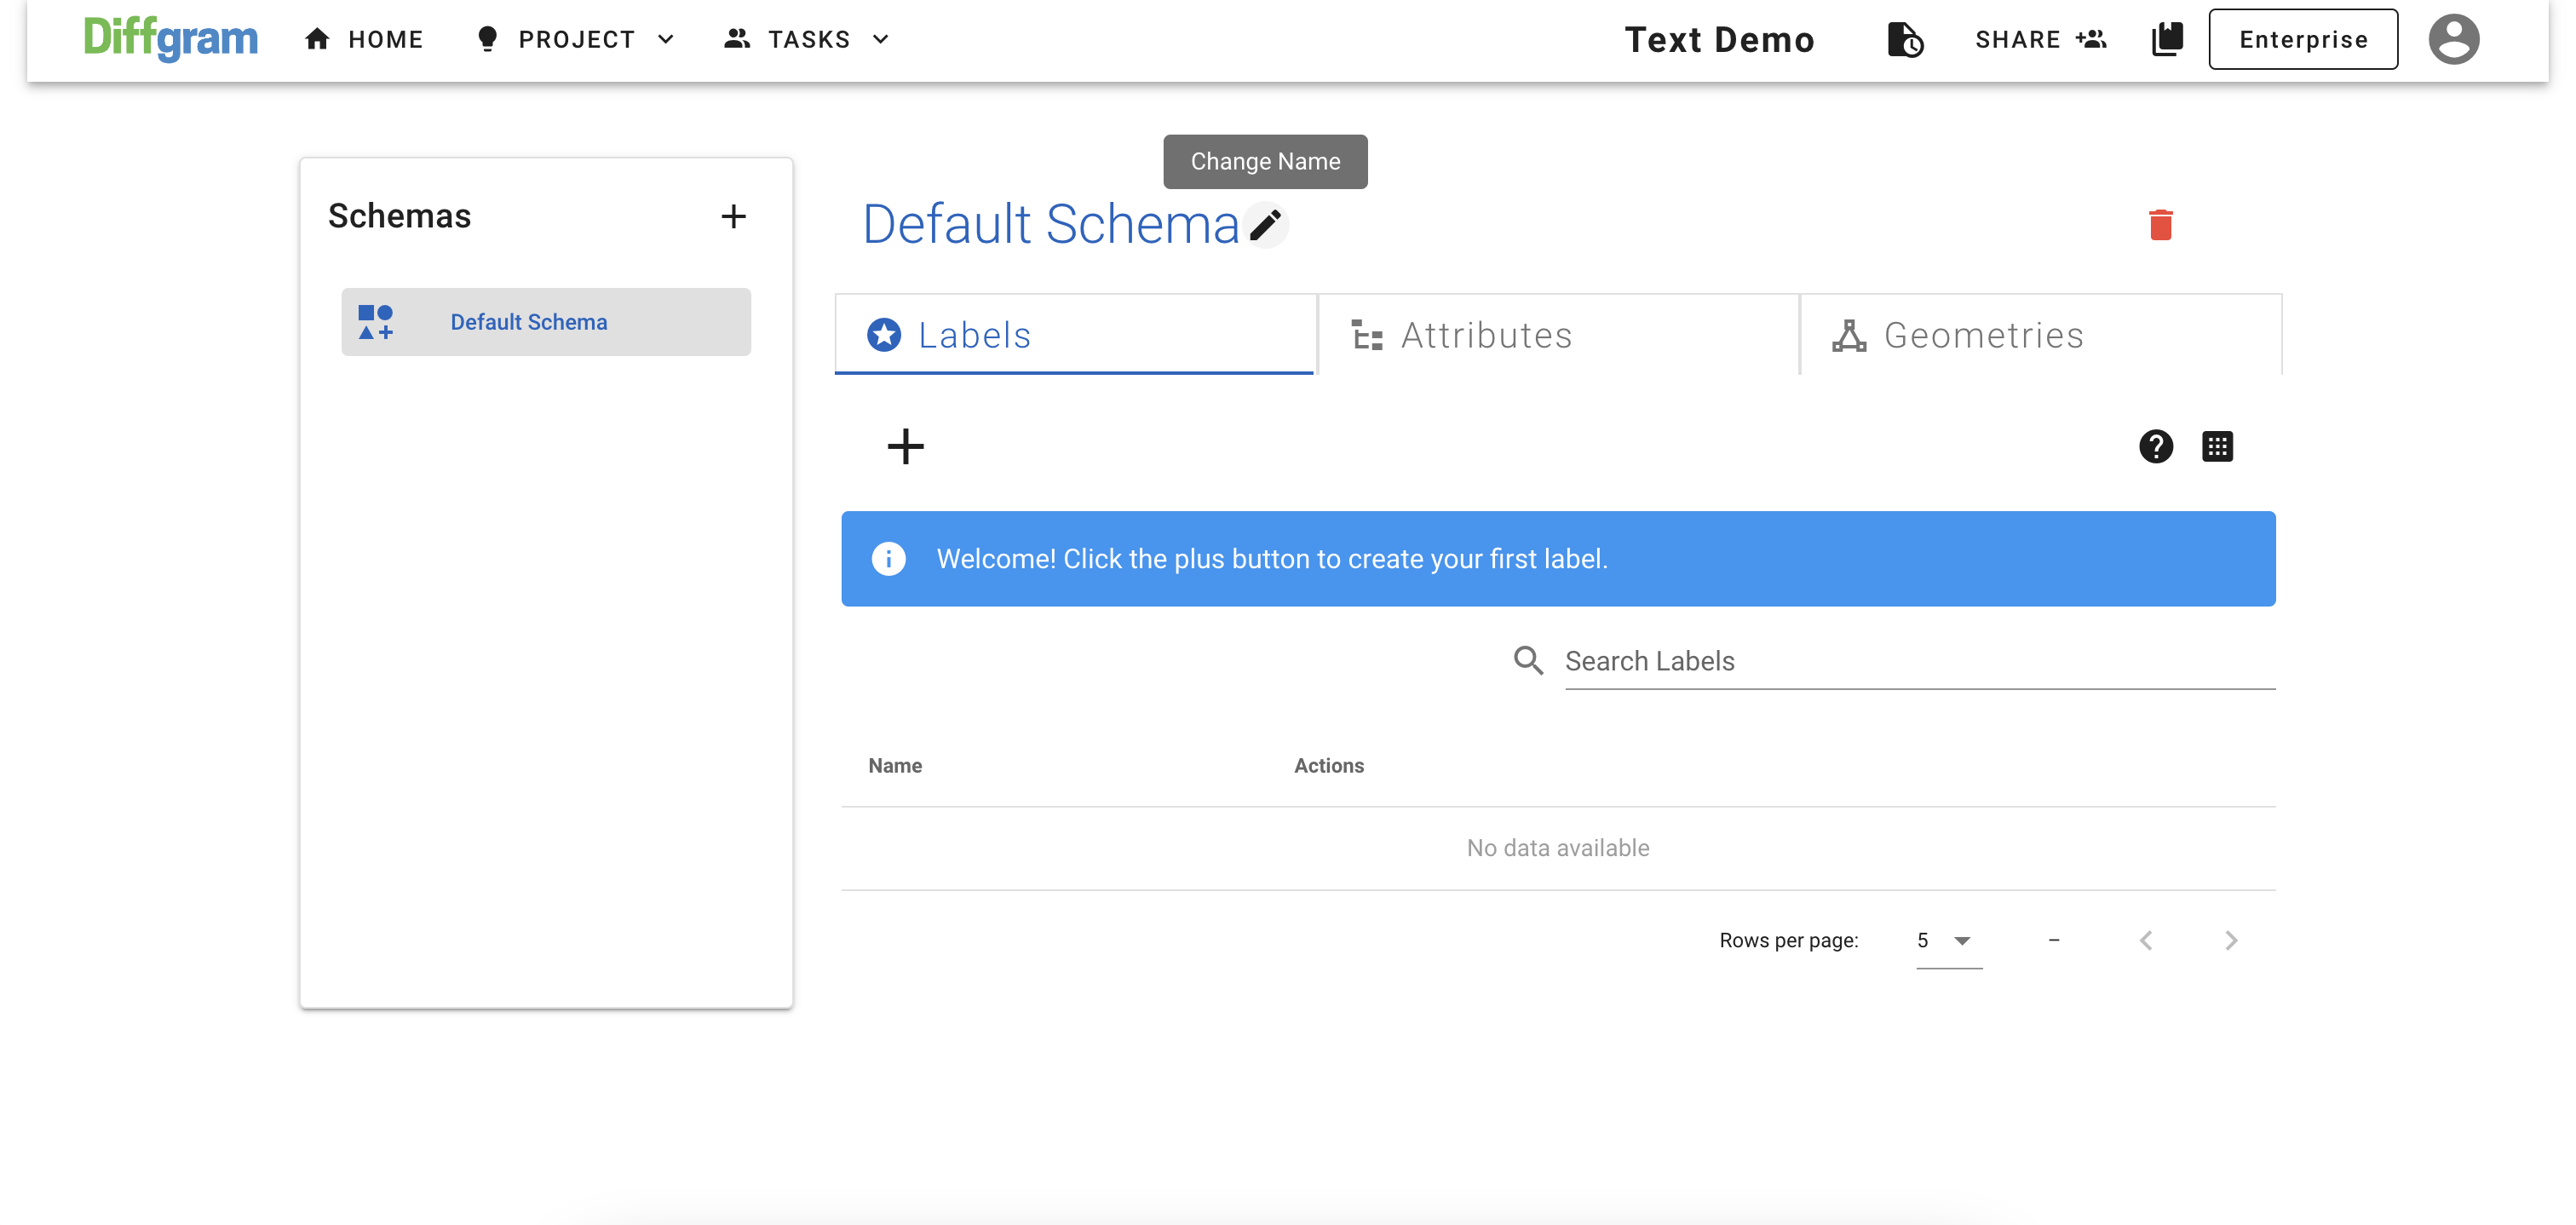
Let's rename our schema from Default Schema to POS tags. For this. flock on the icon next to the schema name and type in the new schema name and click Save icon (or press Enter):
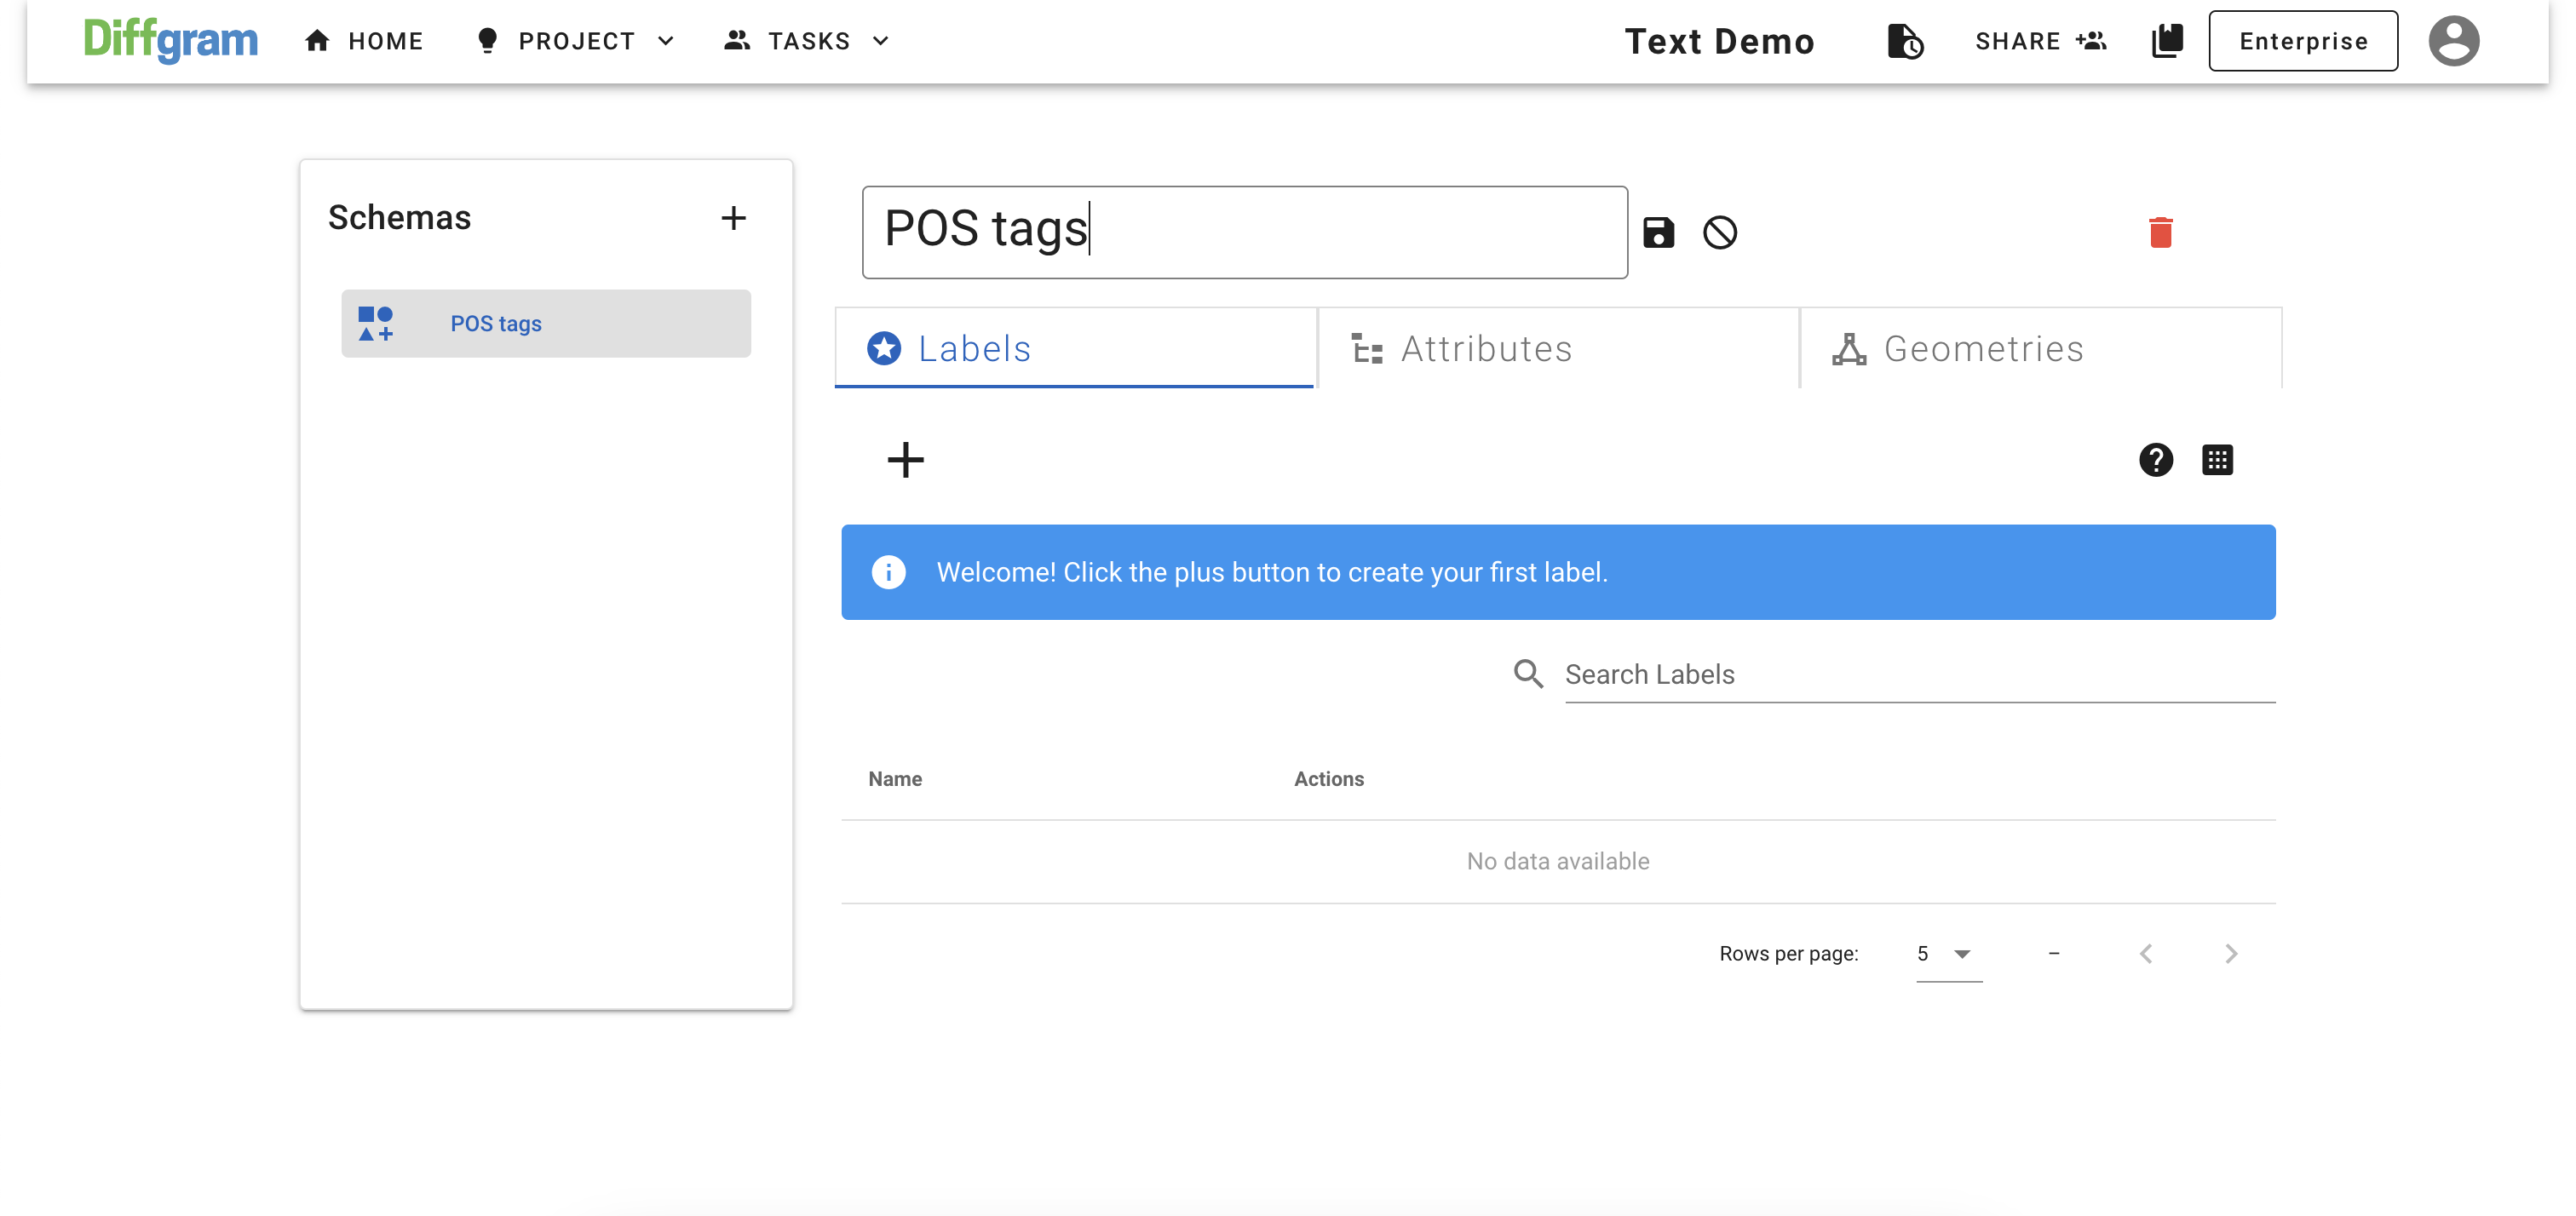
Now, the schema name should be updated:
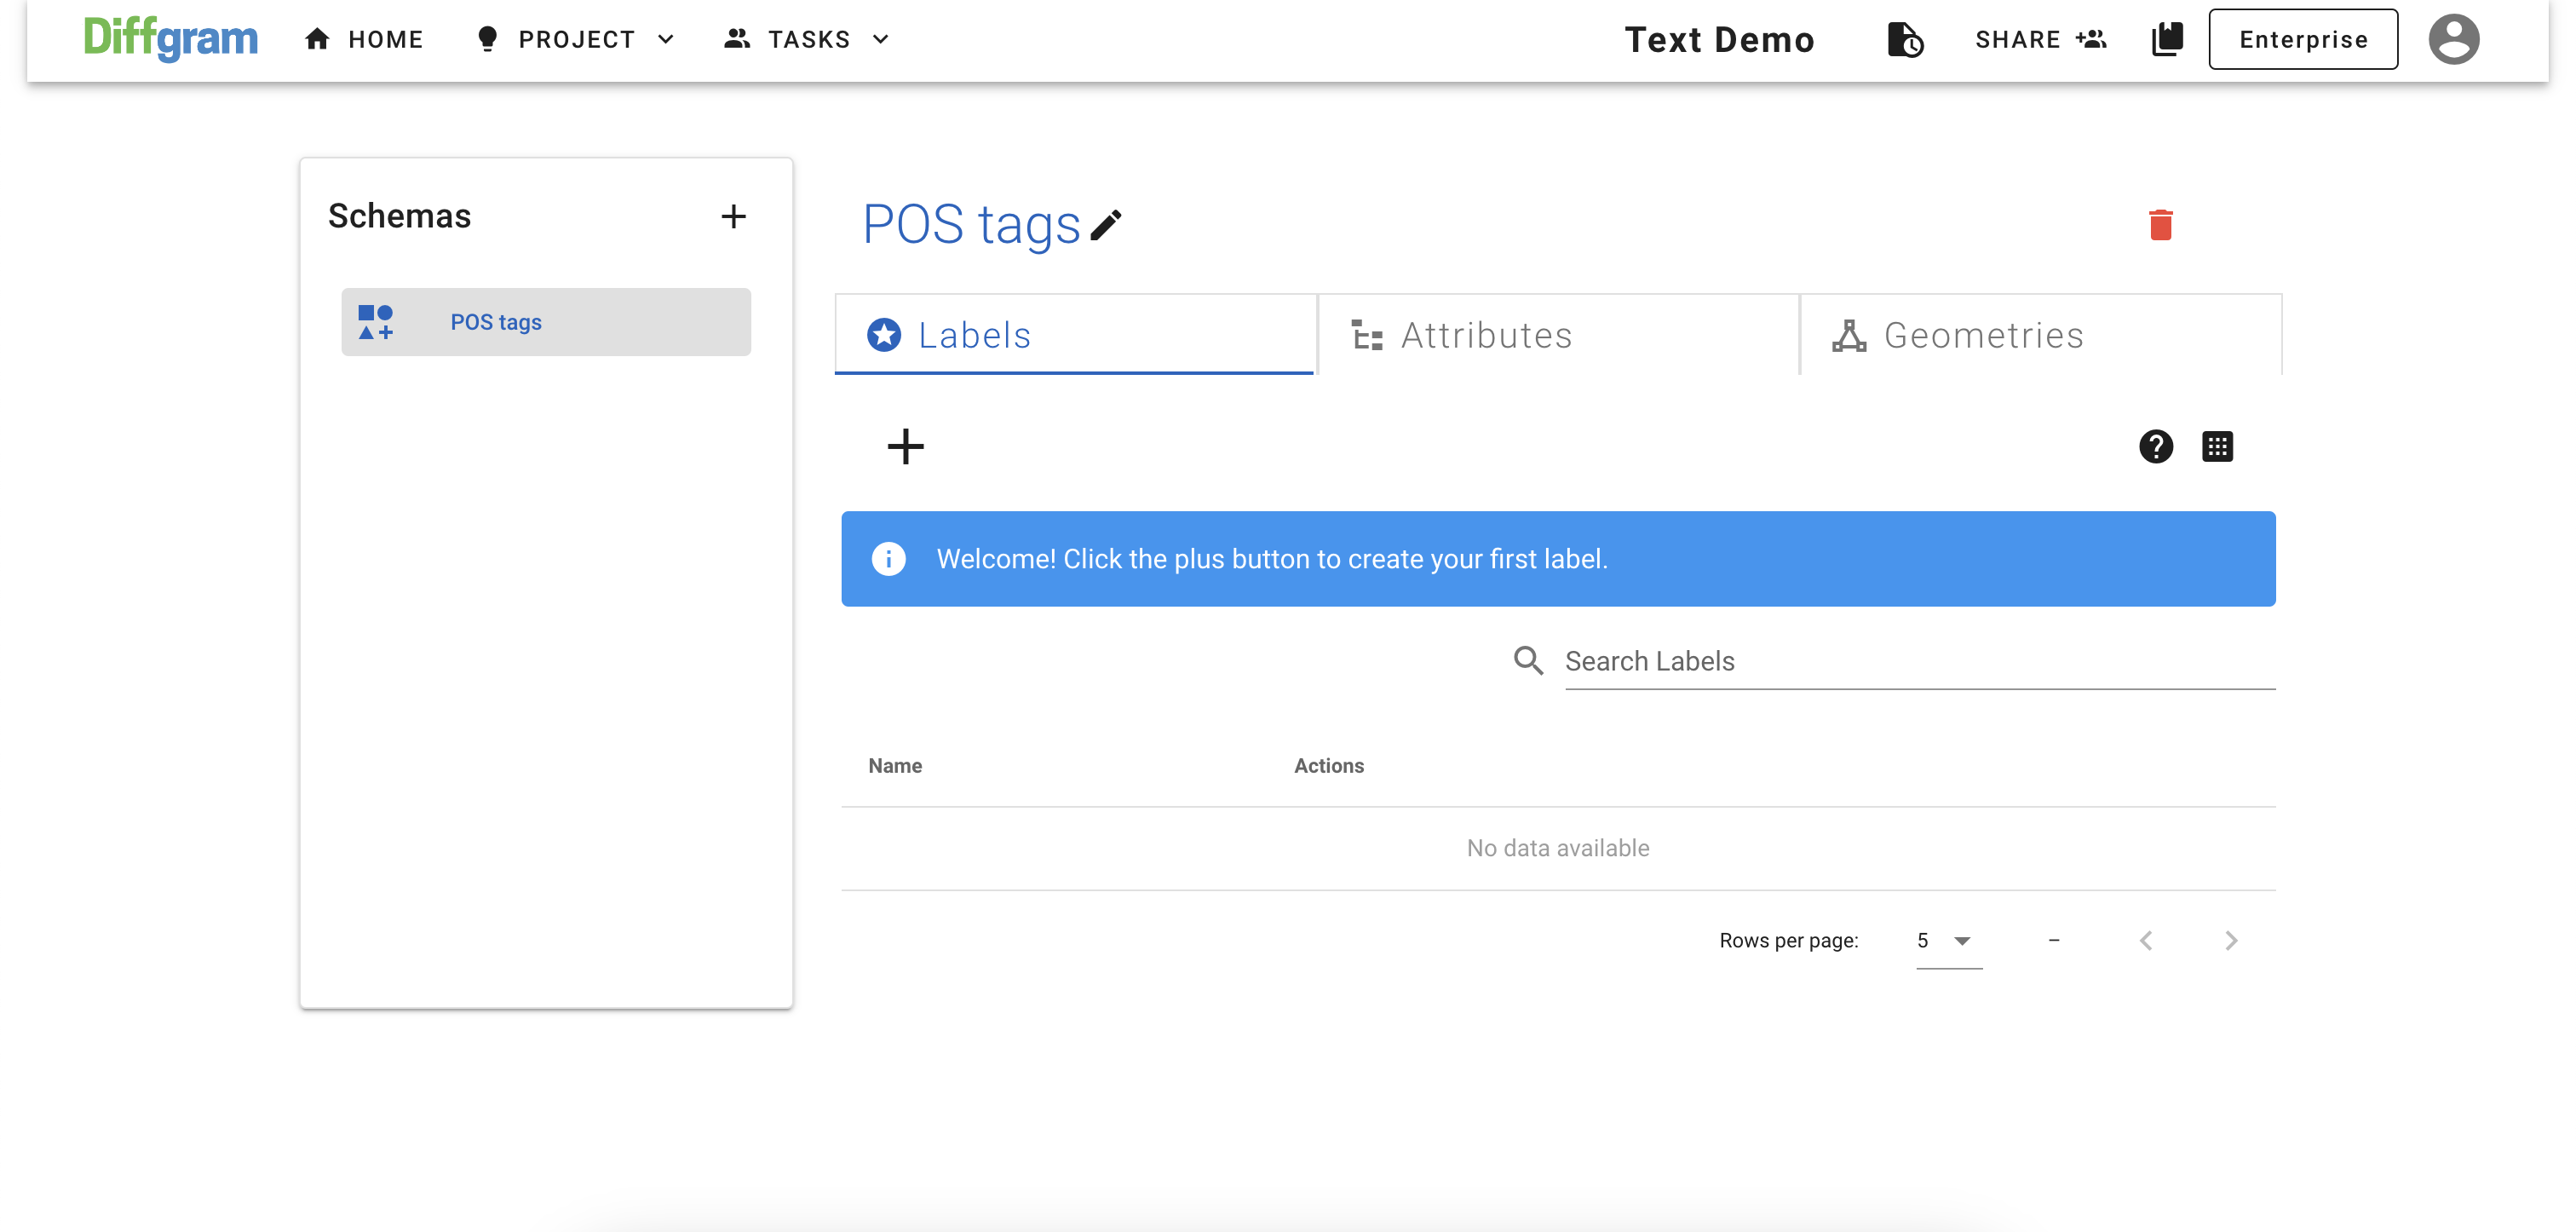
Create Labels
To create label, click on the New Label icon on the Labels tab
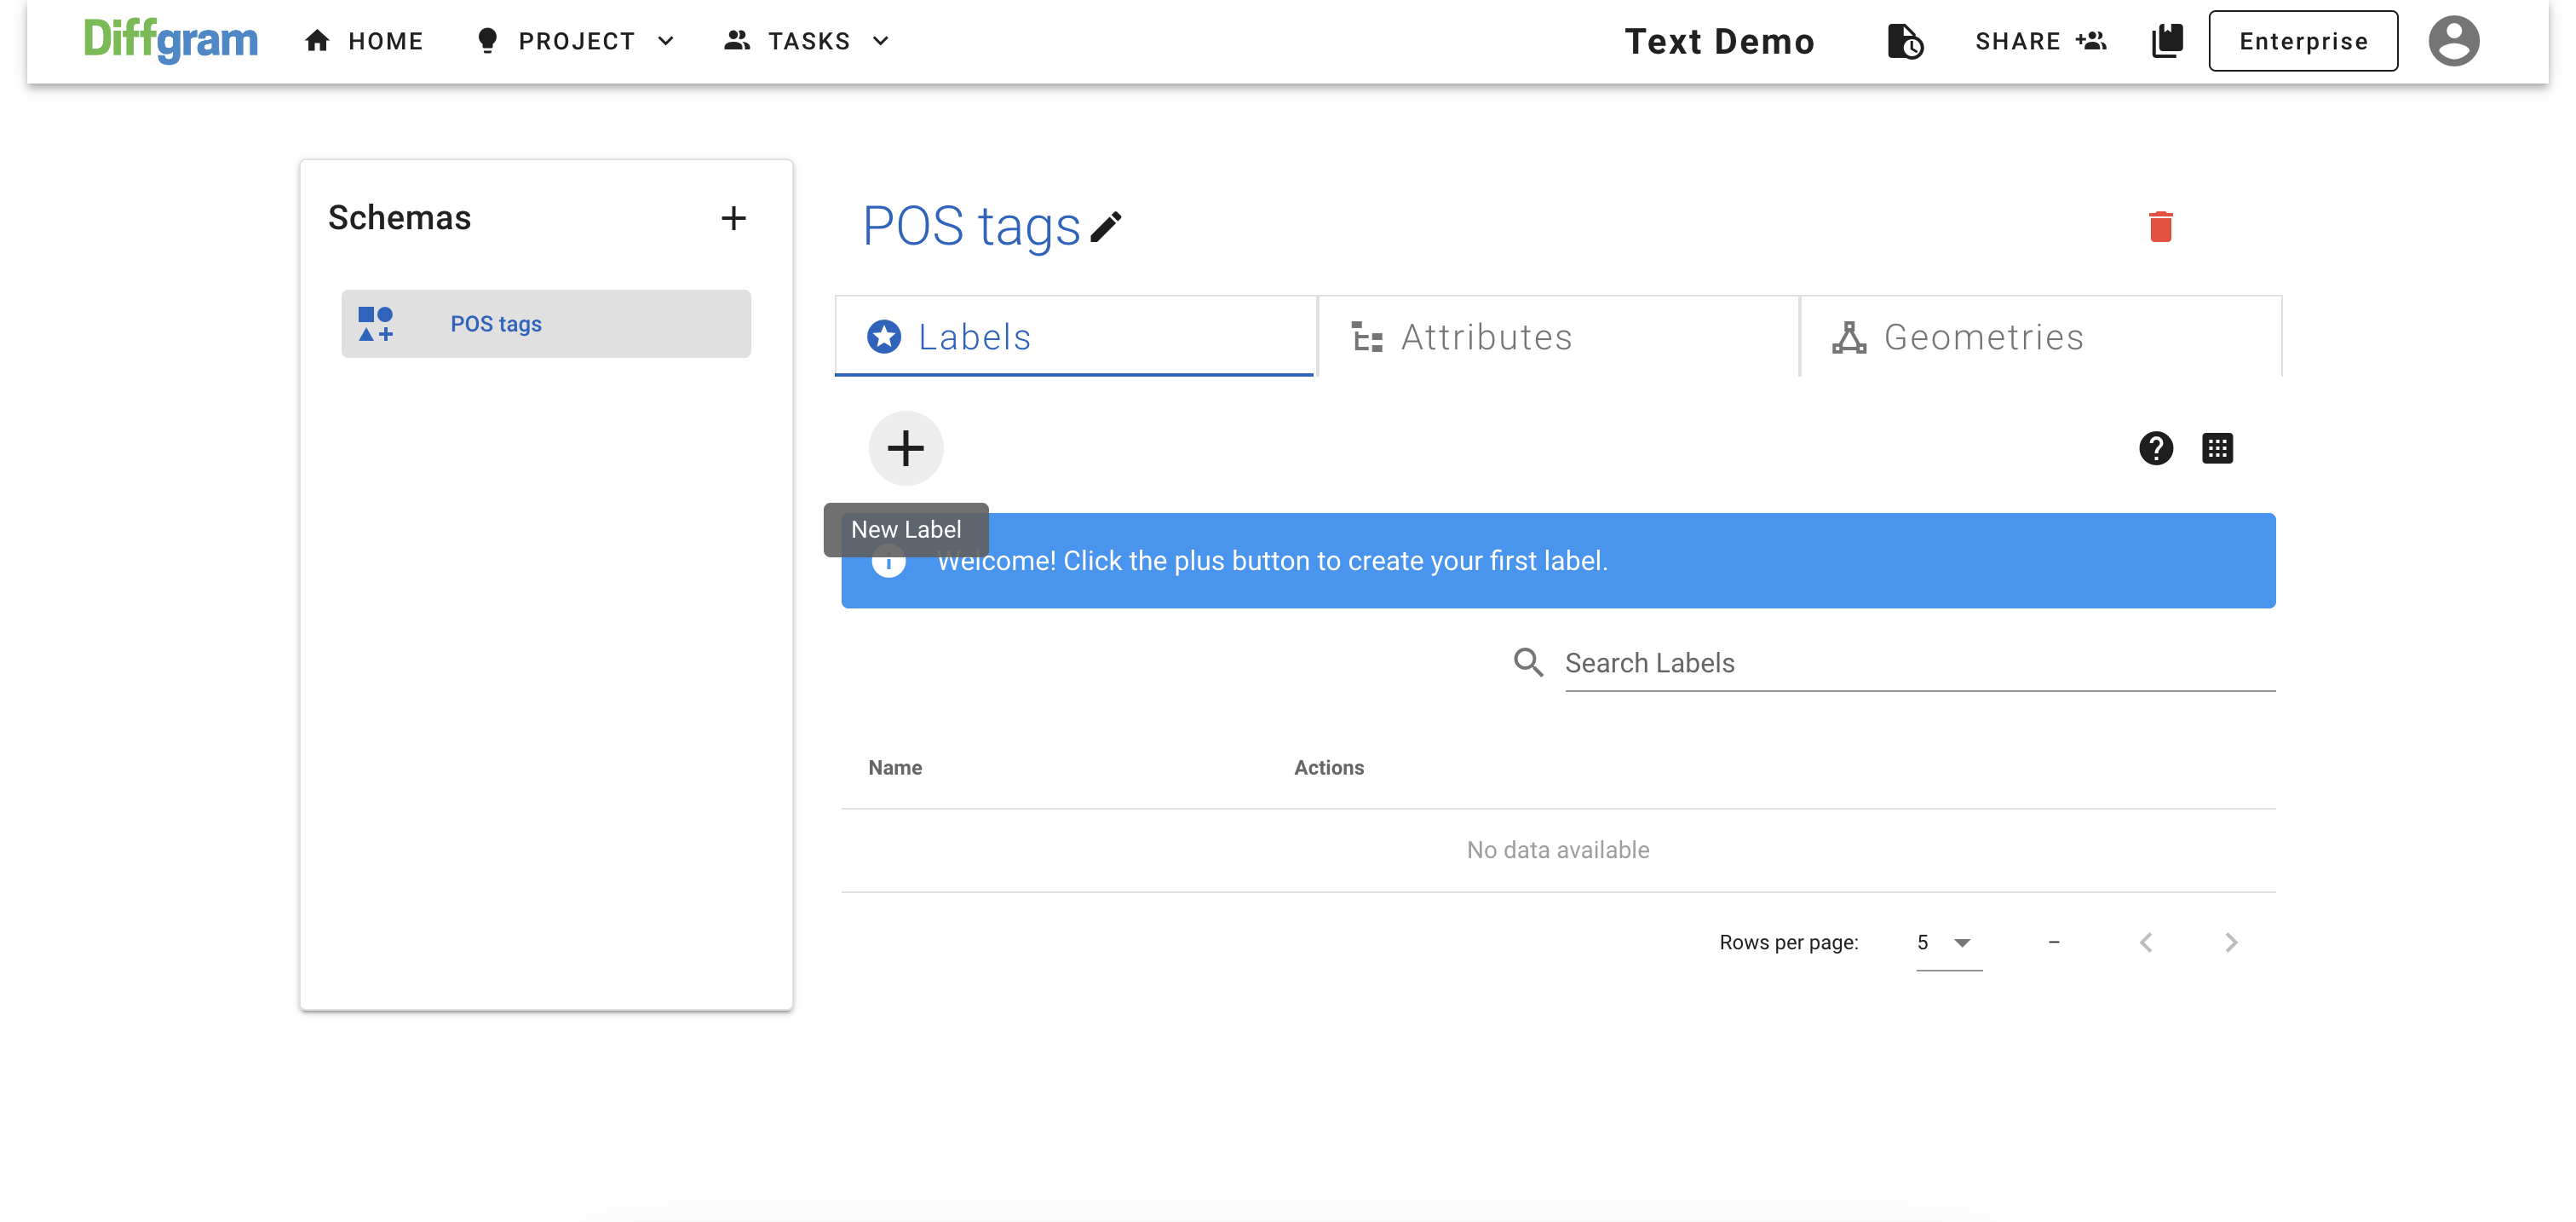
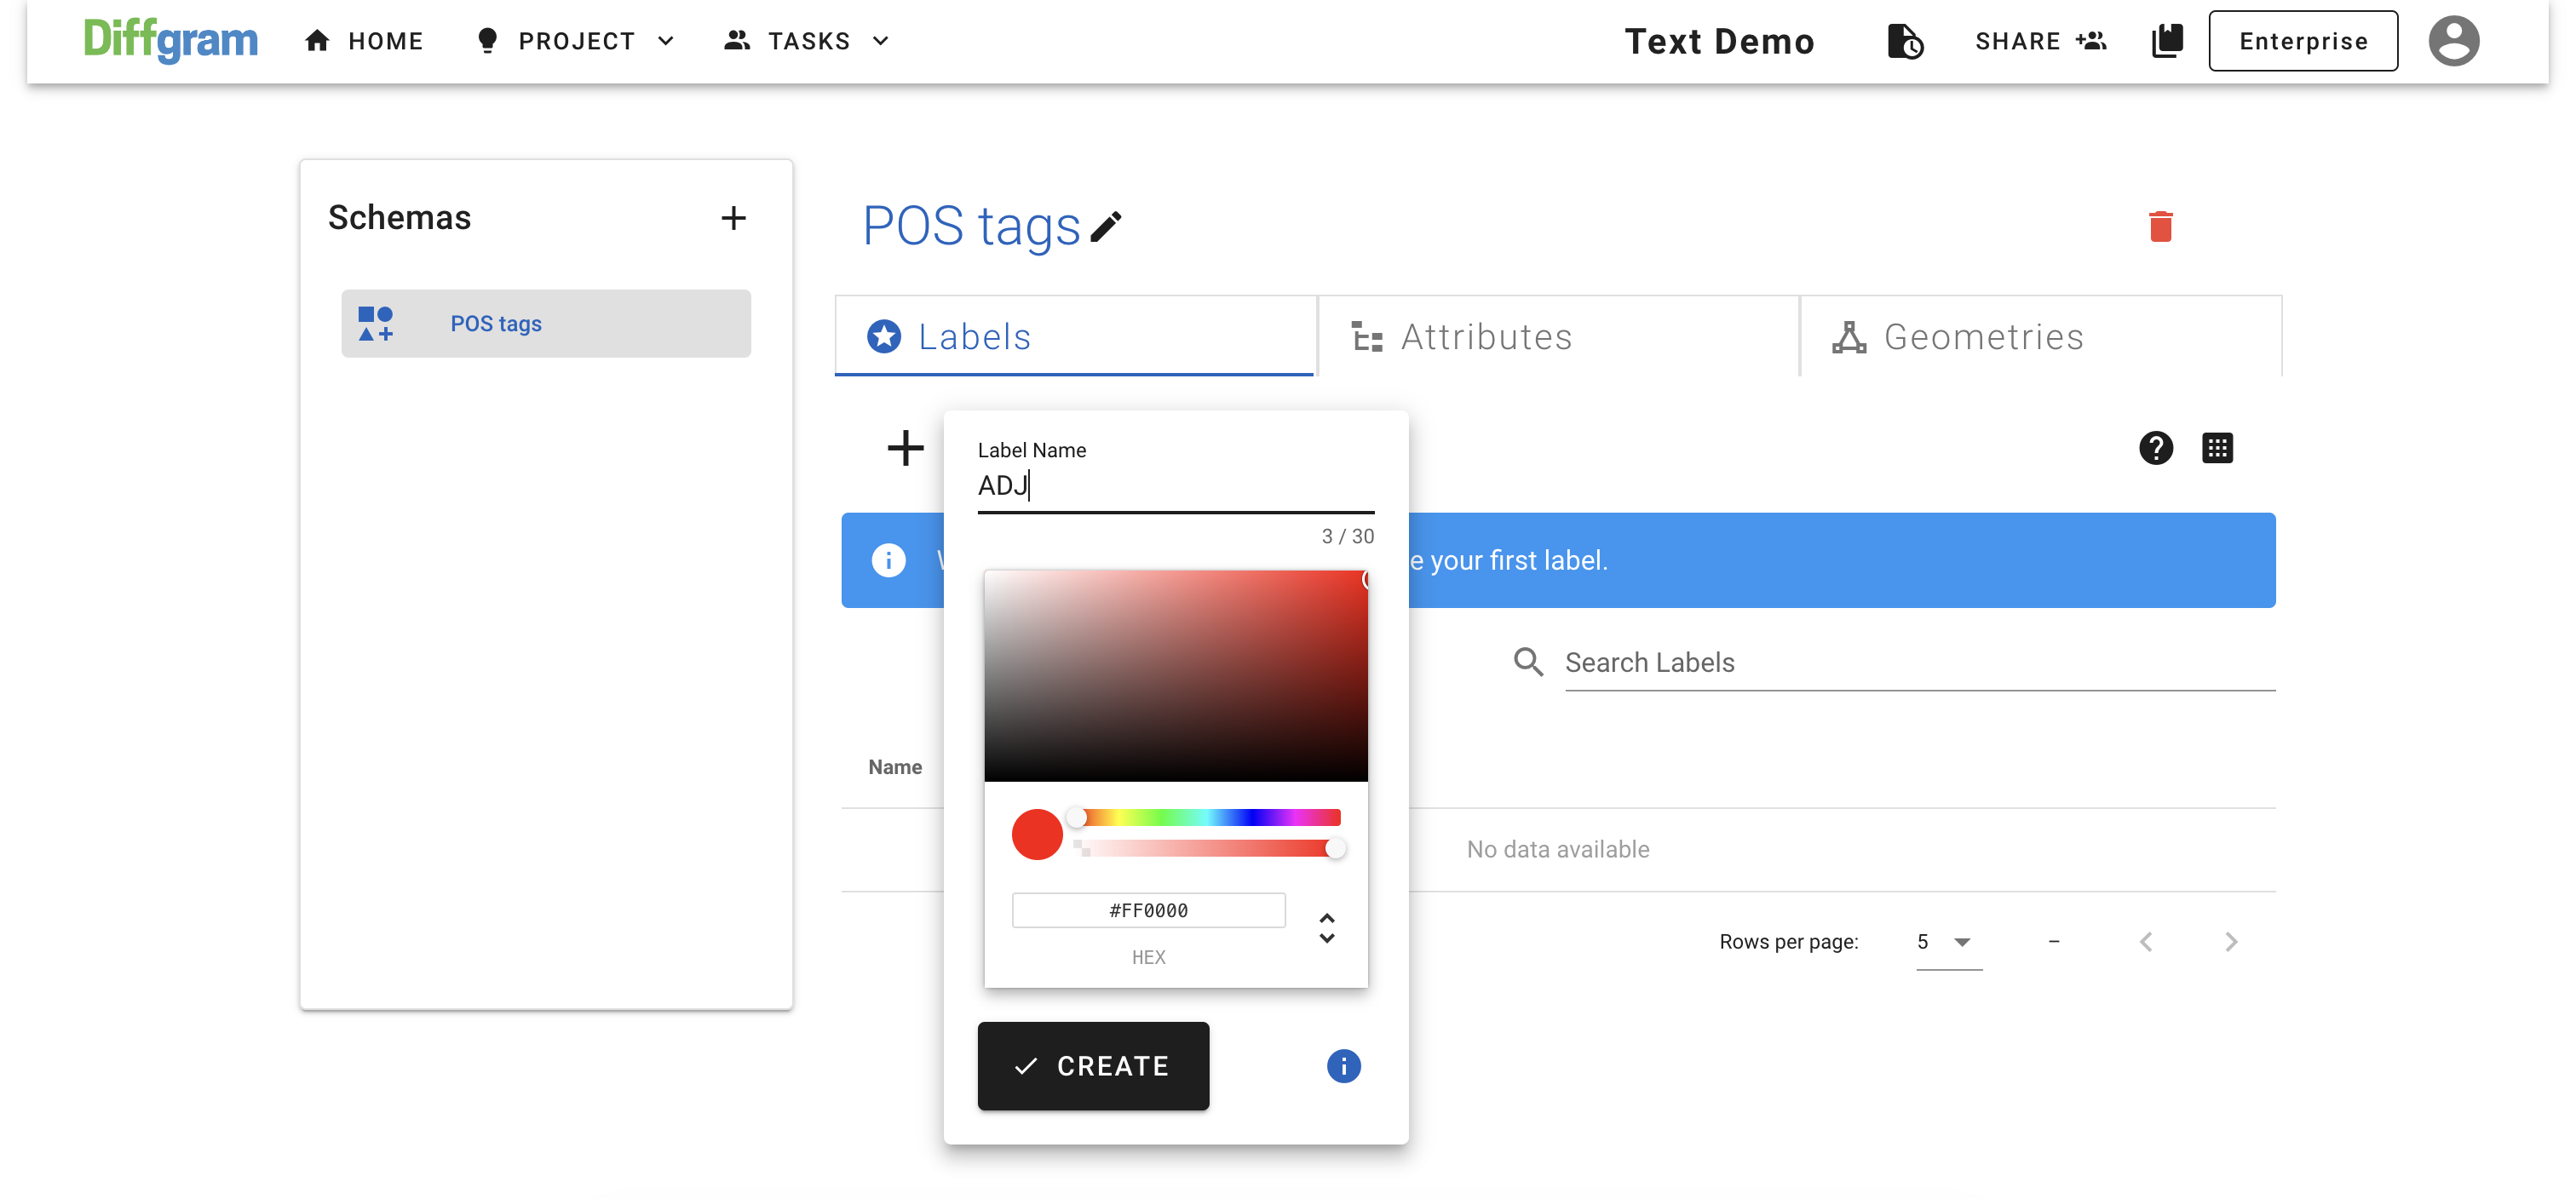
Type in the label name, pick a colour, and click CREATE
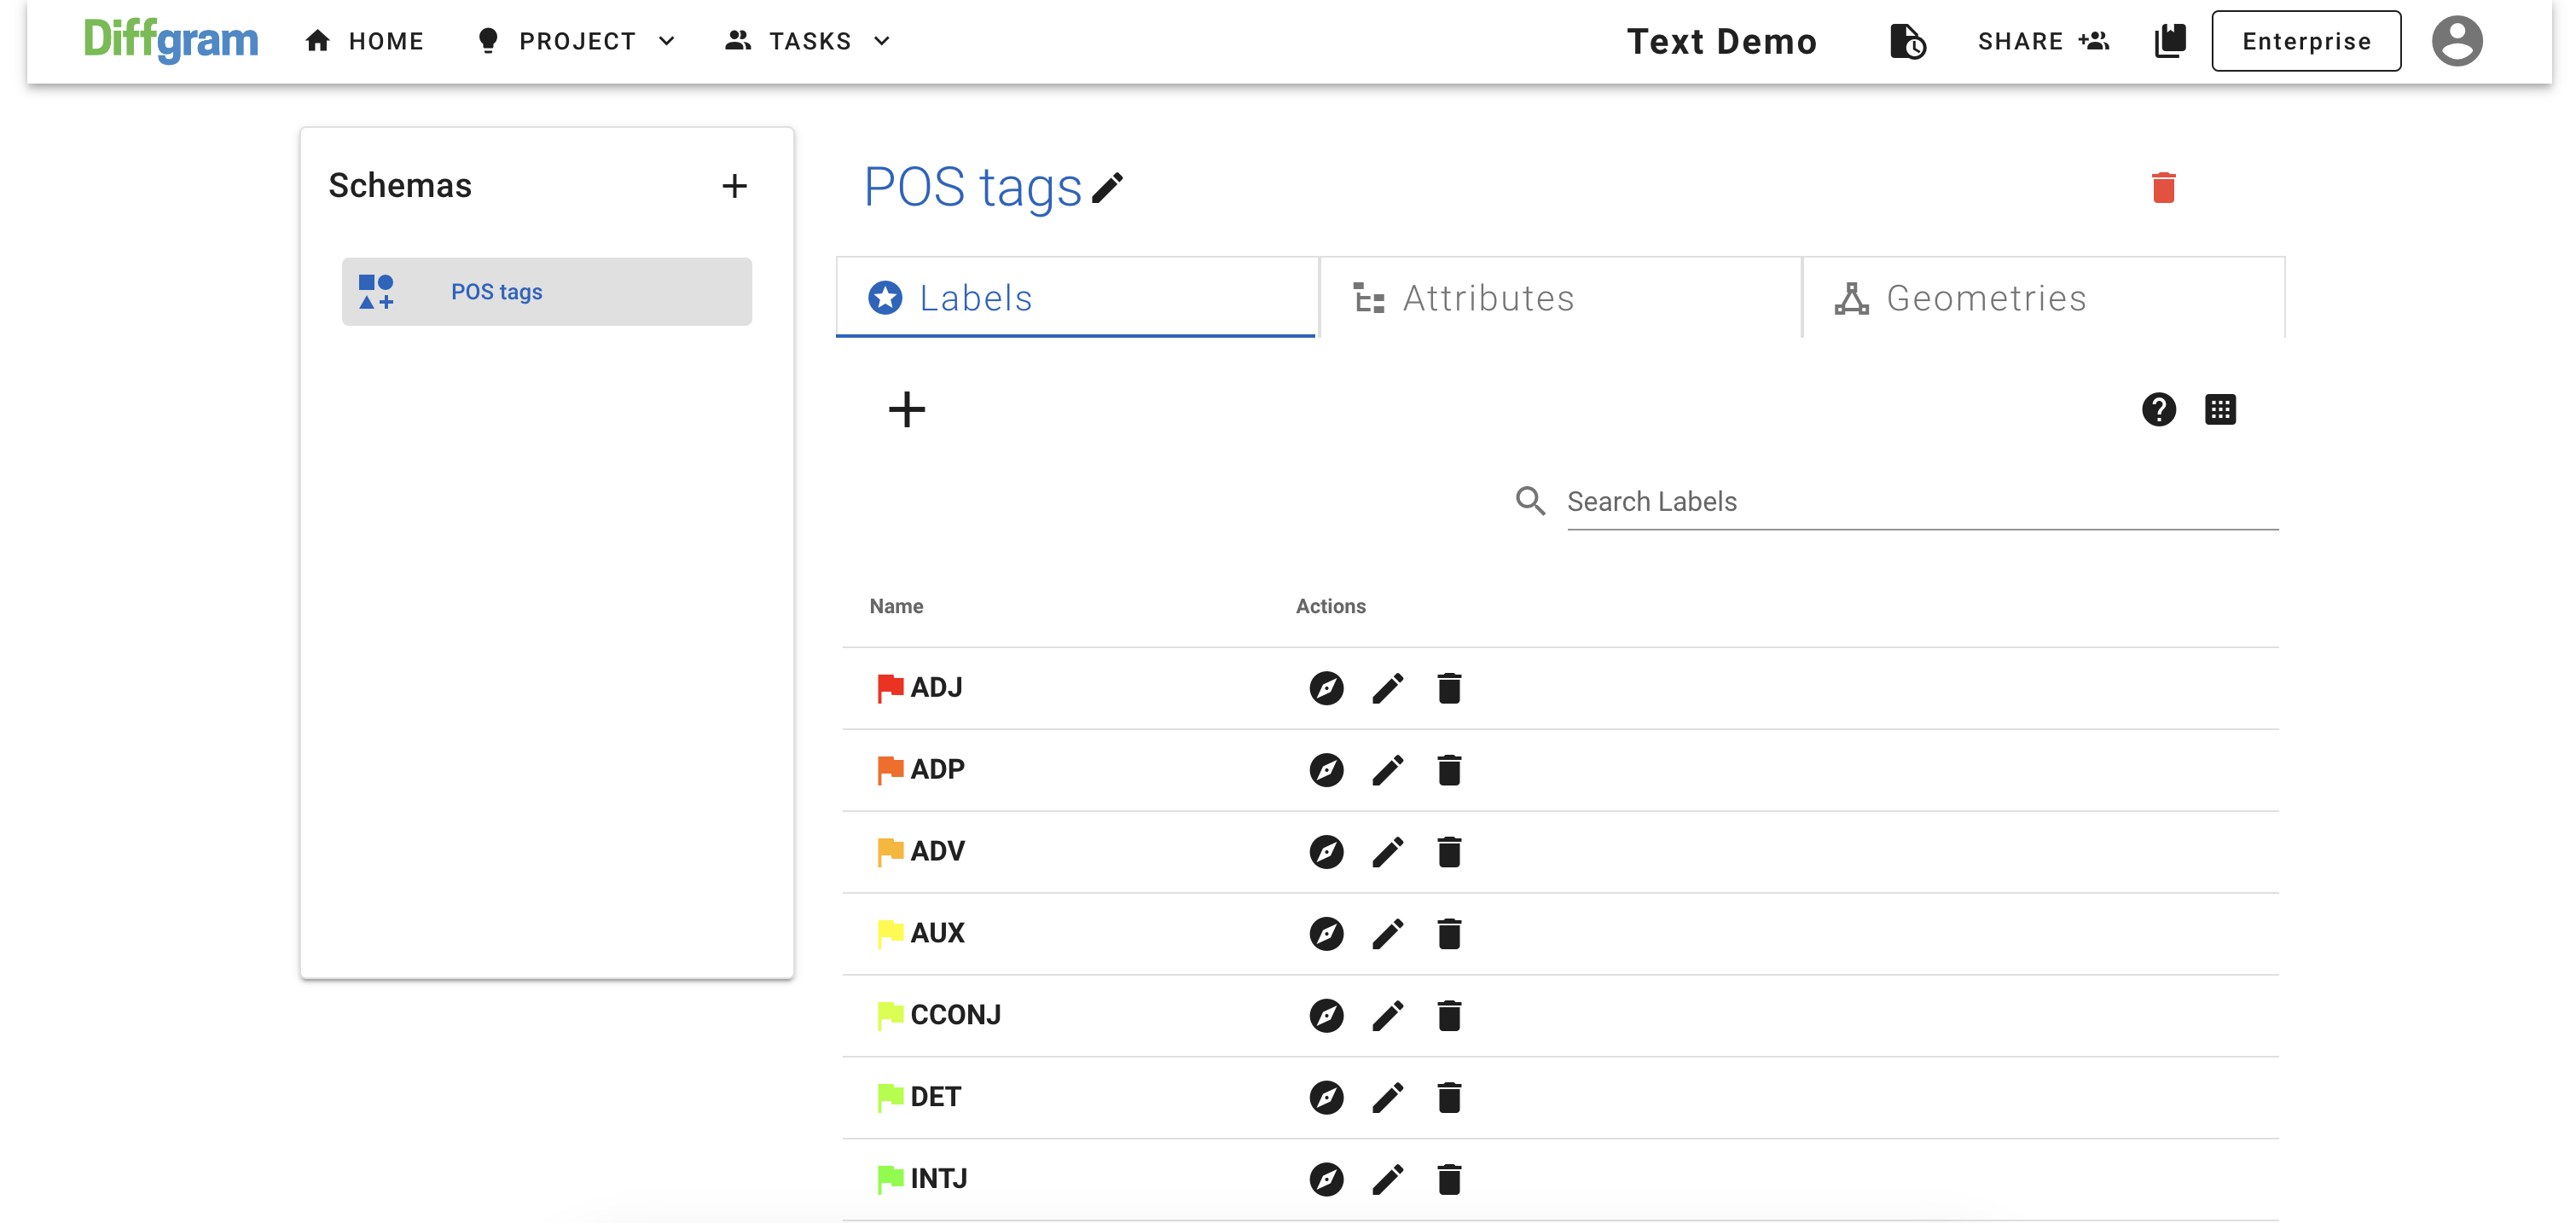
For this demo, we will use international POS tags
After labels are created, your page should look like this:
Create a new schema
Click on the Create Schema icon and type in schema name:
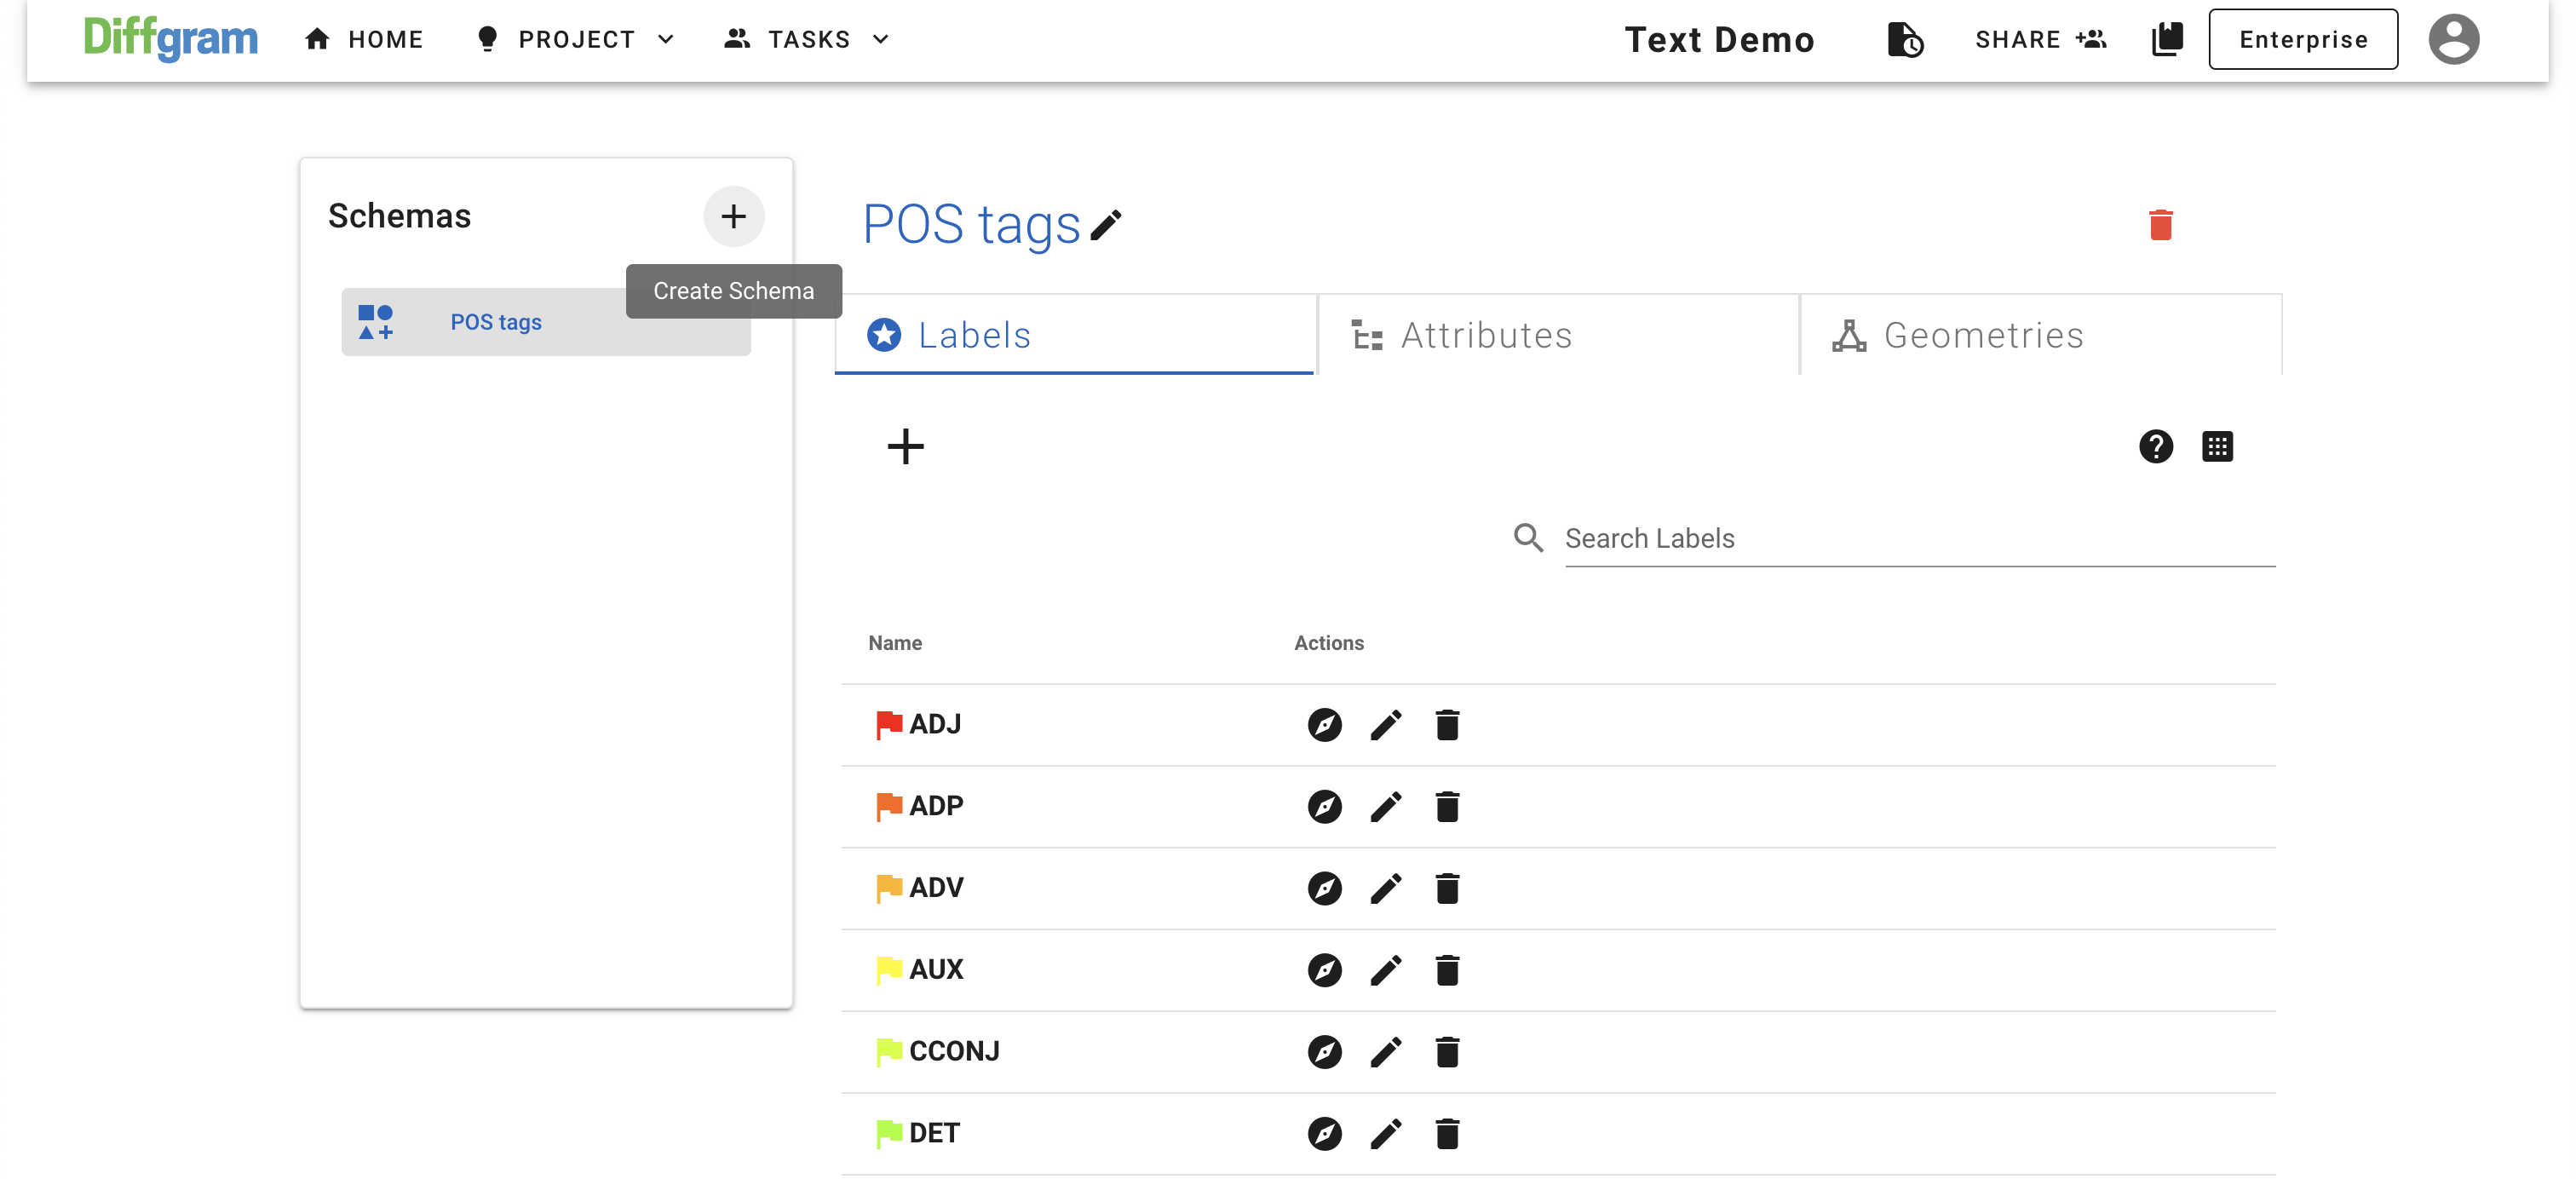
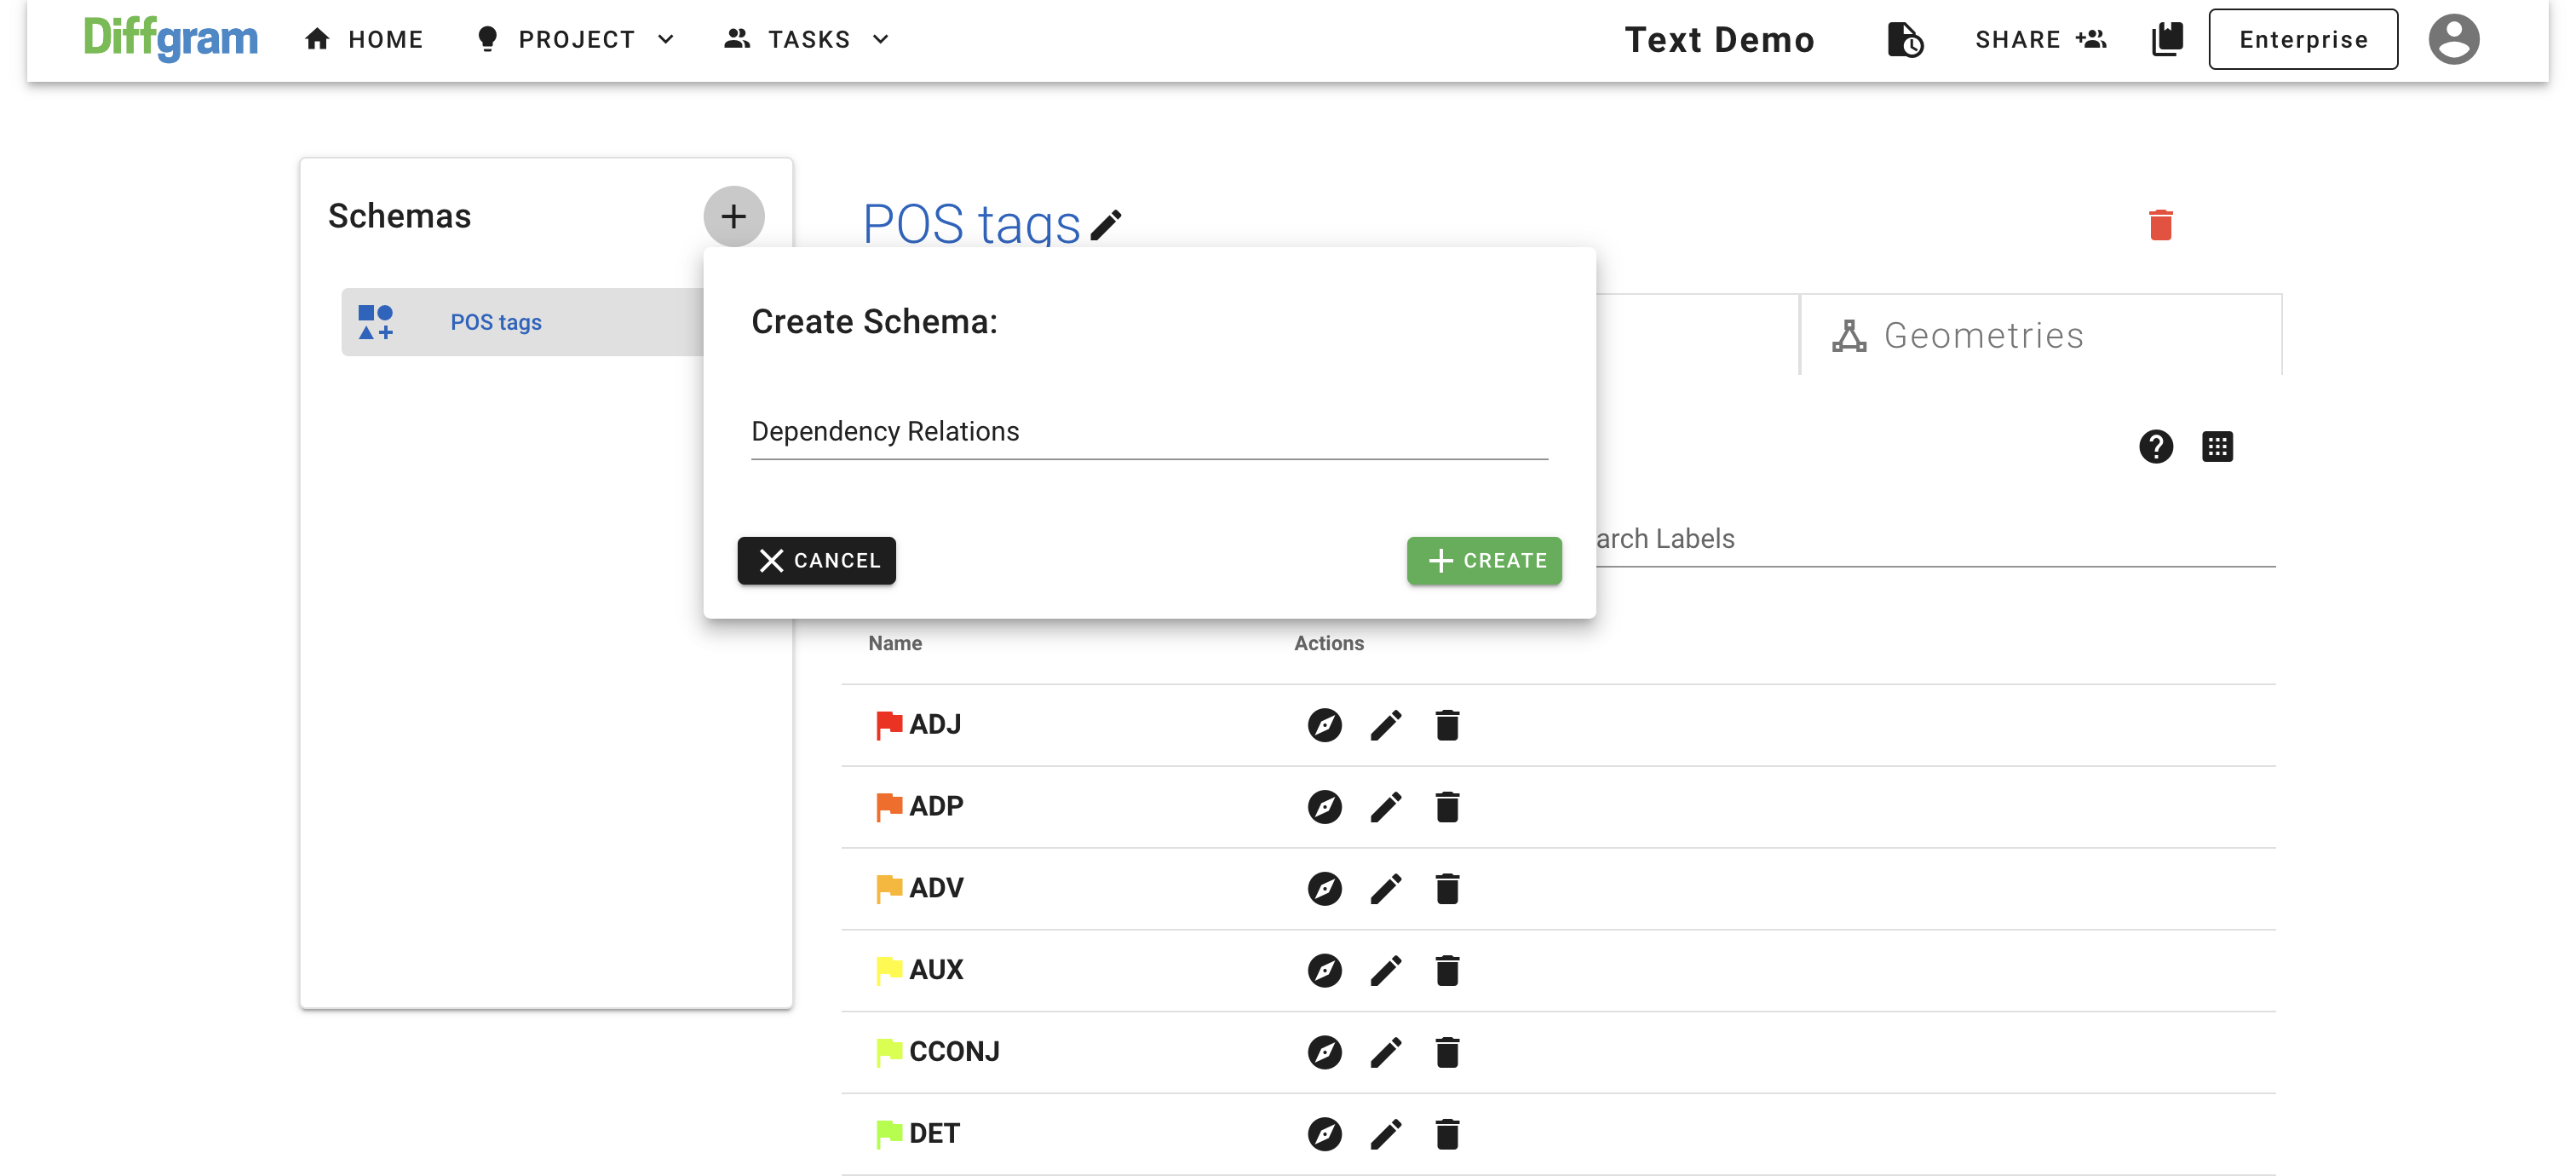
In this schema we will be using Universal Dependency Relations. At the end this schema should look like this:
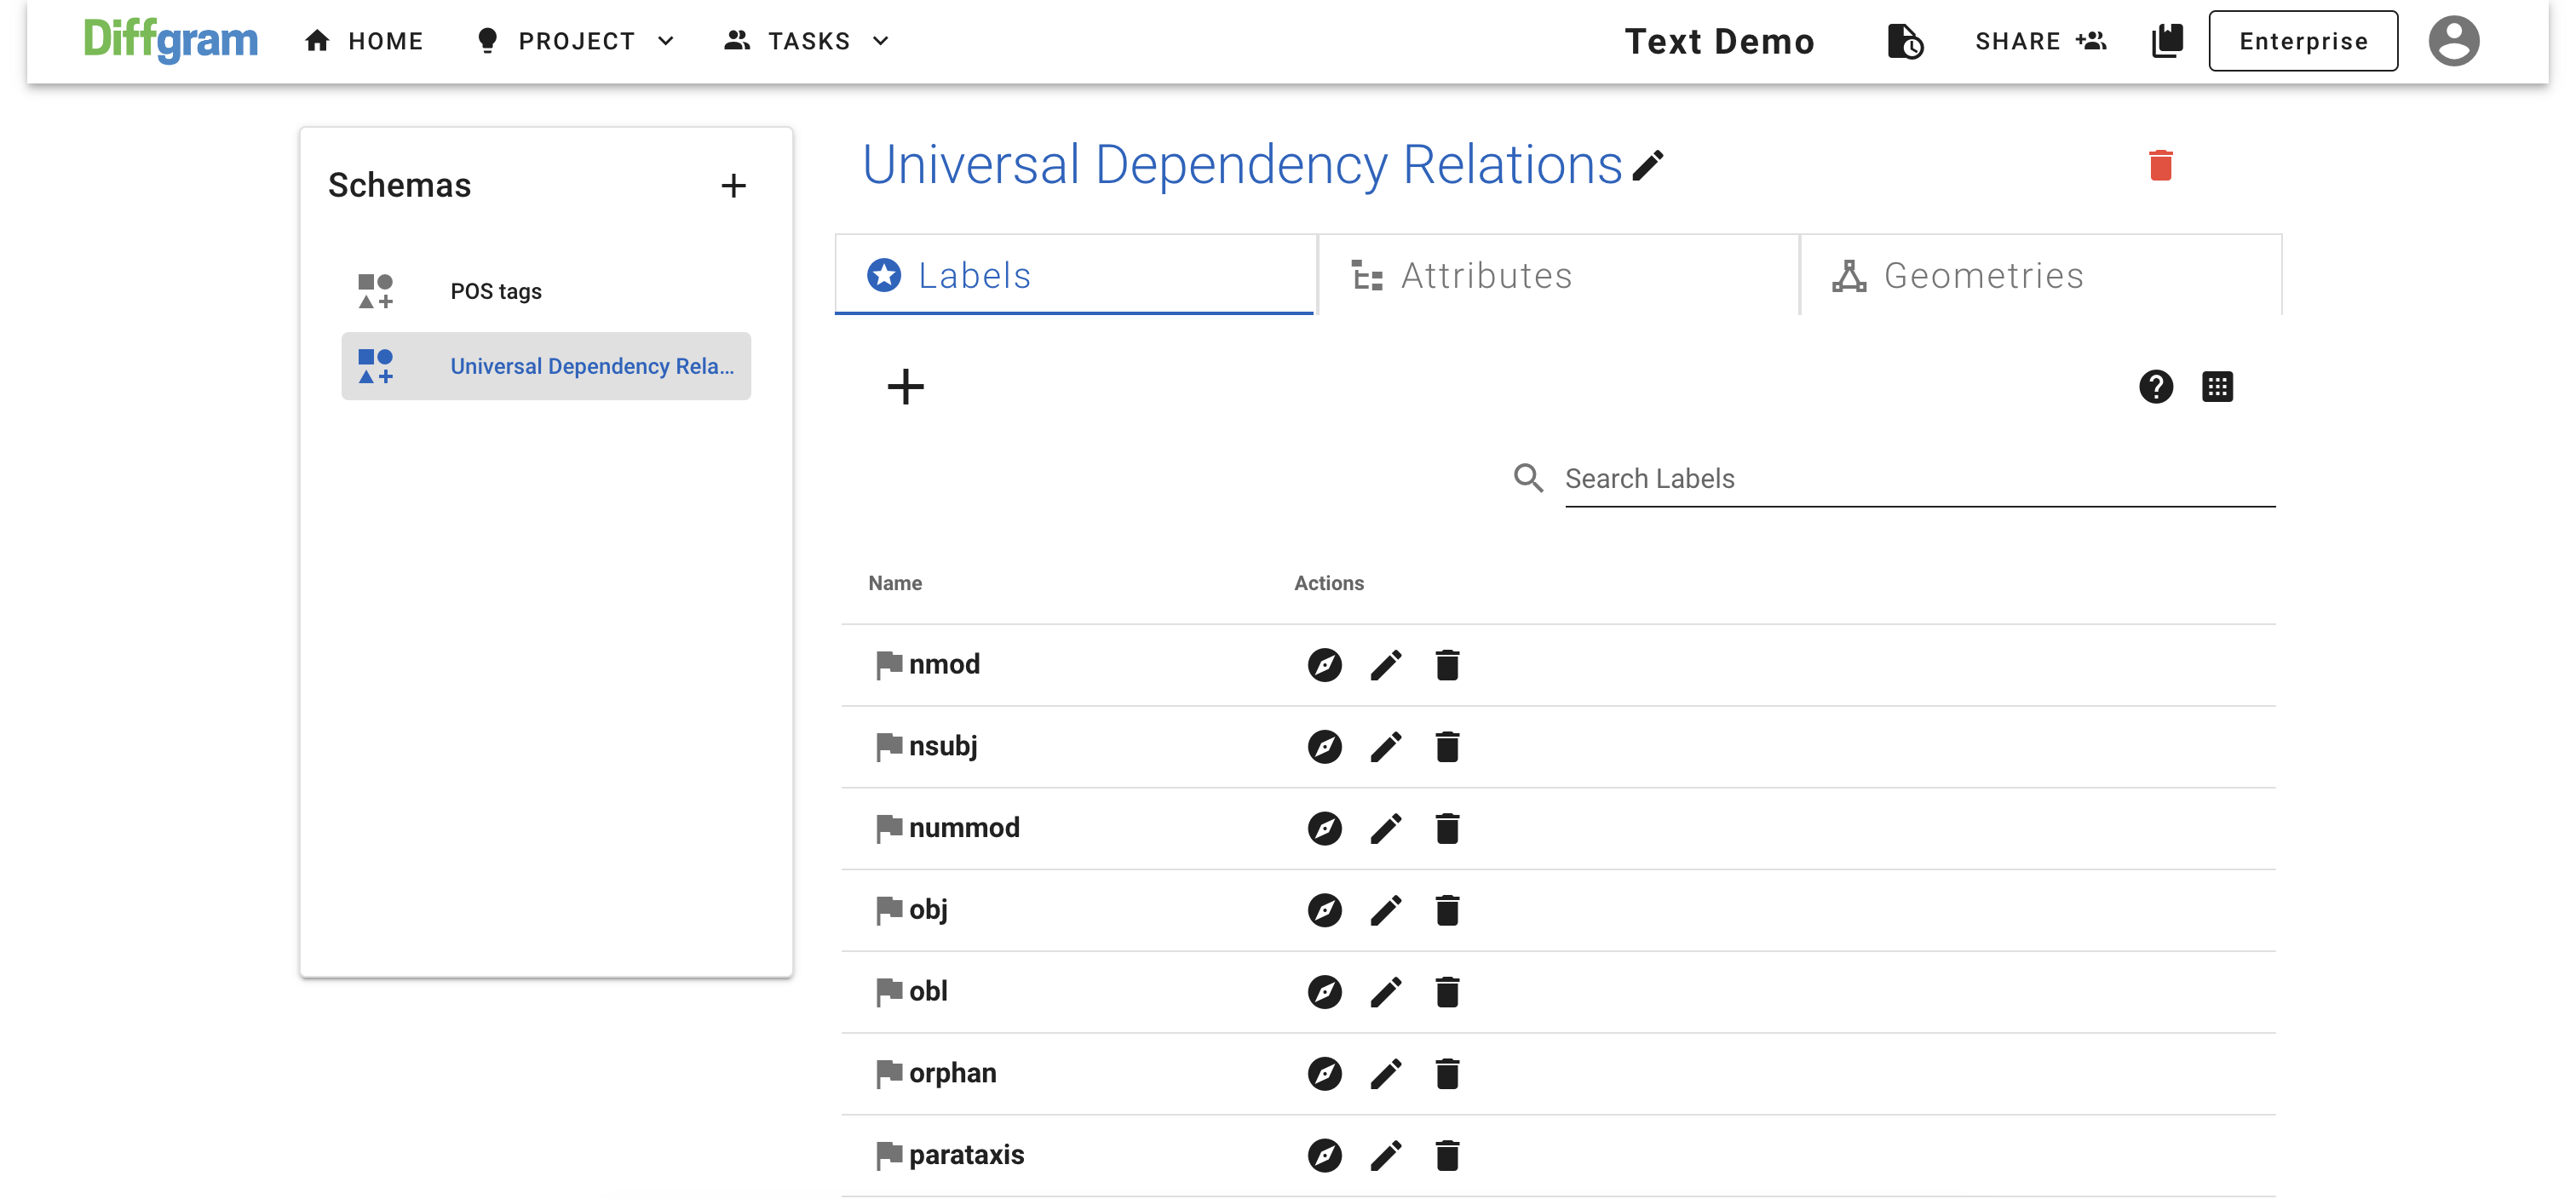
Note that we did not include subtypes of the relationships to the schema (we will use attributes for this purpose)
Creating attributes
As mentioned earlier, some of the dependency relations can have a subtype, and we will use attributes to specify those types.
Switch to the Attributes tab, which should look like this:
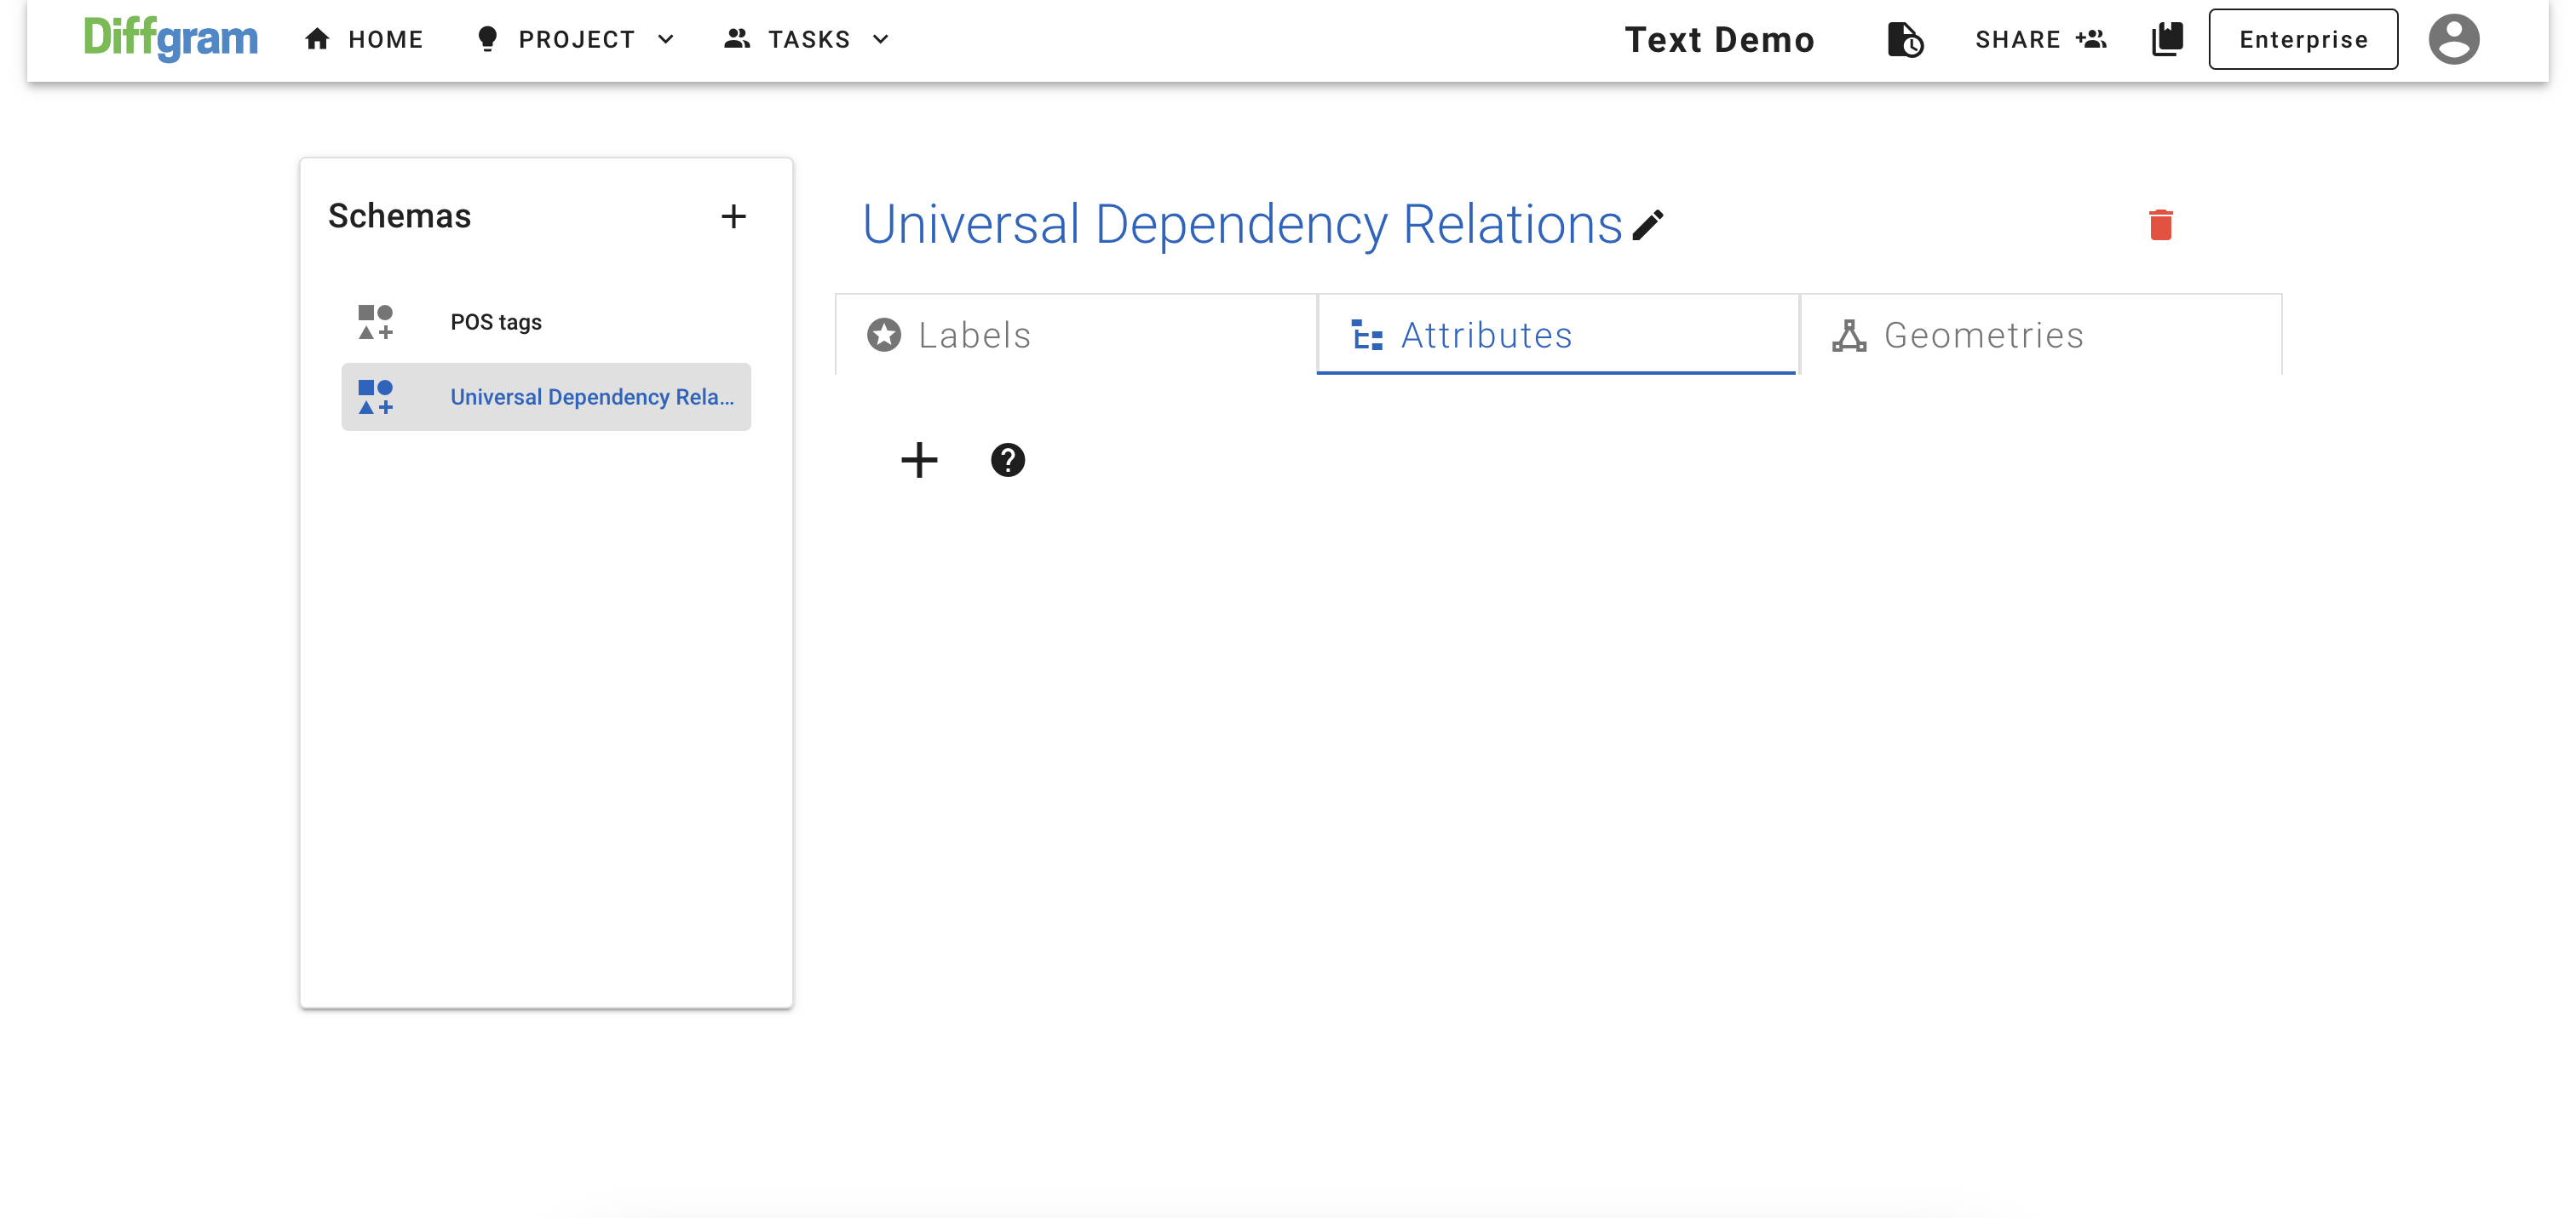
Click New Attribute icon:
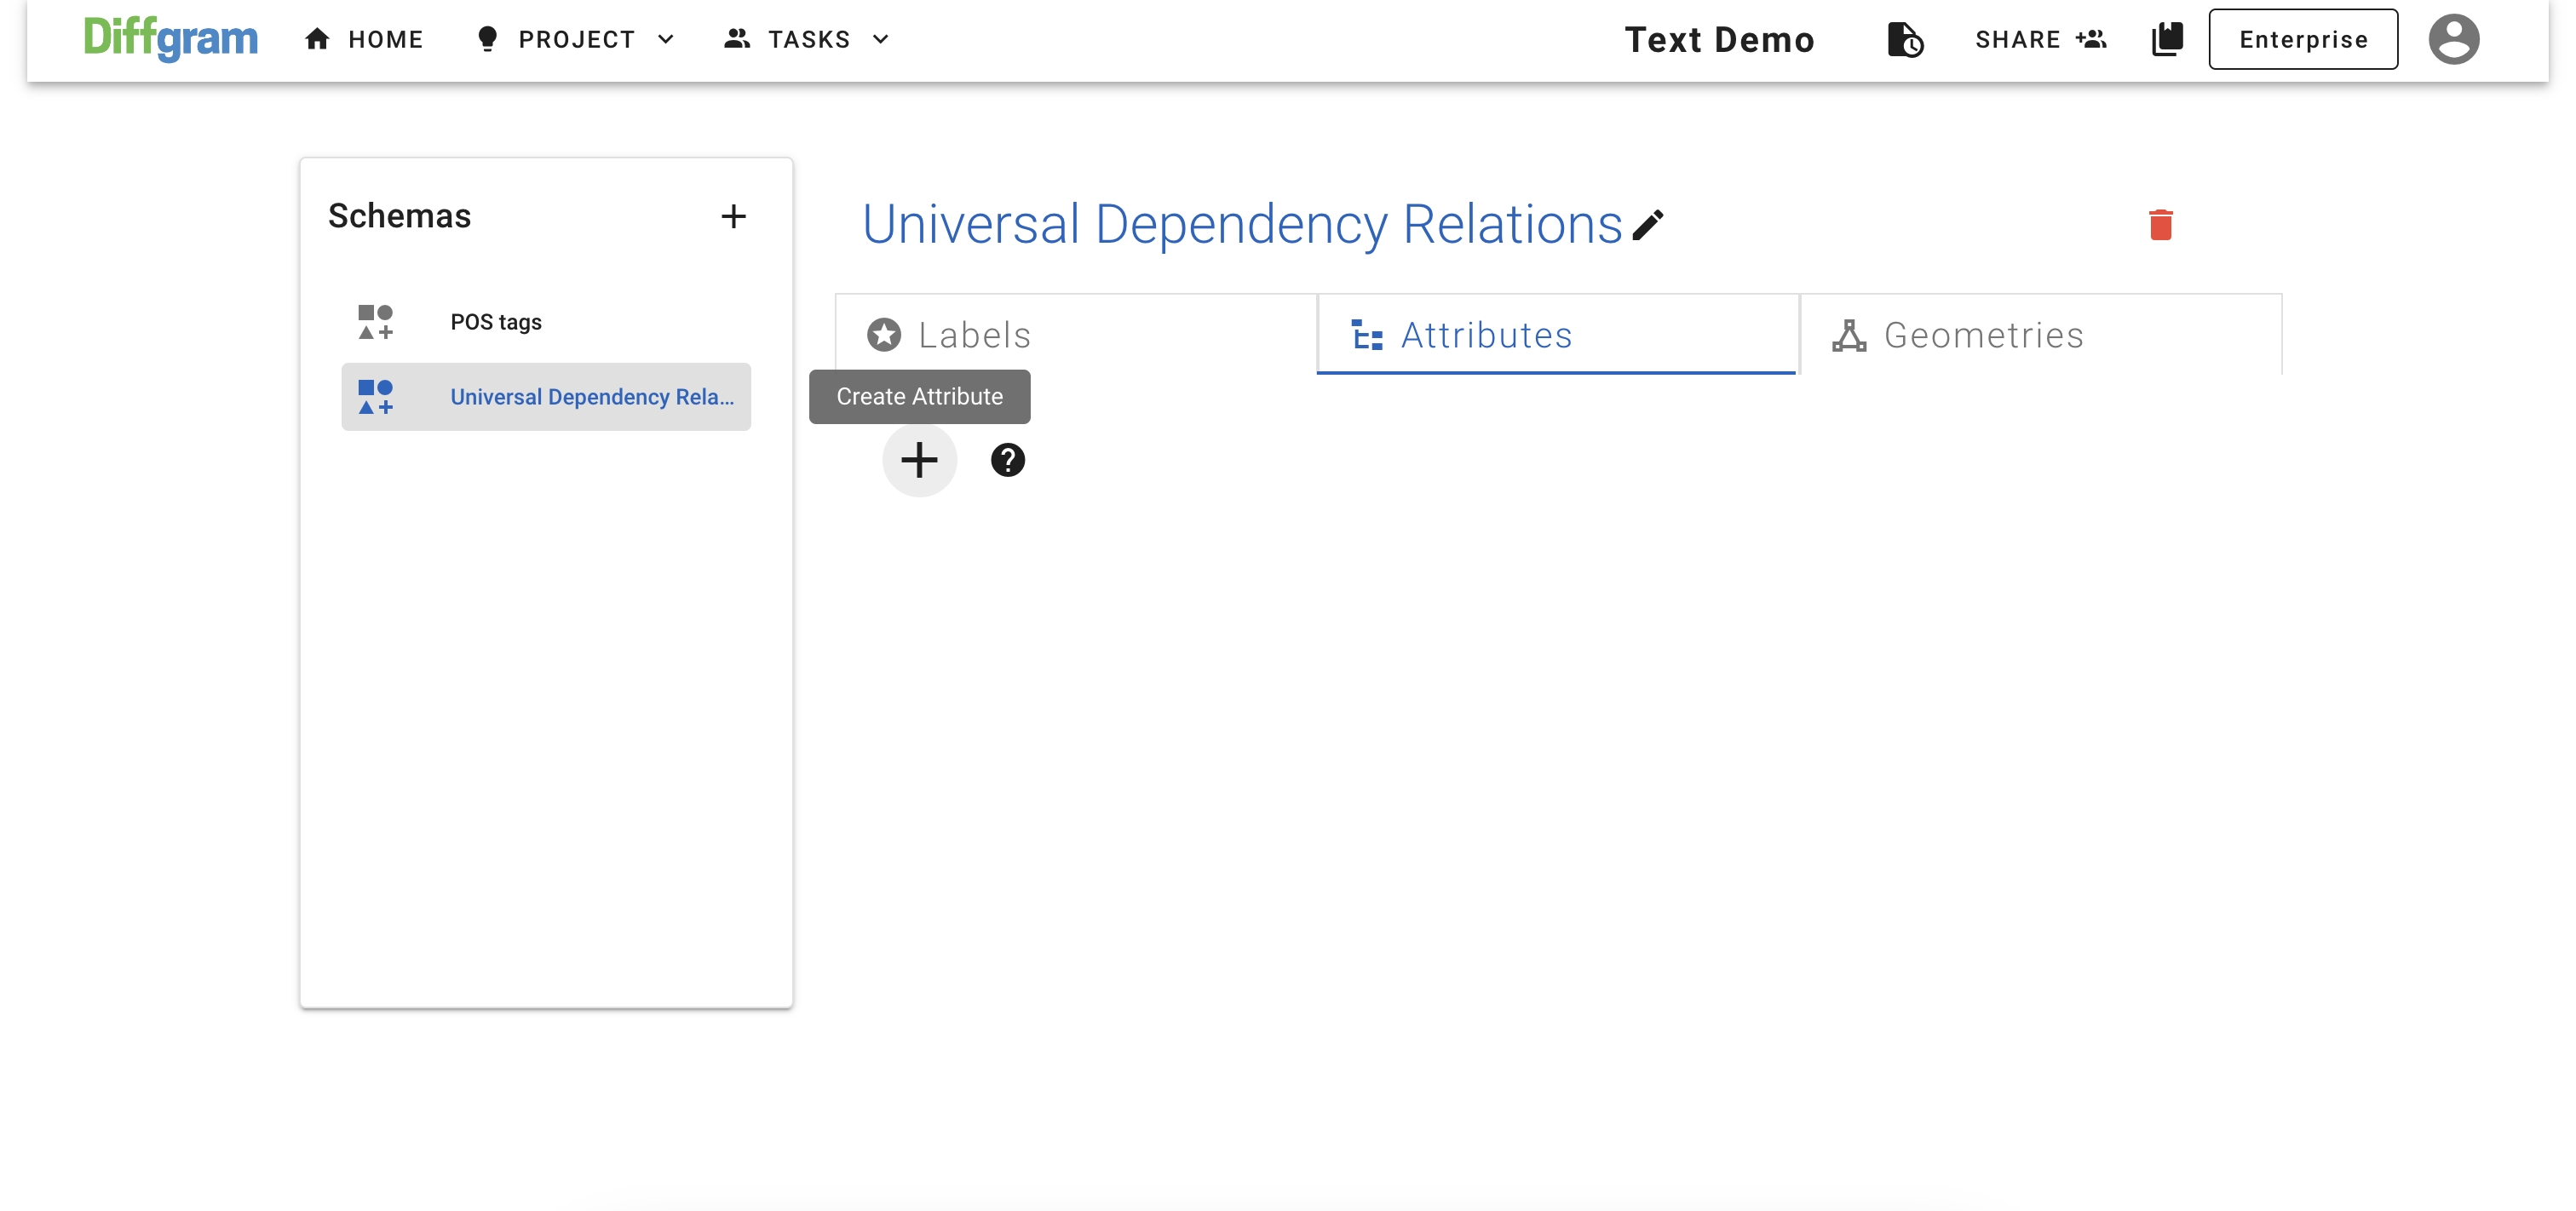
Now you should see that a new attribute has been created:
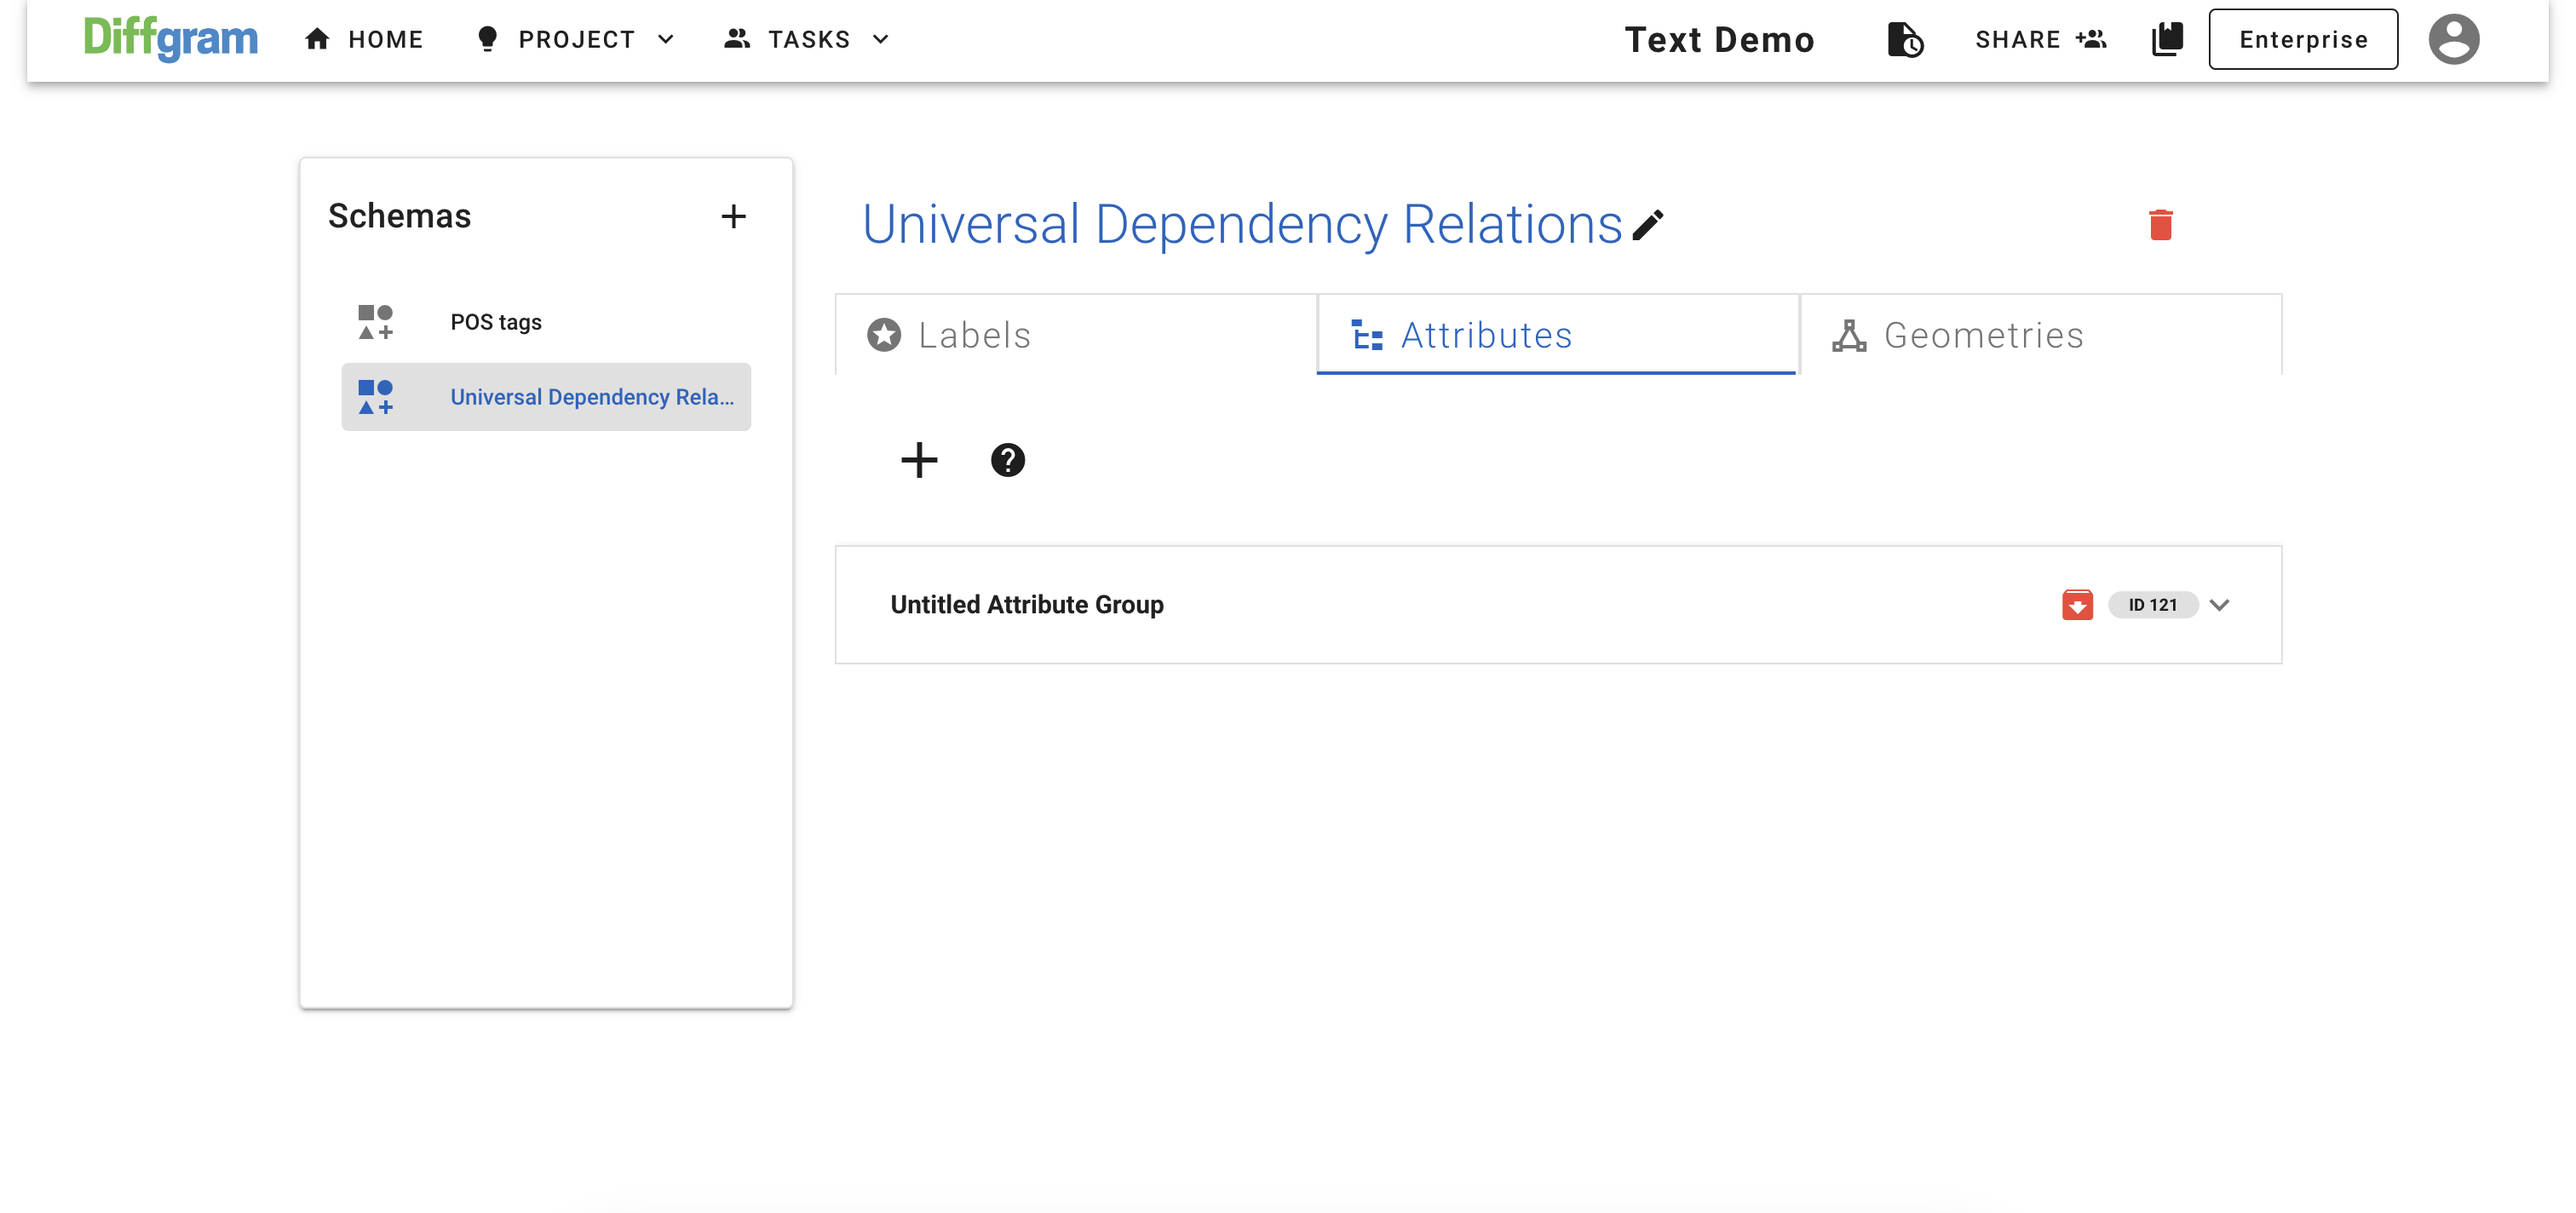
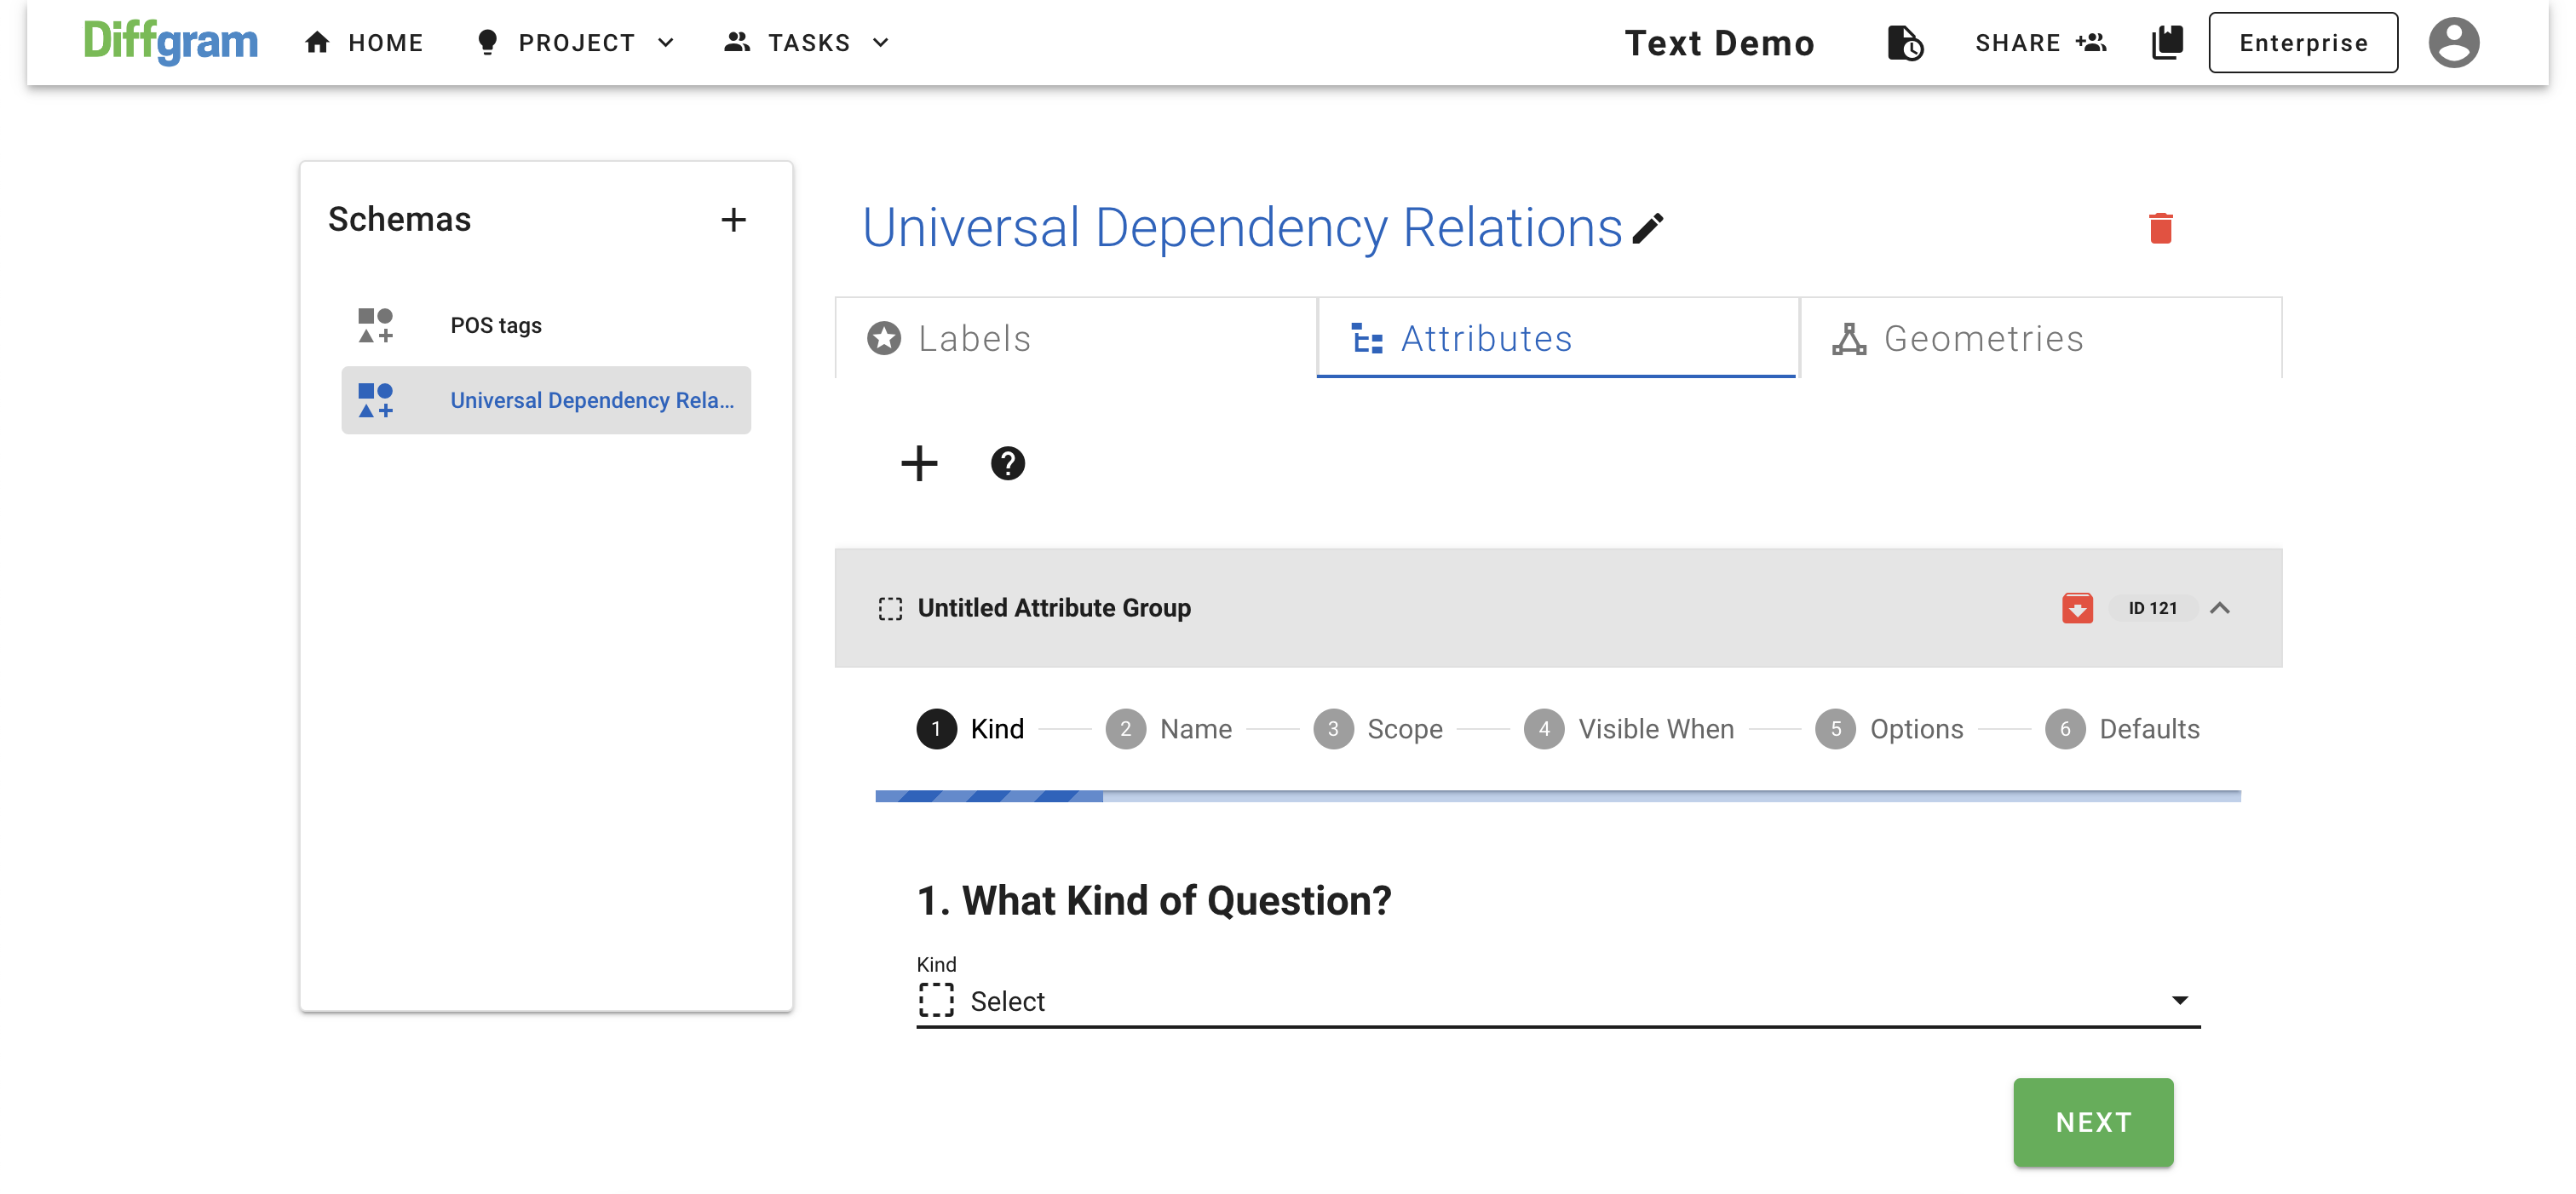
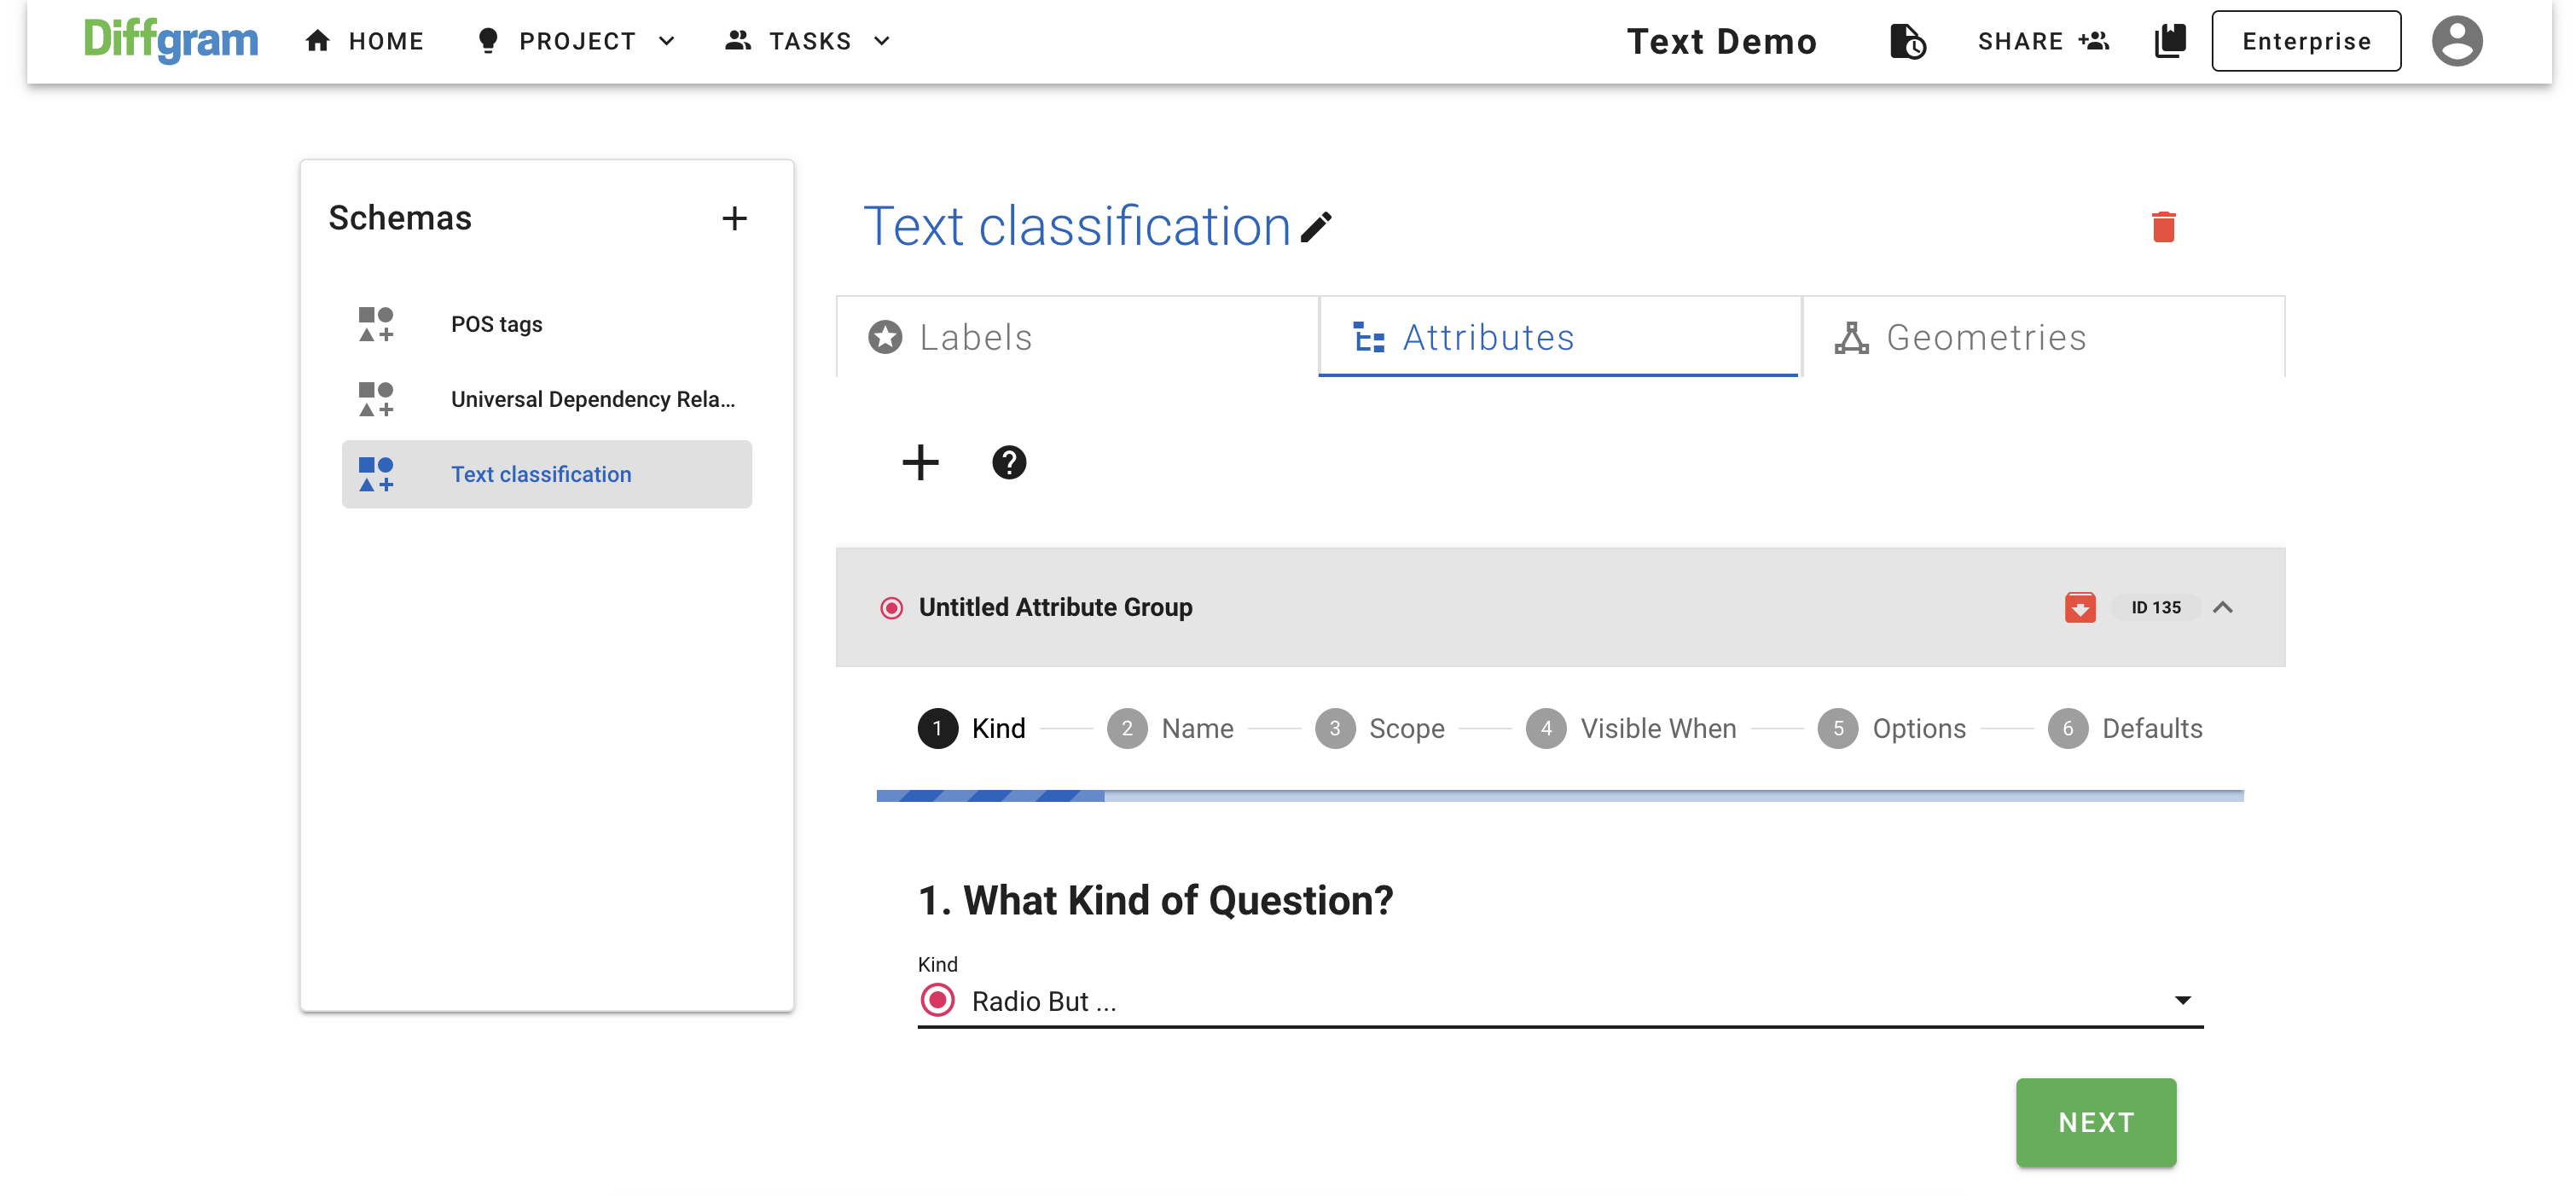
Click on it to modify, and follow the attribute configuration wizard:
- Kind - chose Select from the dropdown, and click NEXT
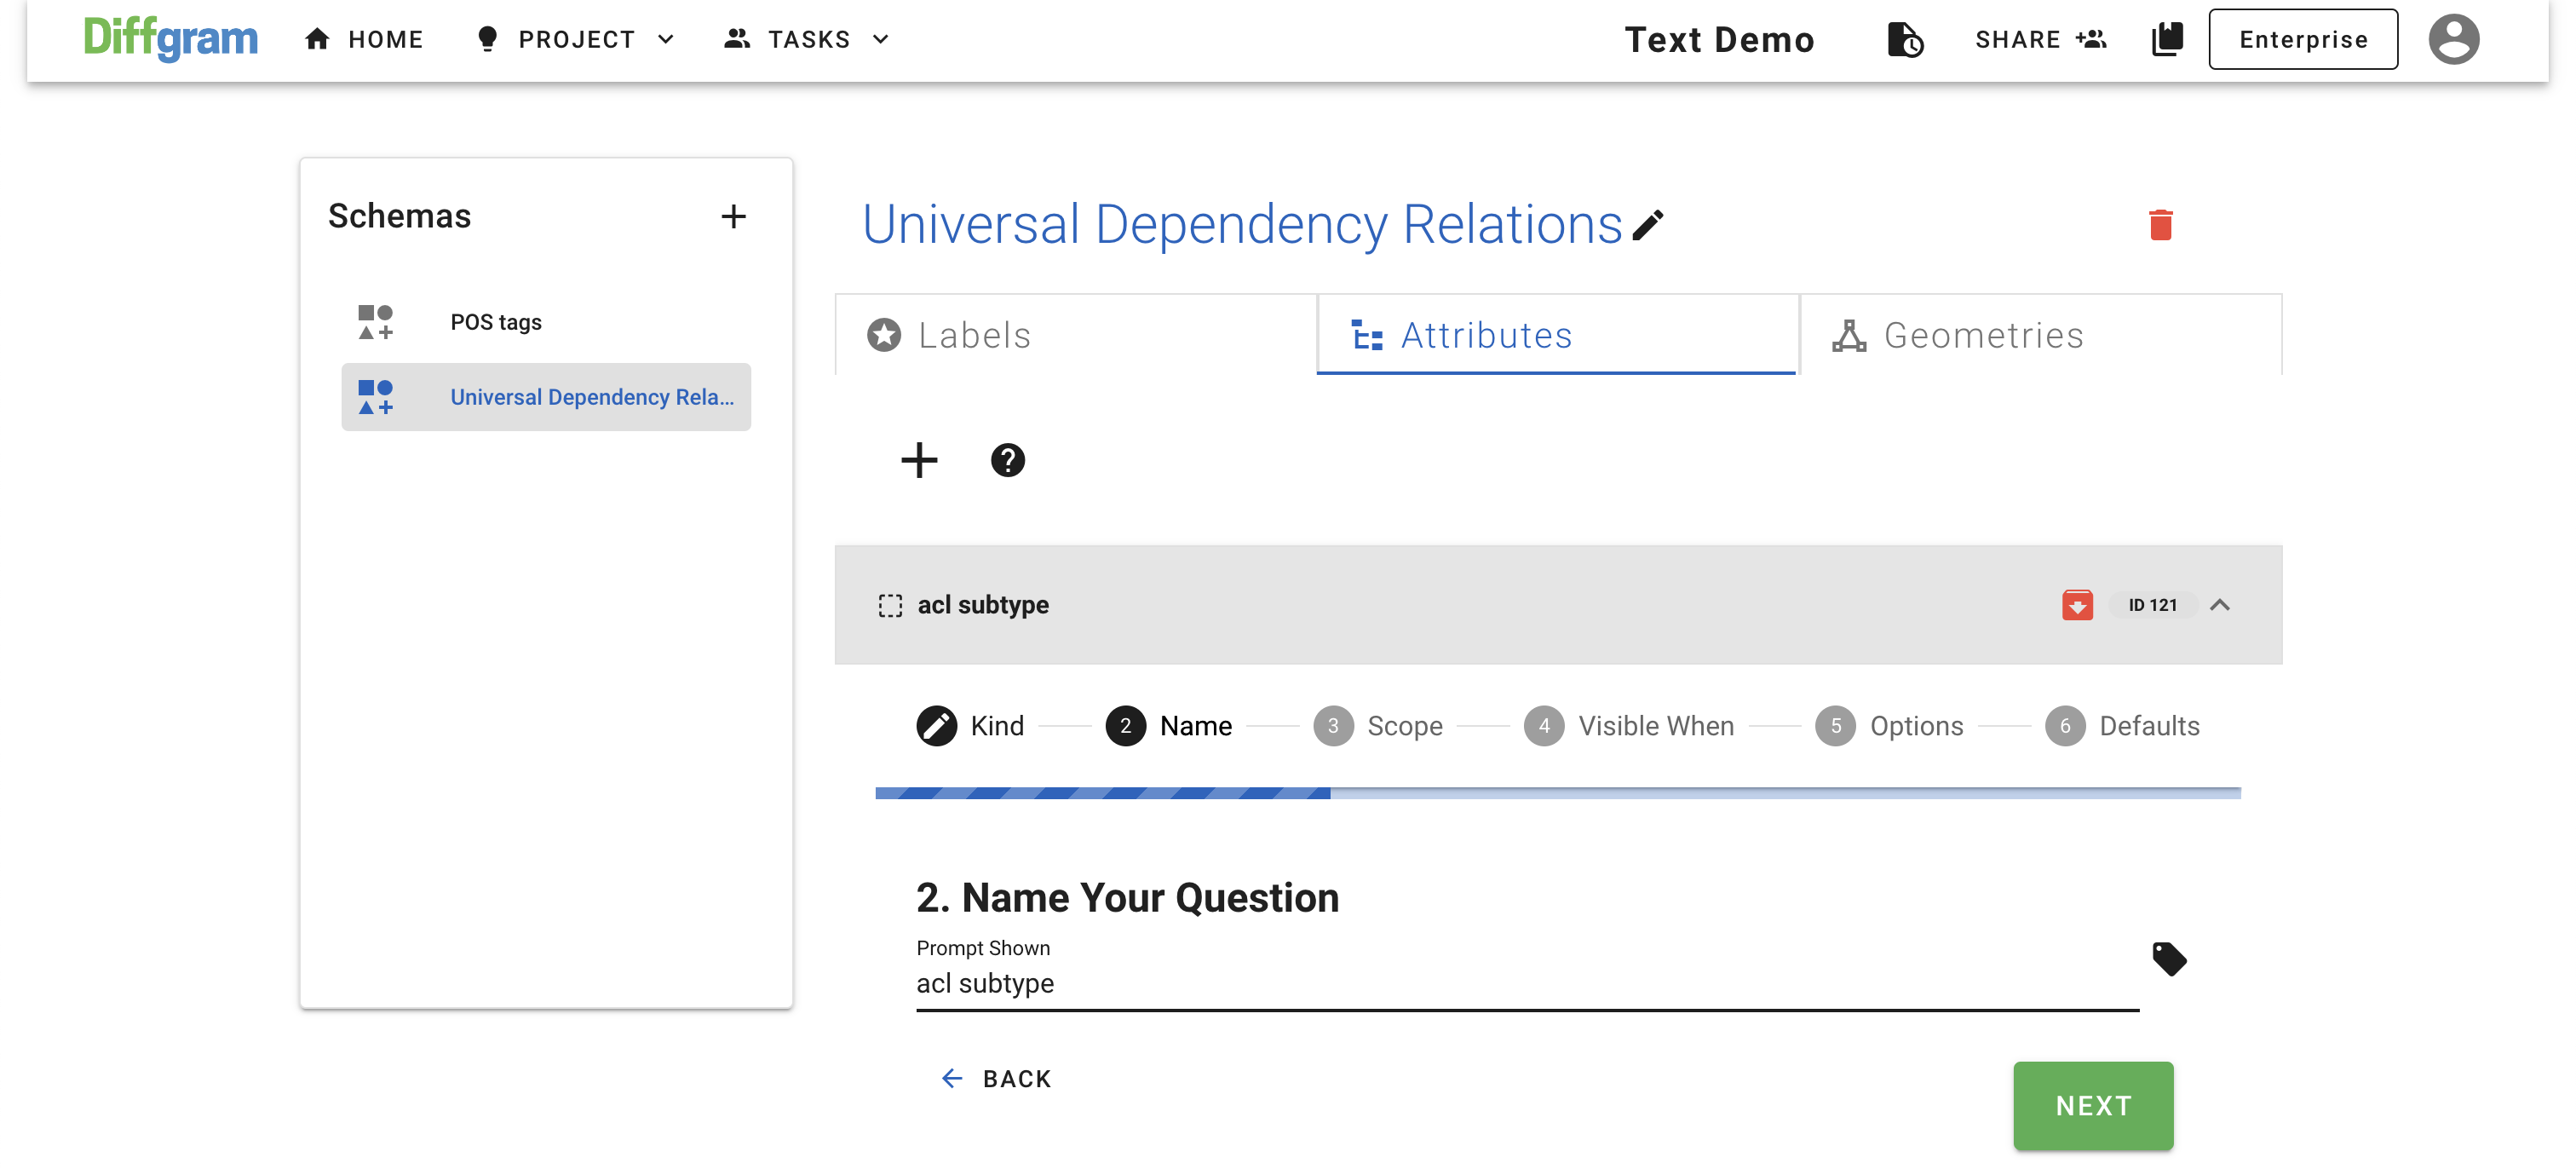
- Name - type in name of the attribute and click NEXT
- Scope - leave the default value (PER ANNOTATION) and click NEXT
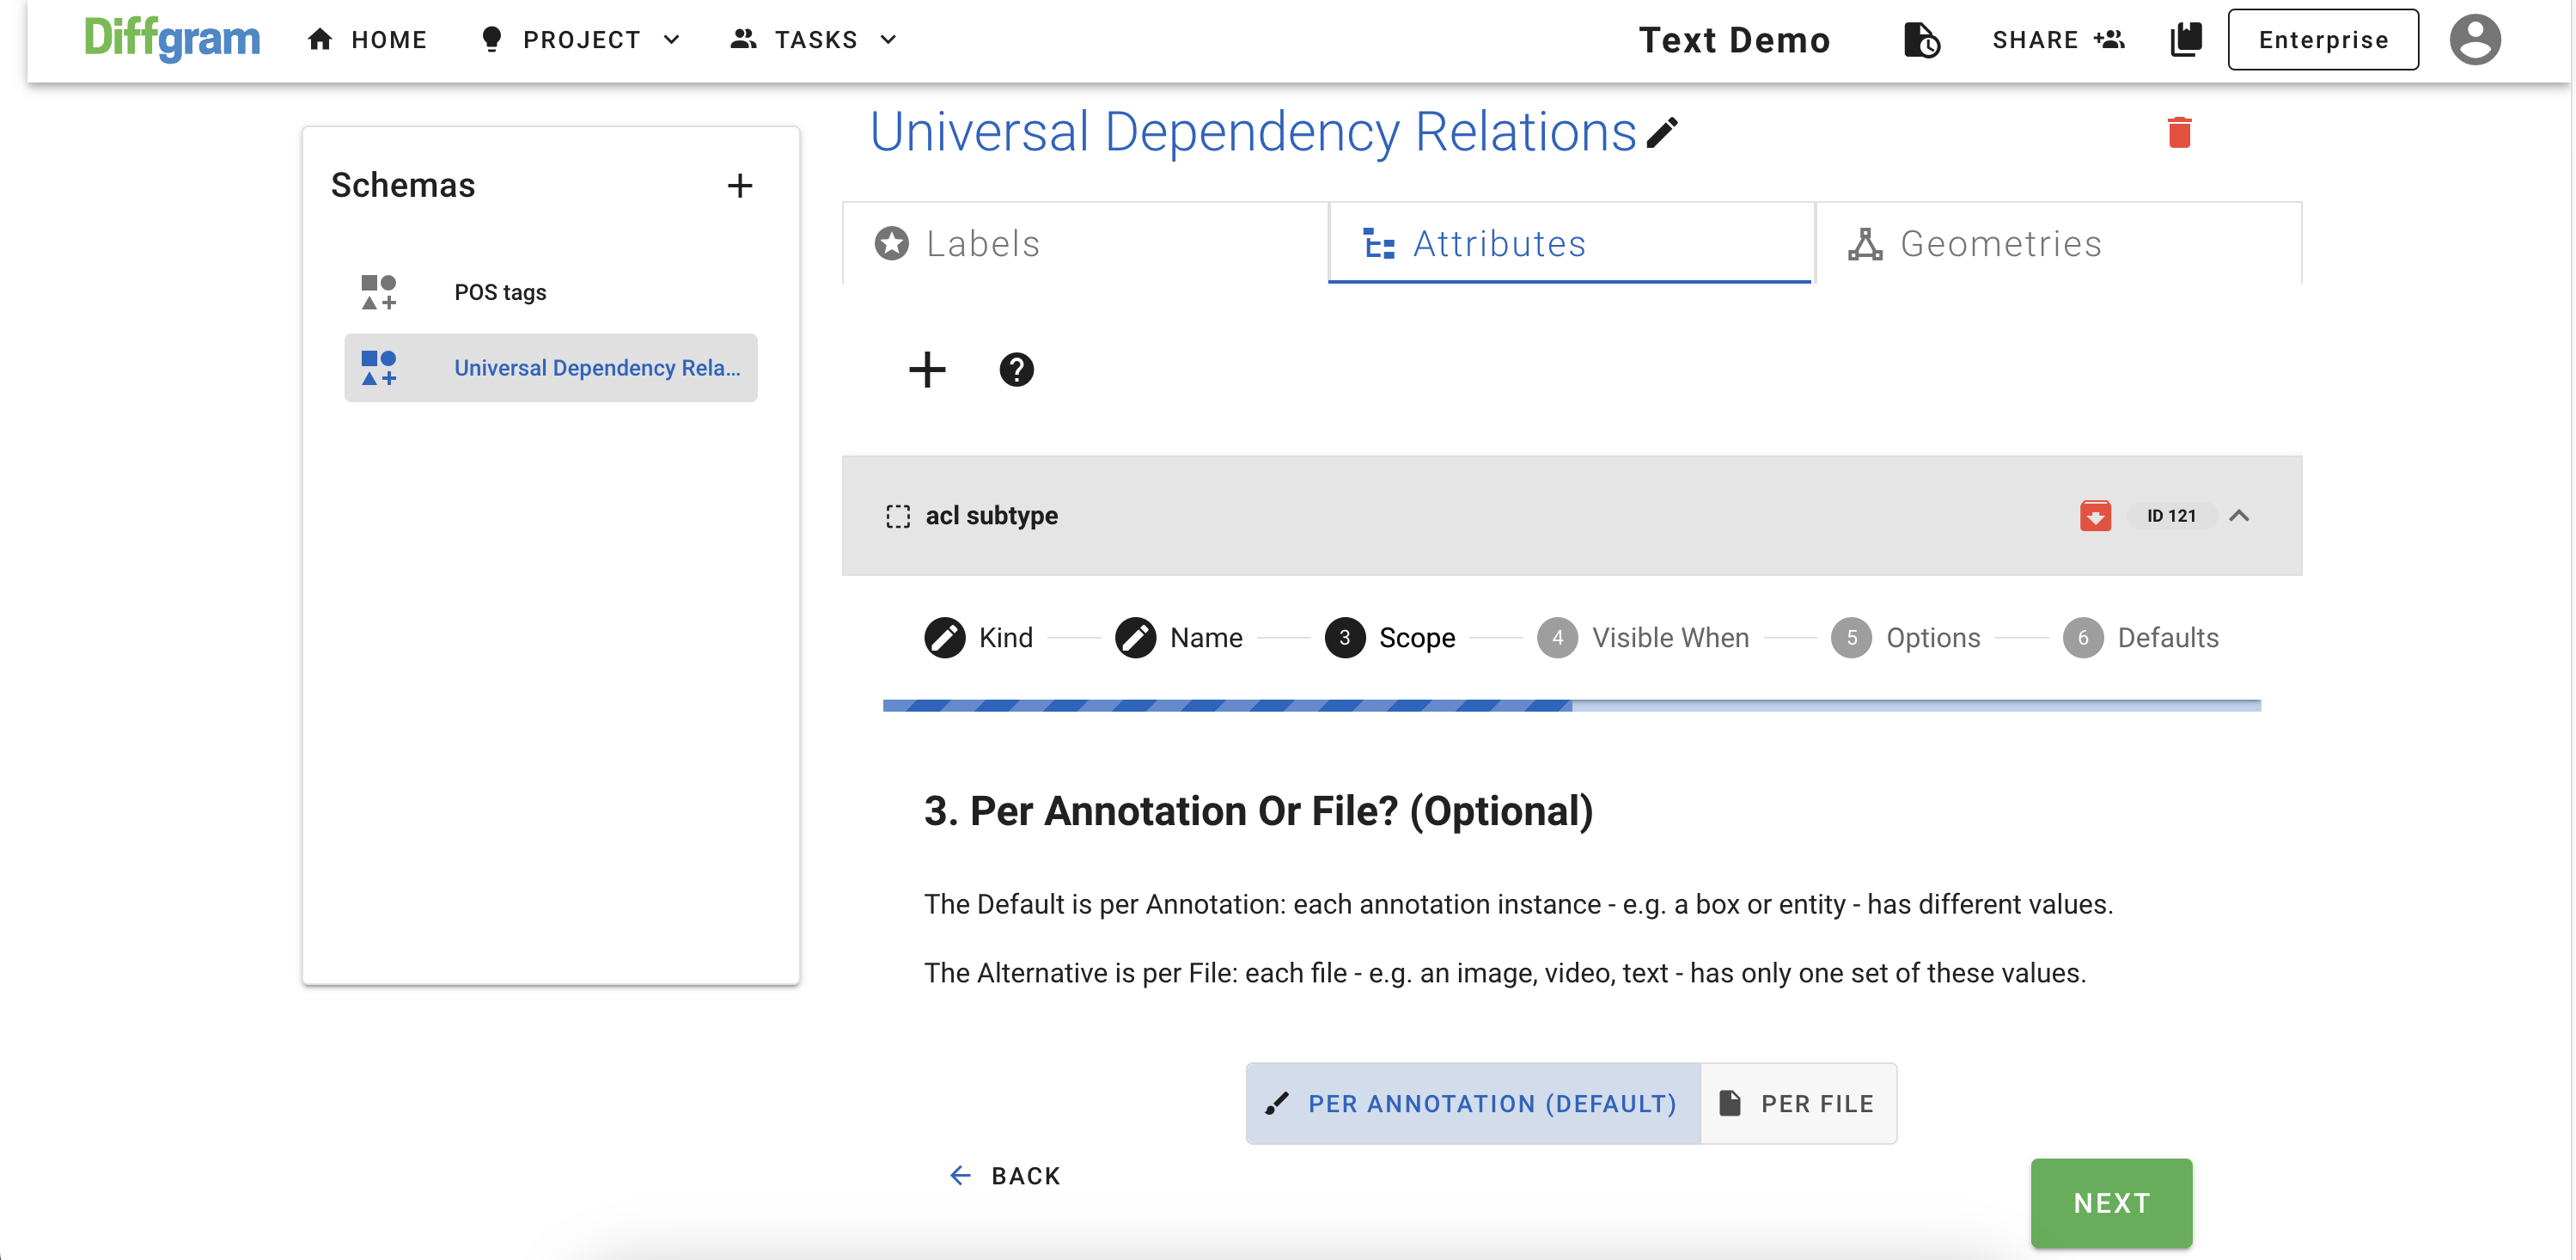
- Visible when - select acl label and click NEXT
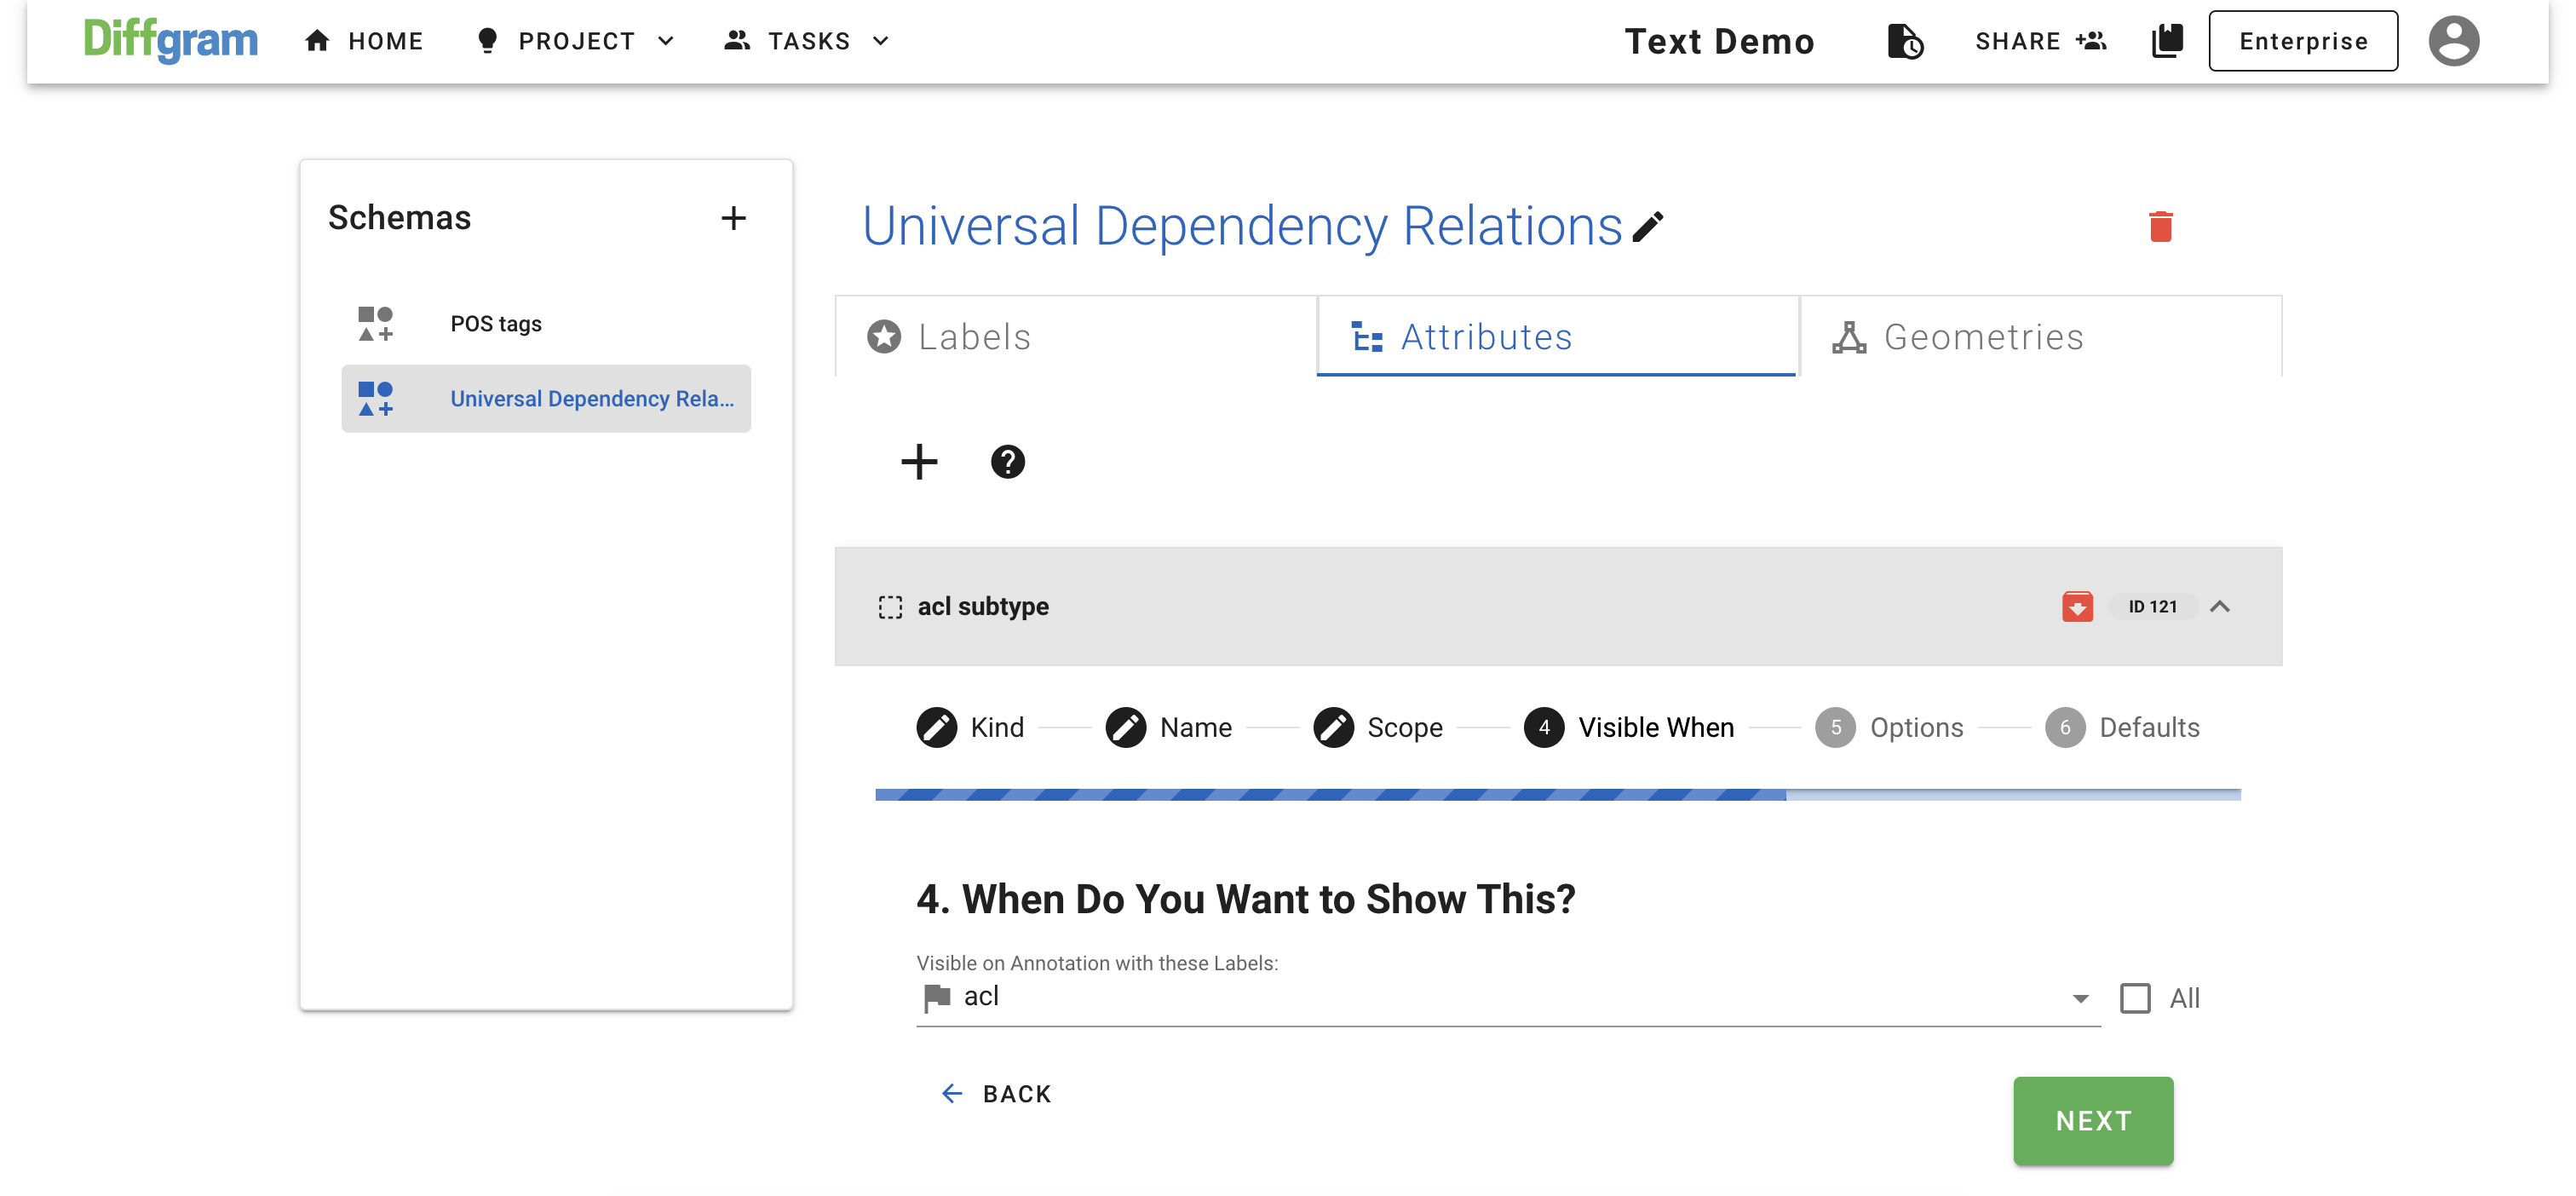
- Options - click NEW OPTION, type in the option name, and click CREATE (or just Enter) and add options for the select attribute. When you are done, click NEXT
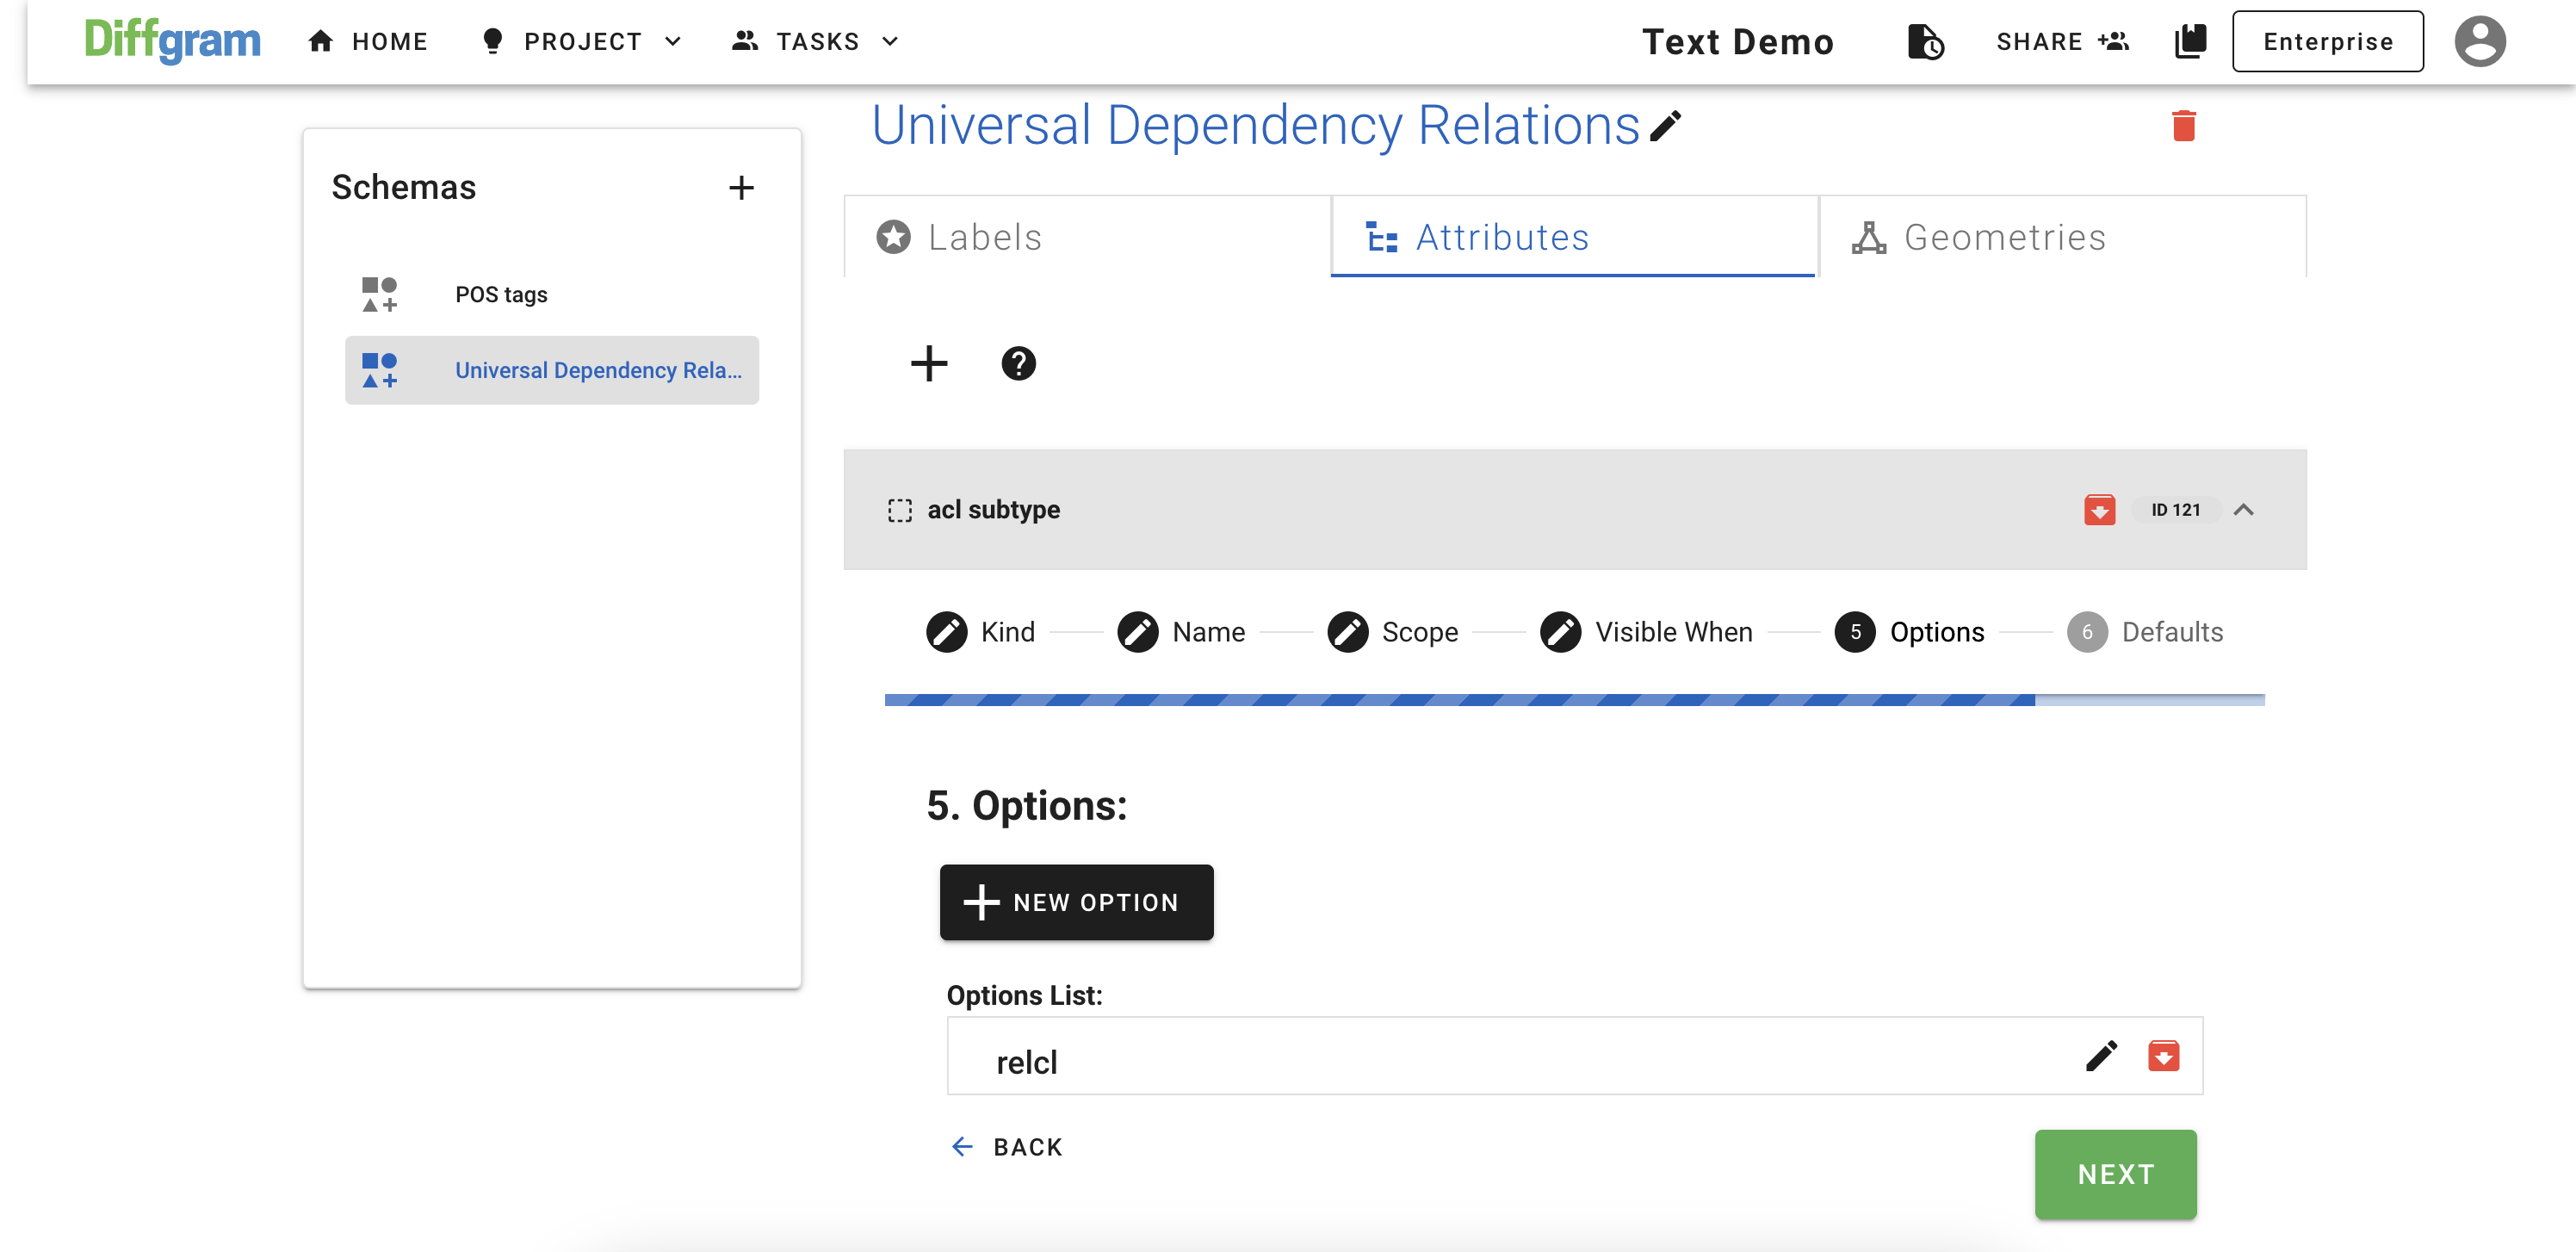
(options for different labels you can see here)
- Defaults - leave default blank and click NEXT
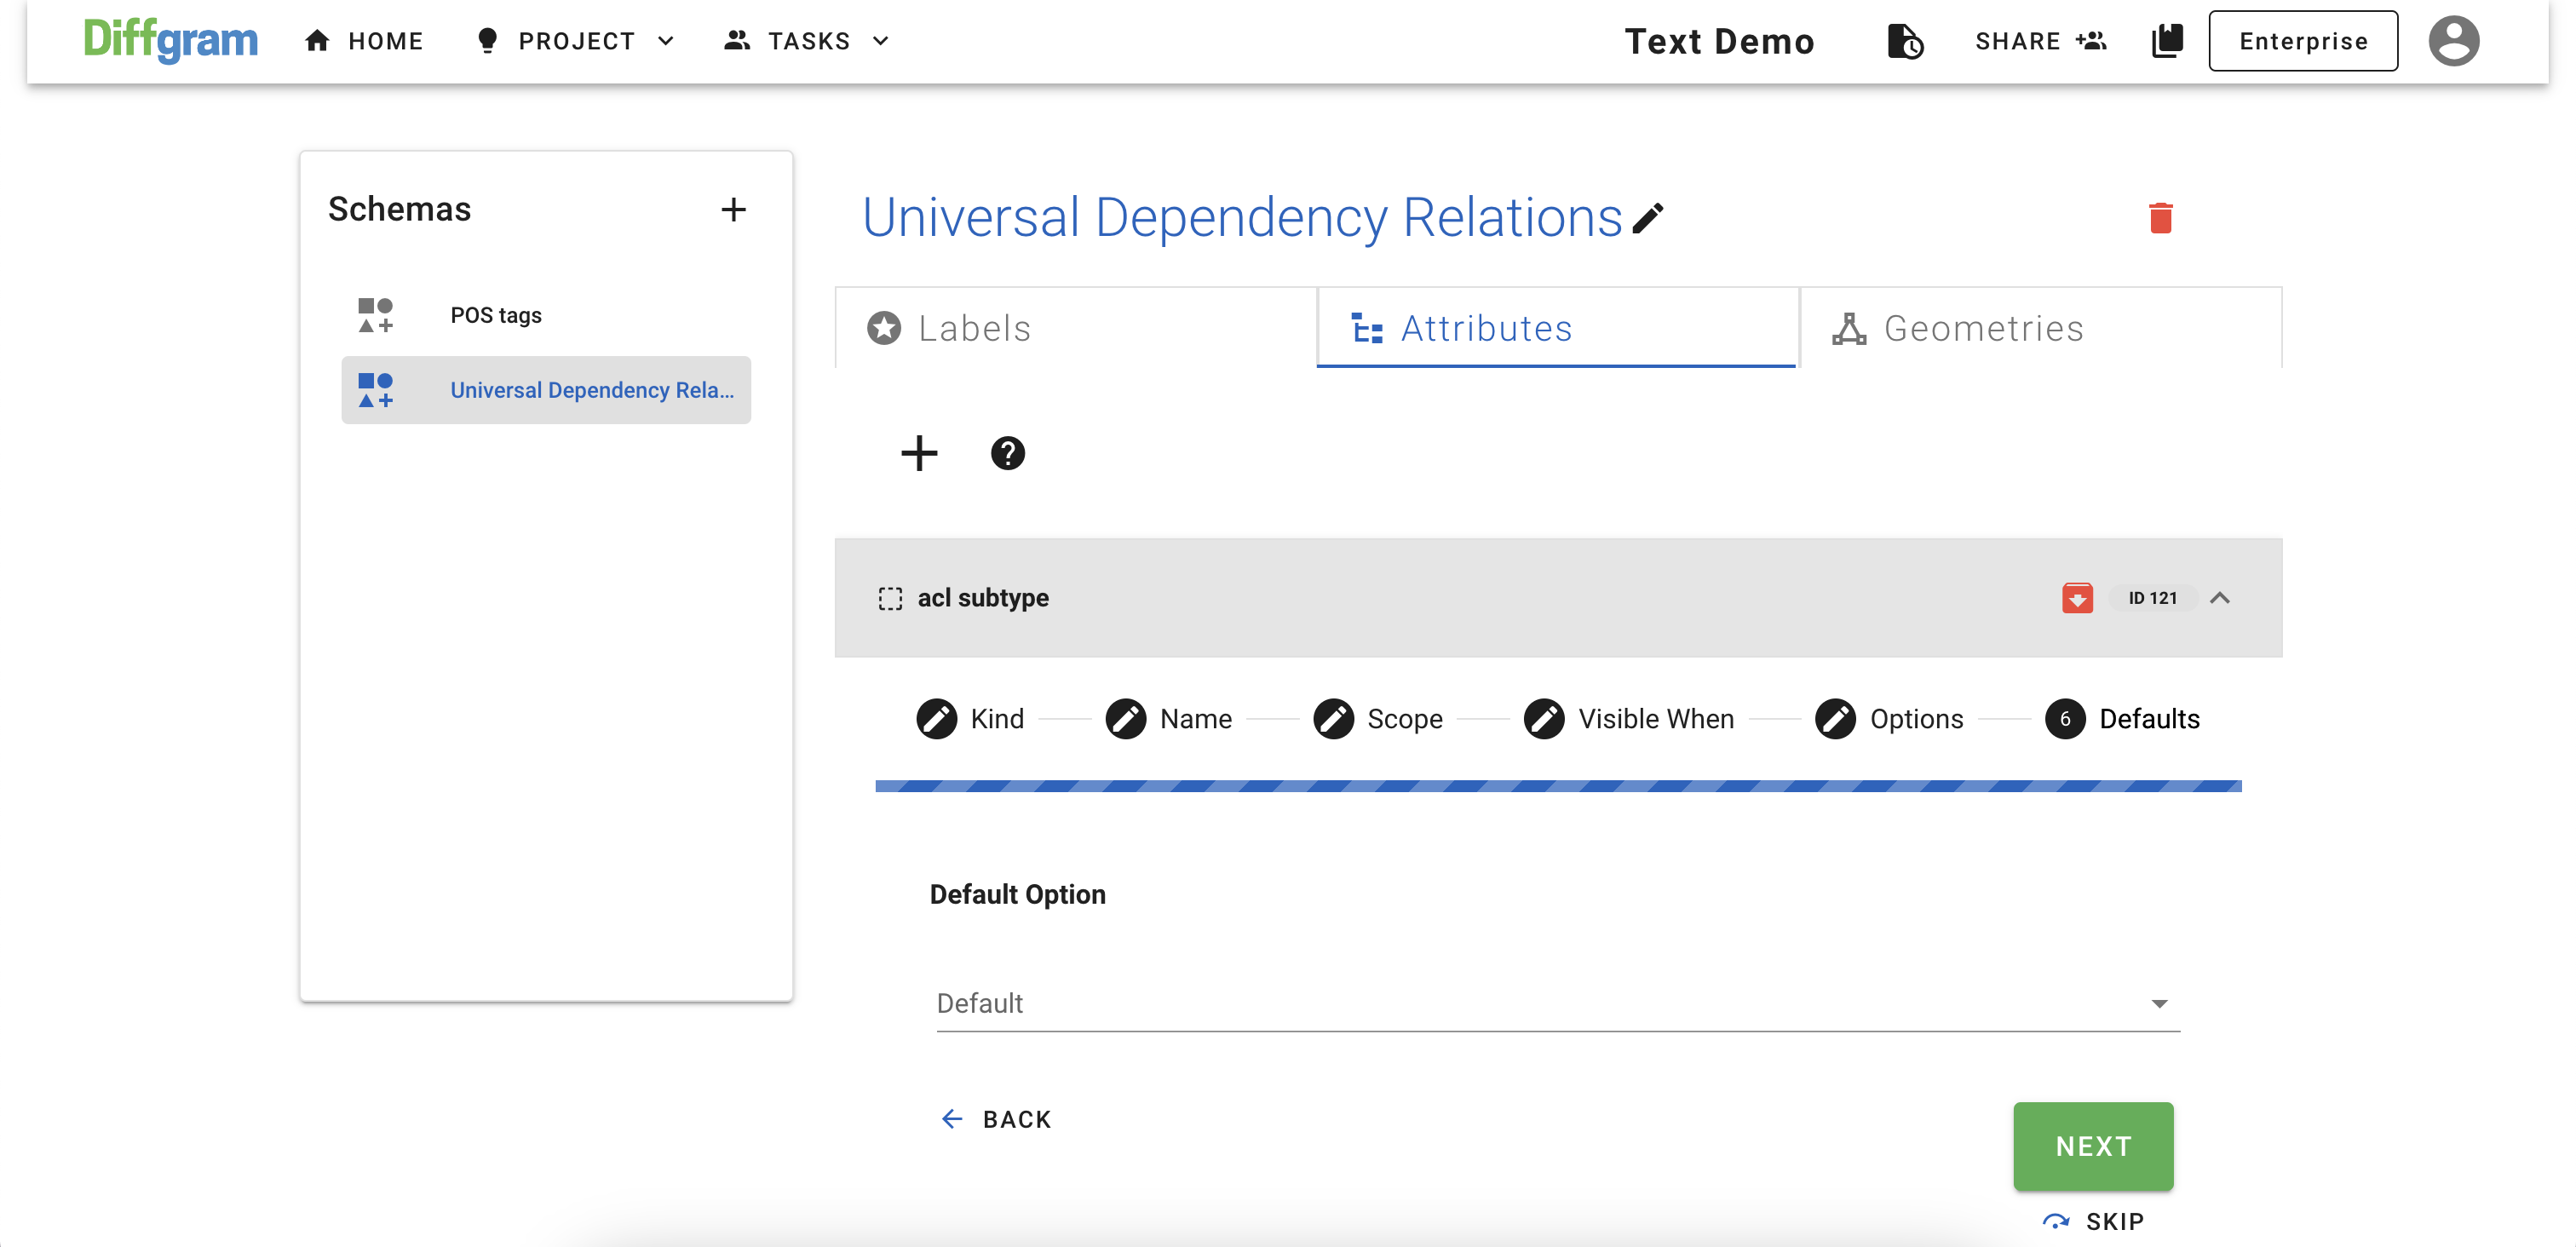
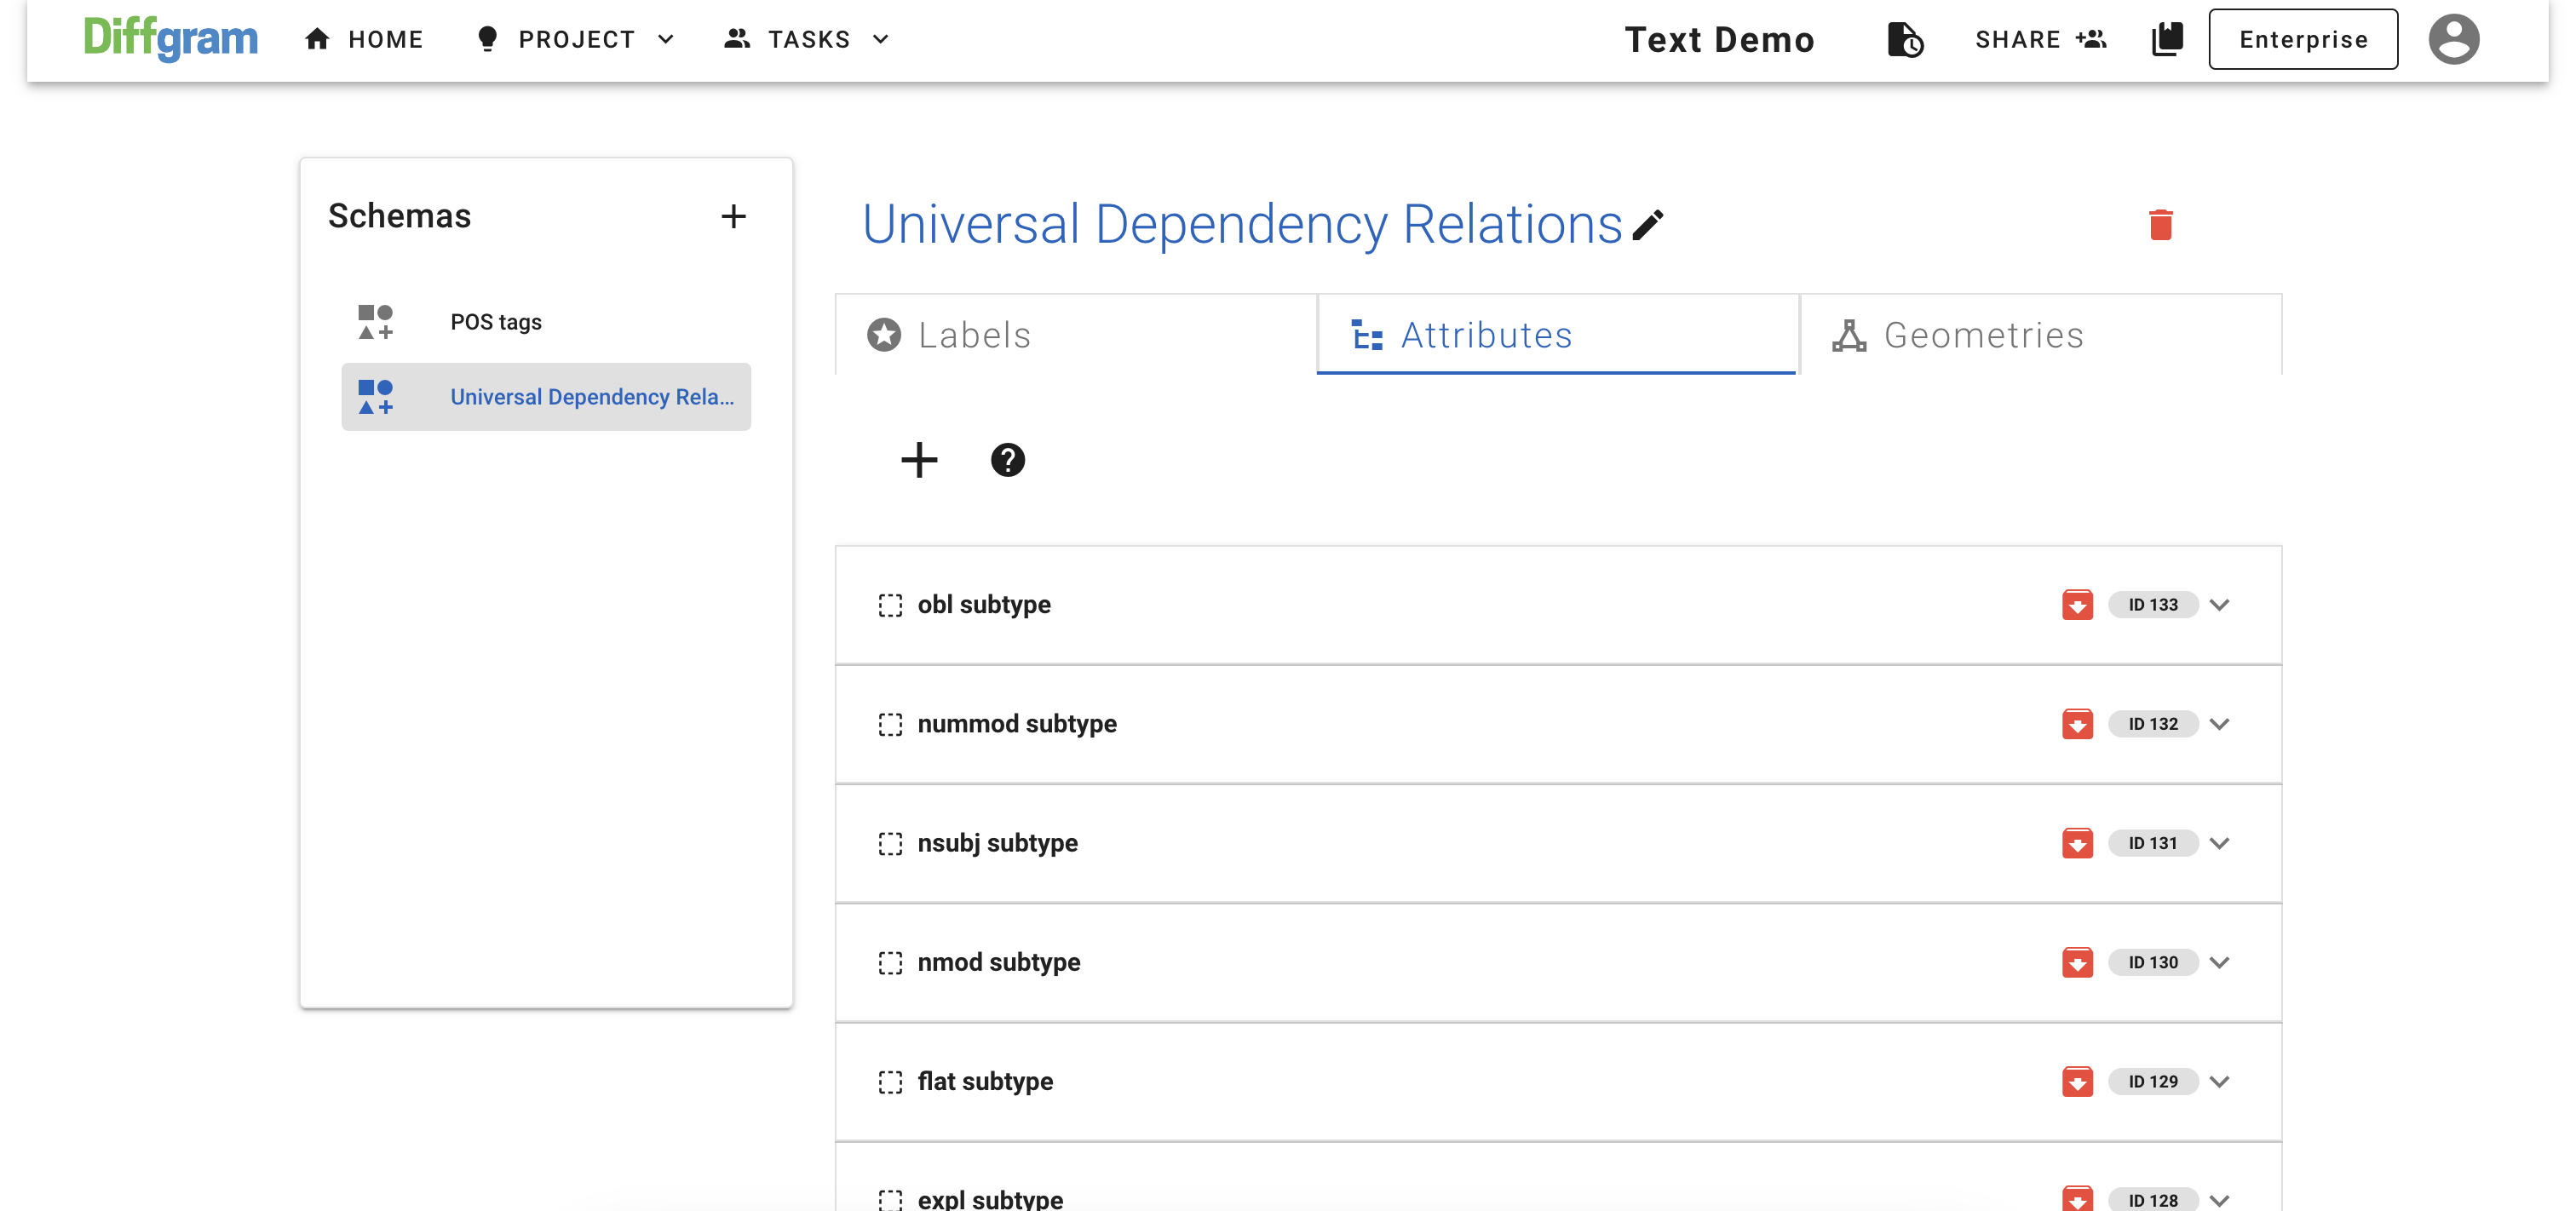
At the end your attributes page should look like this:
Create Global Attributes
Let's create a new schema, that we will use for classifying the whole text. As you we did before, create a new schema:
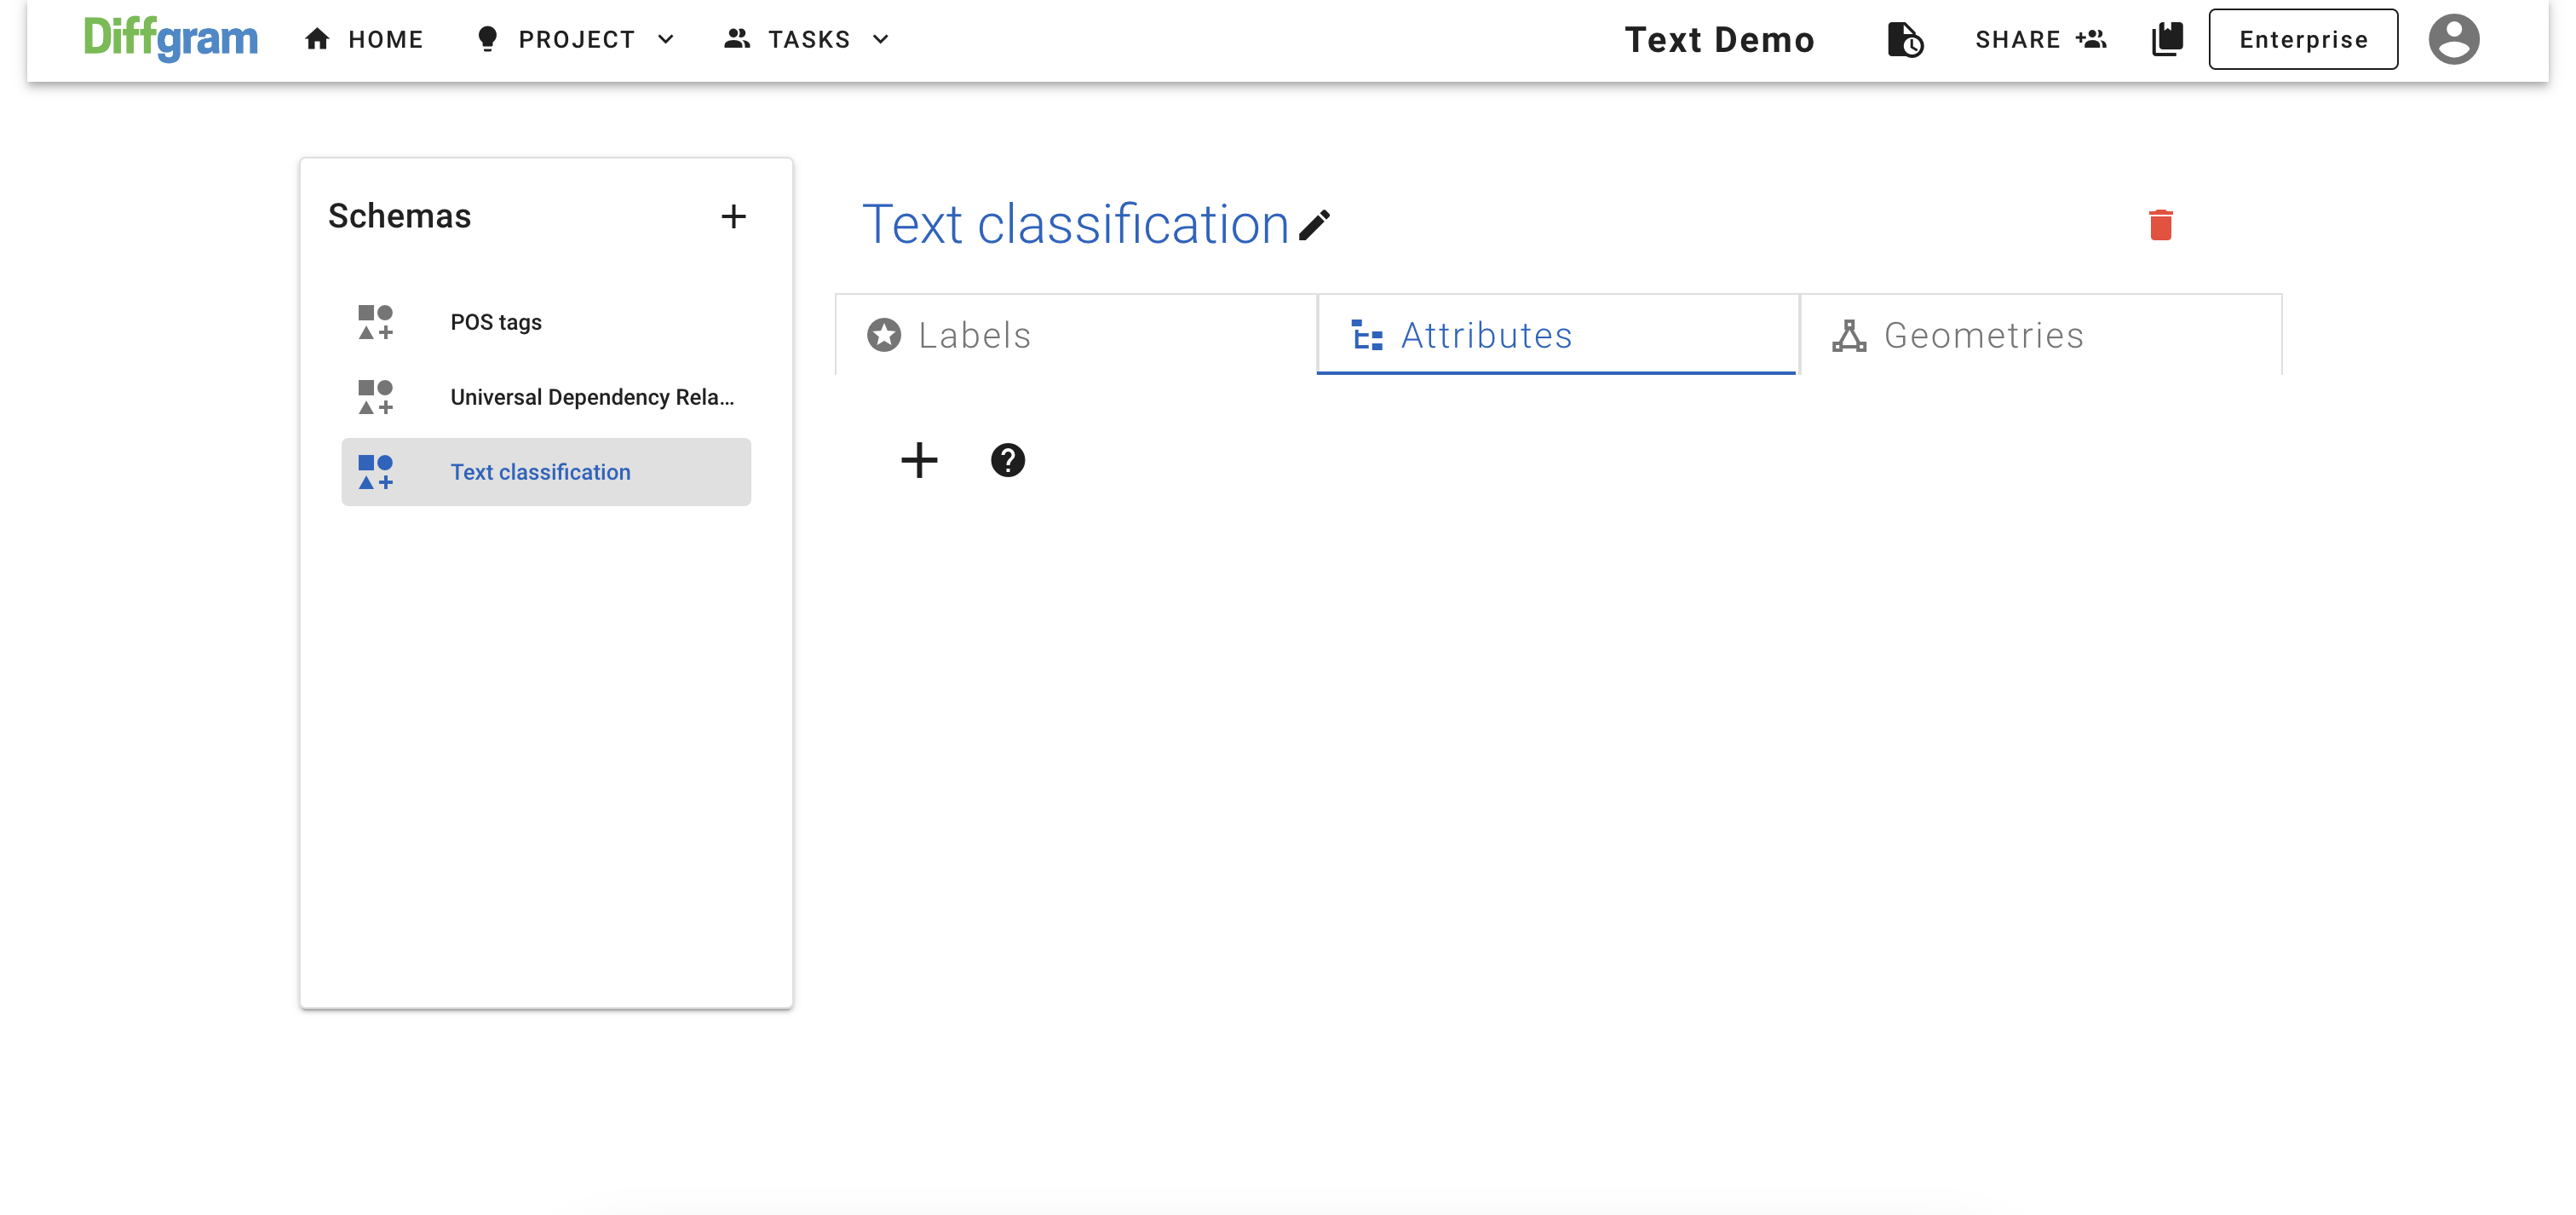
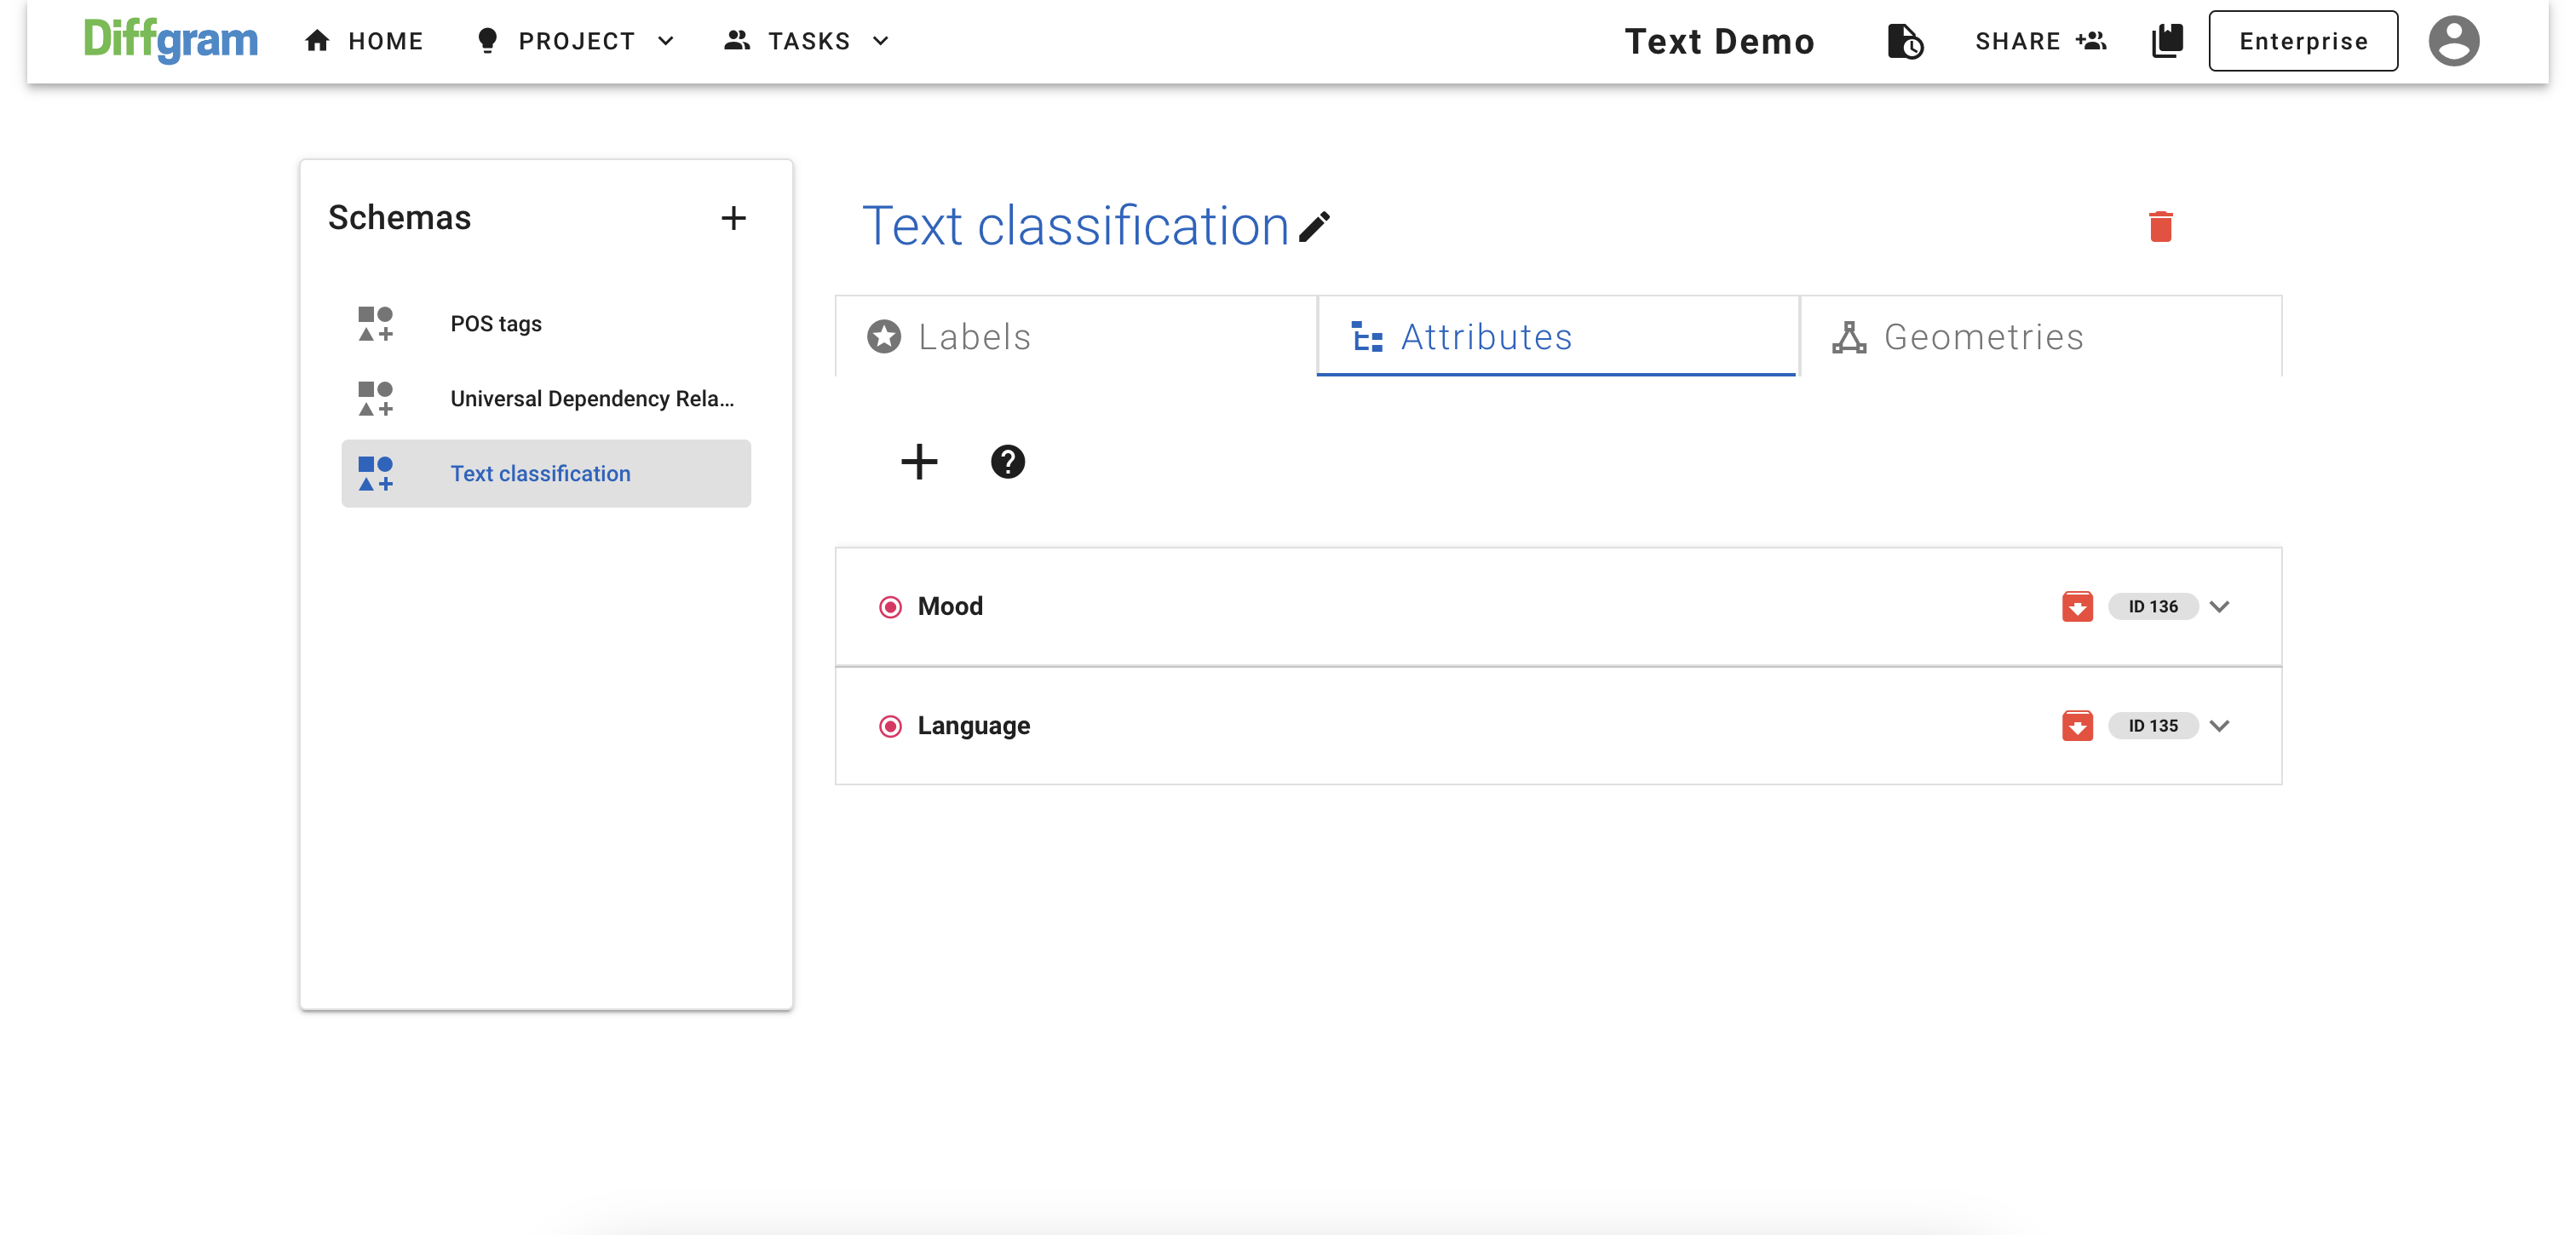
For classifying text, we will use two attributes:
- Language - type Radio (options English, Spanish, Ukrainian)
- Mood - type Radio (options Happy, Sad, Neutral)
From Attributes tab, create a new attribute, select type Radio, and give it a name as you did before:
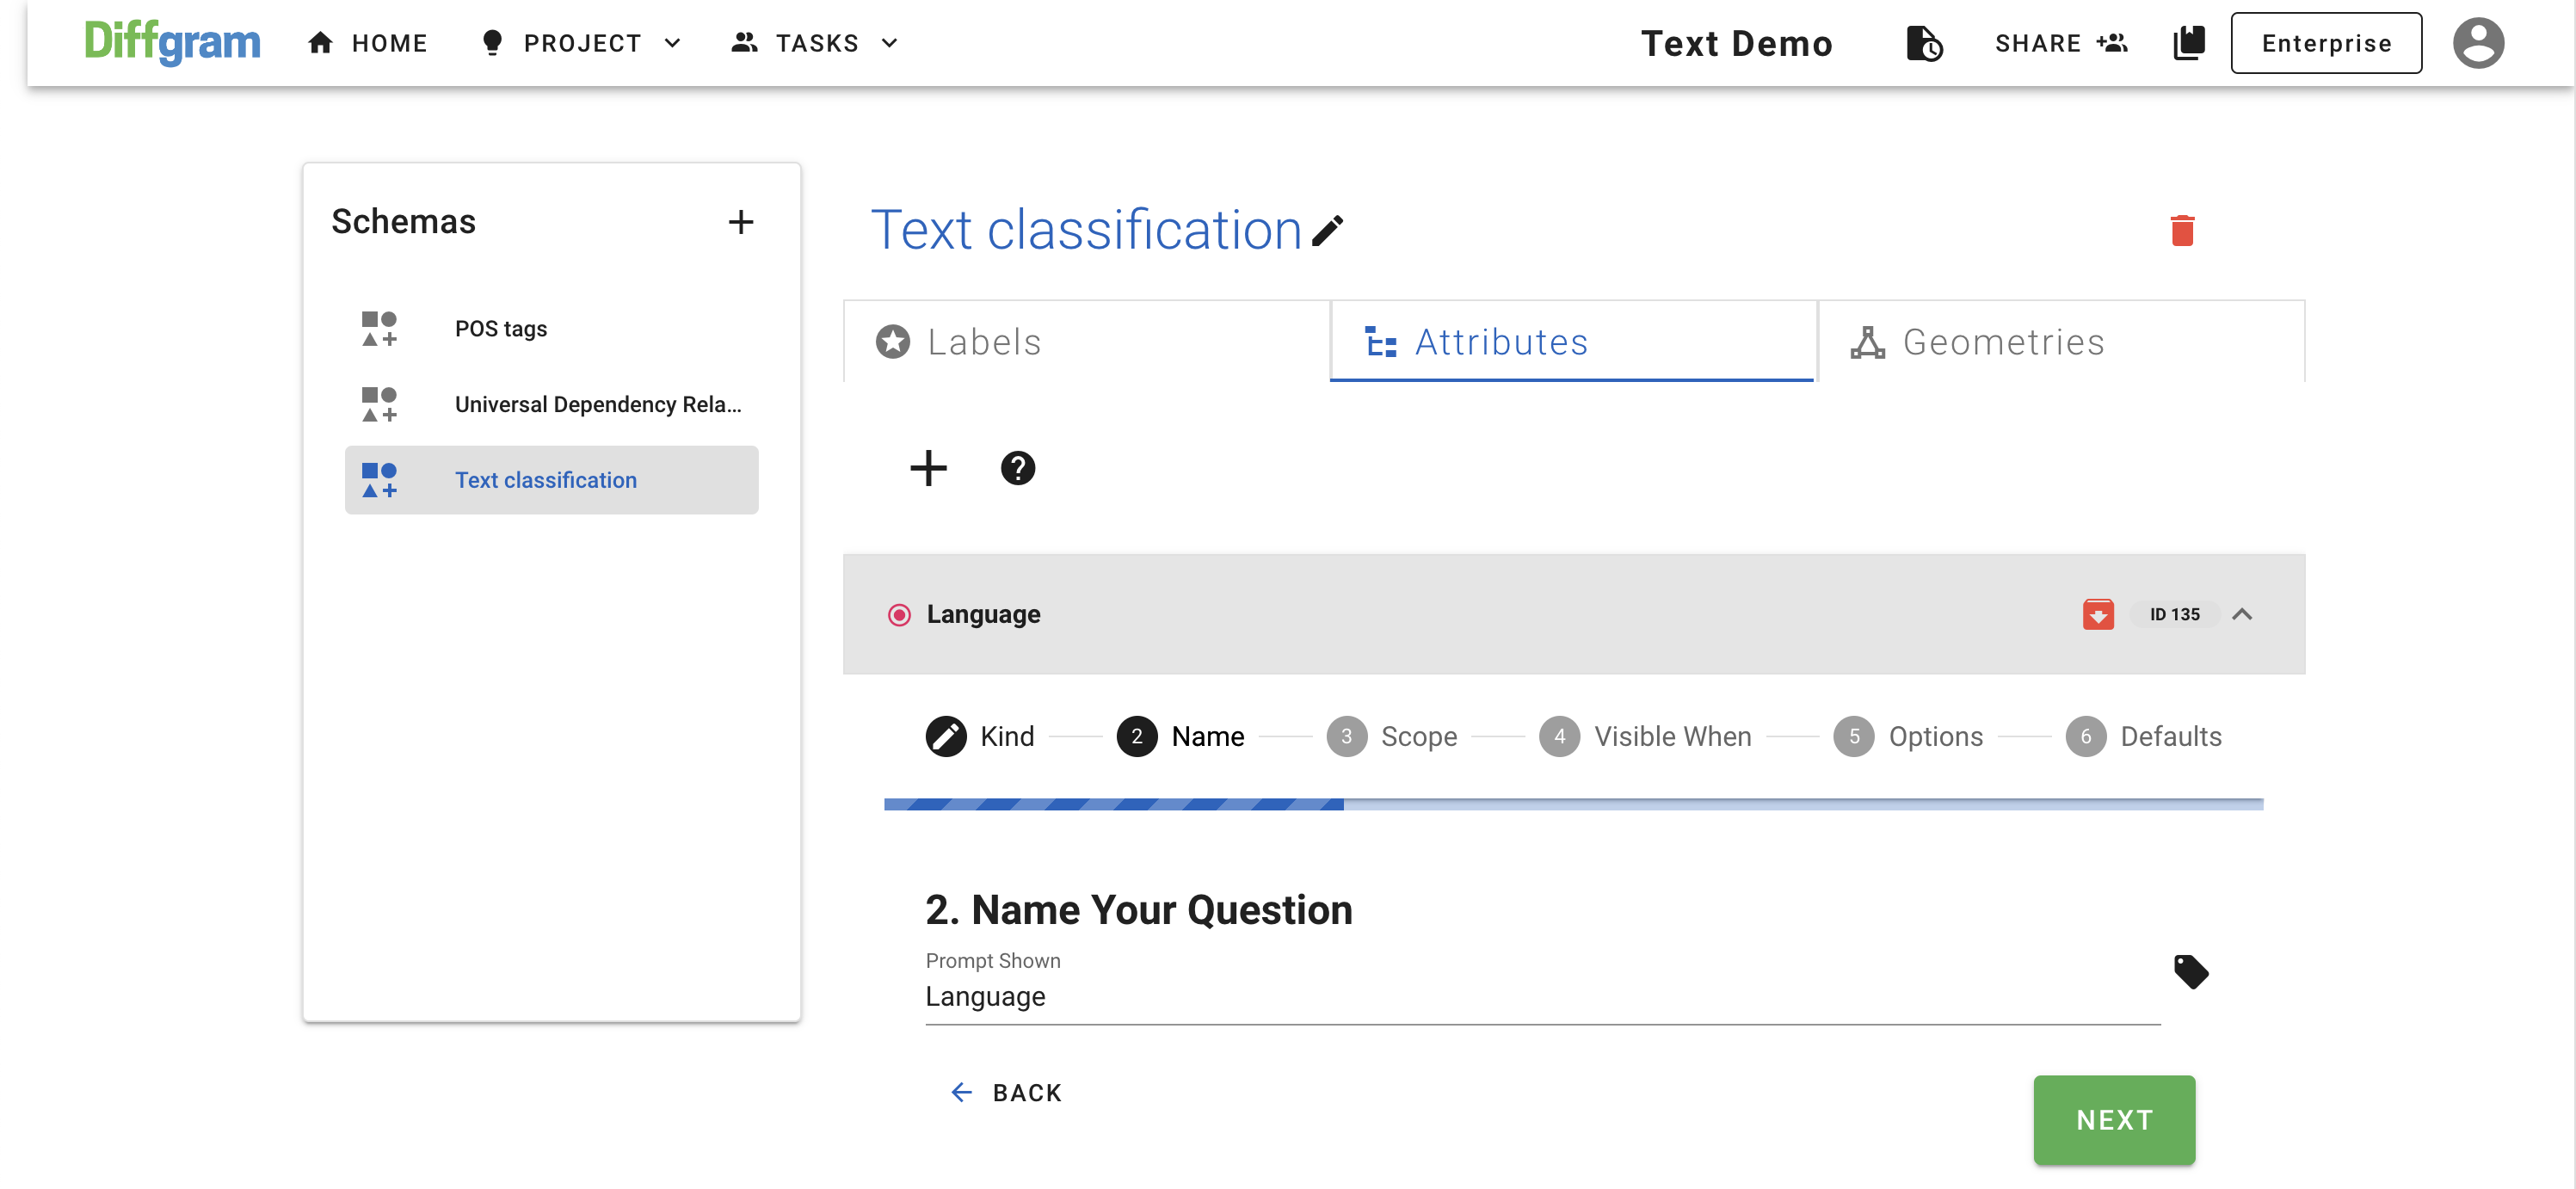
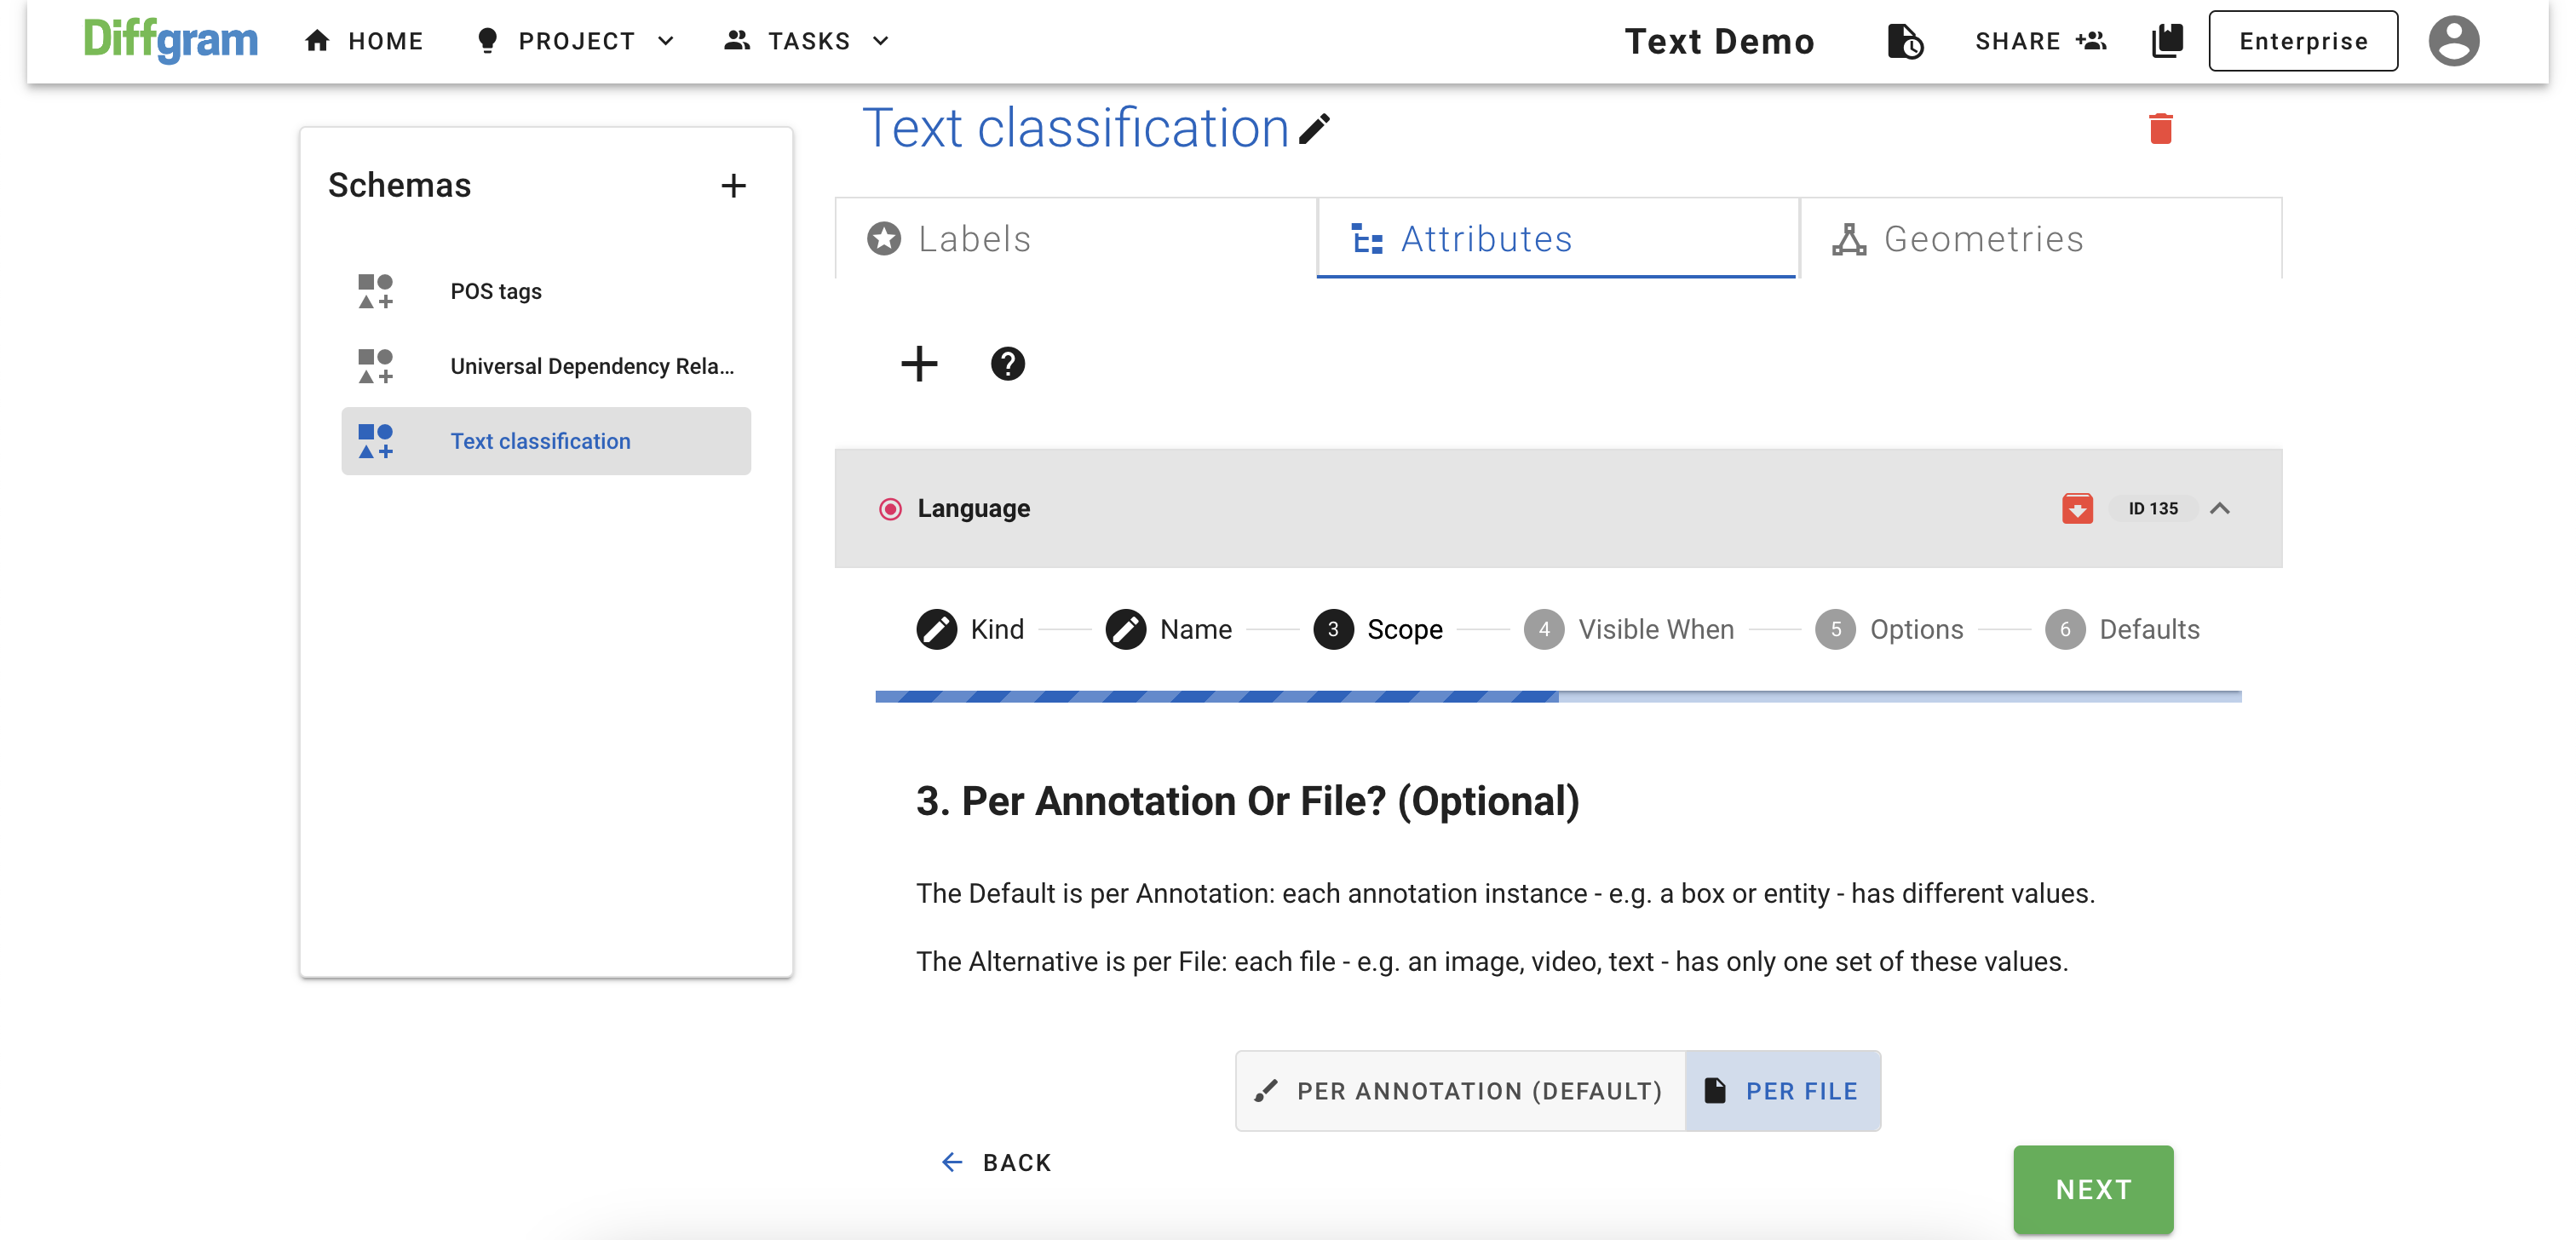
- Scope - select PER FILE and click NEXT
At the end, your attributes tab should look like this:
Updated about 3 years ago
