Zero Shot Classification (Hugging Face)
Zero Shot Classification implemented with Hugging Face Transformers
Overview
Zero Shot Classification - is a technique that allows to associate appropriate label with the piece of text.
To perform Zero Shot Classification, we use a zero-shot model (in case of this action, we use default model HuggingFace Transformers, which is bart-large-mnli).
You can read more about performing Zero Shot Classification with Hugging Face here
End Result
You will have
- Hugging Face prediction
- Human tasks based on those predictions
Prerequisites
- A Working Diffgram Installation (either with docker or directly on diffgram.com)
- A text file, you can download a sample from here. So far this integration supports only .txt format
- Hugging Face Actions With Diffgram Requires 4-5GB Ram
Make sure your eventshandler service provides the right amount of hardware resources. The consumption is mainly due to the models download and execution. Ideally 6-8GB ram. Other custom models might need more resources to run efficiently.
1. What do you want it to Predict?
At this point, we assume that you have Diffgram up and running, at least one project created, and a little general knowledge of NLP.
To create an attribute, open the Project menu on the toolbar and click on Schema:
Optionally you can create a schema, but in this tutorial, we will use the default one. Navigate to the Attributes tab and click + to create a new attribute:
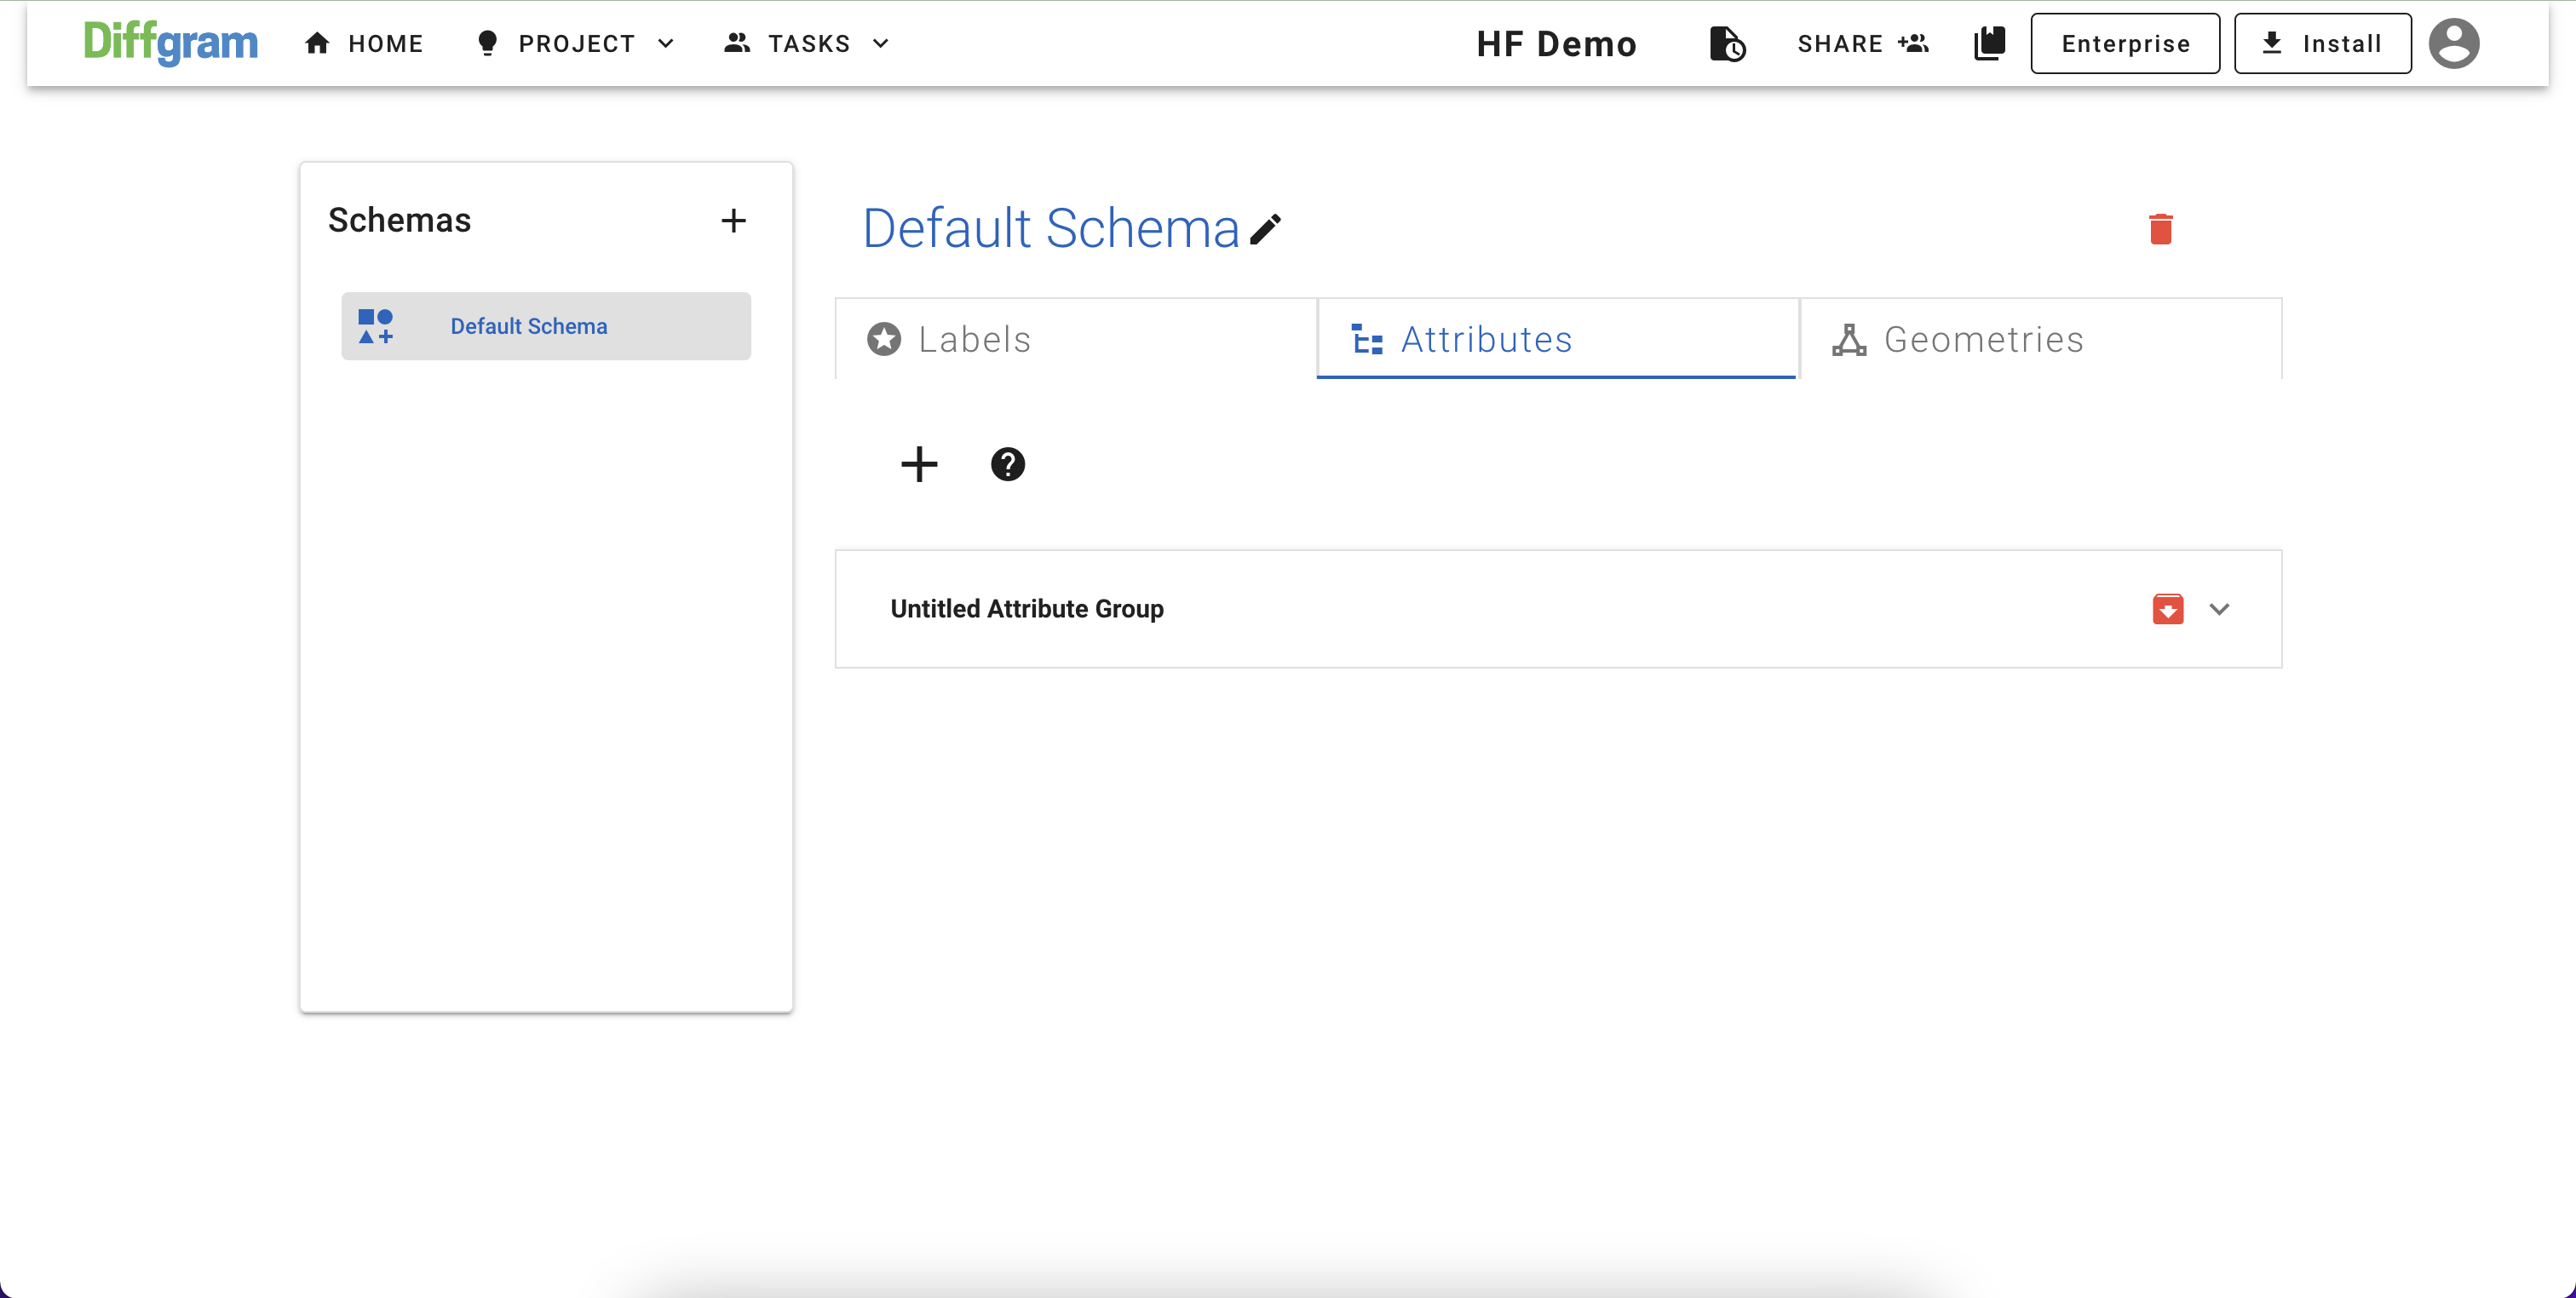
Follow all the steps on a wizard to create an attribute. In step 3 (Scope) select the Per File option (otherwise you won't be able to use this attribute to apply per file or task)
Note:
For the Zero Shot Classification action, only Select, Radio and Multiple Select are supported
In step 5 - you have to add options that will be passed to the zero-shot model, so your screen should look something like this:
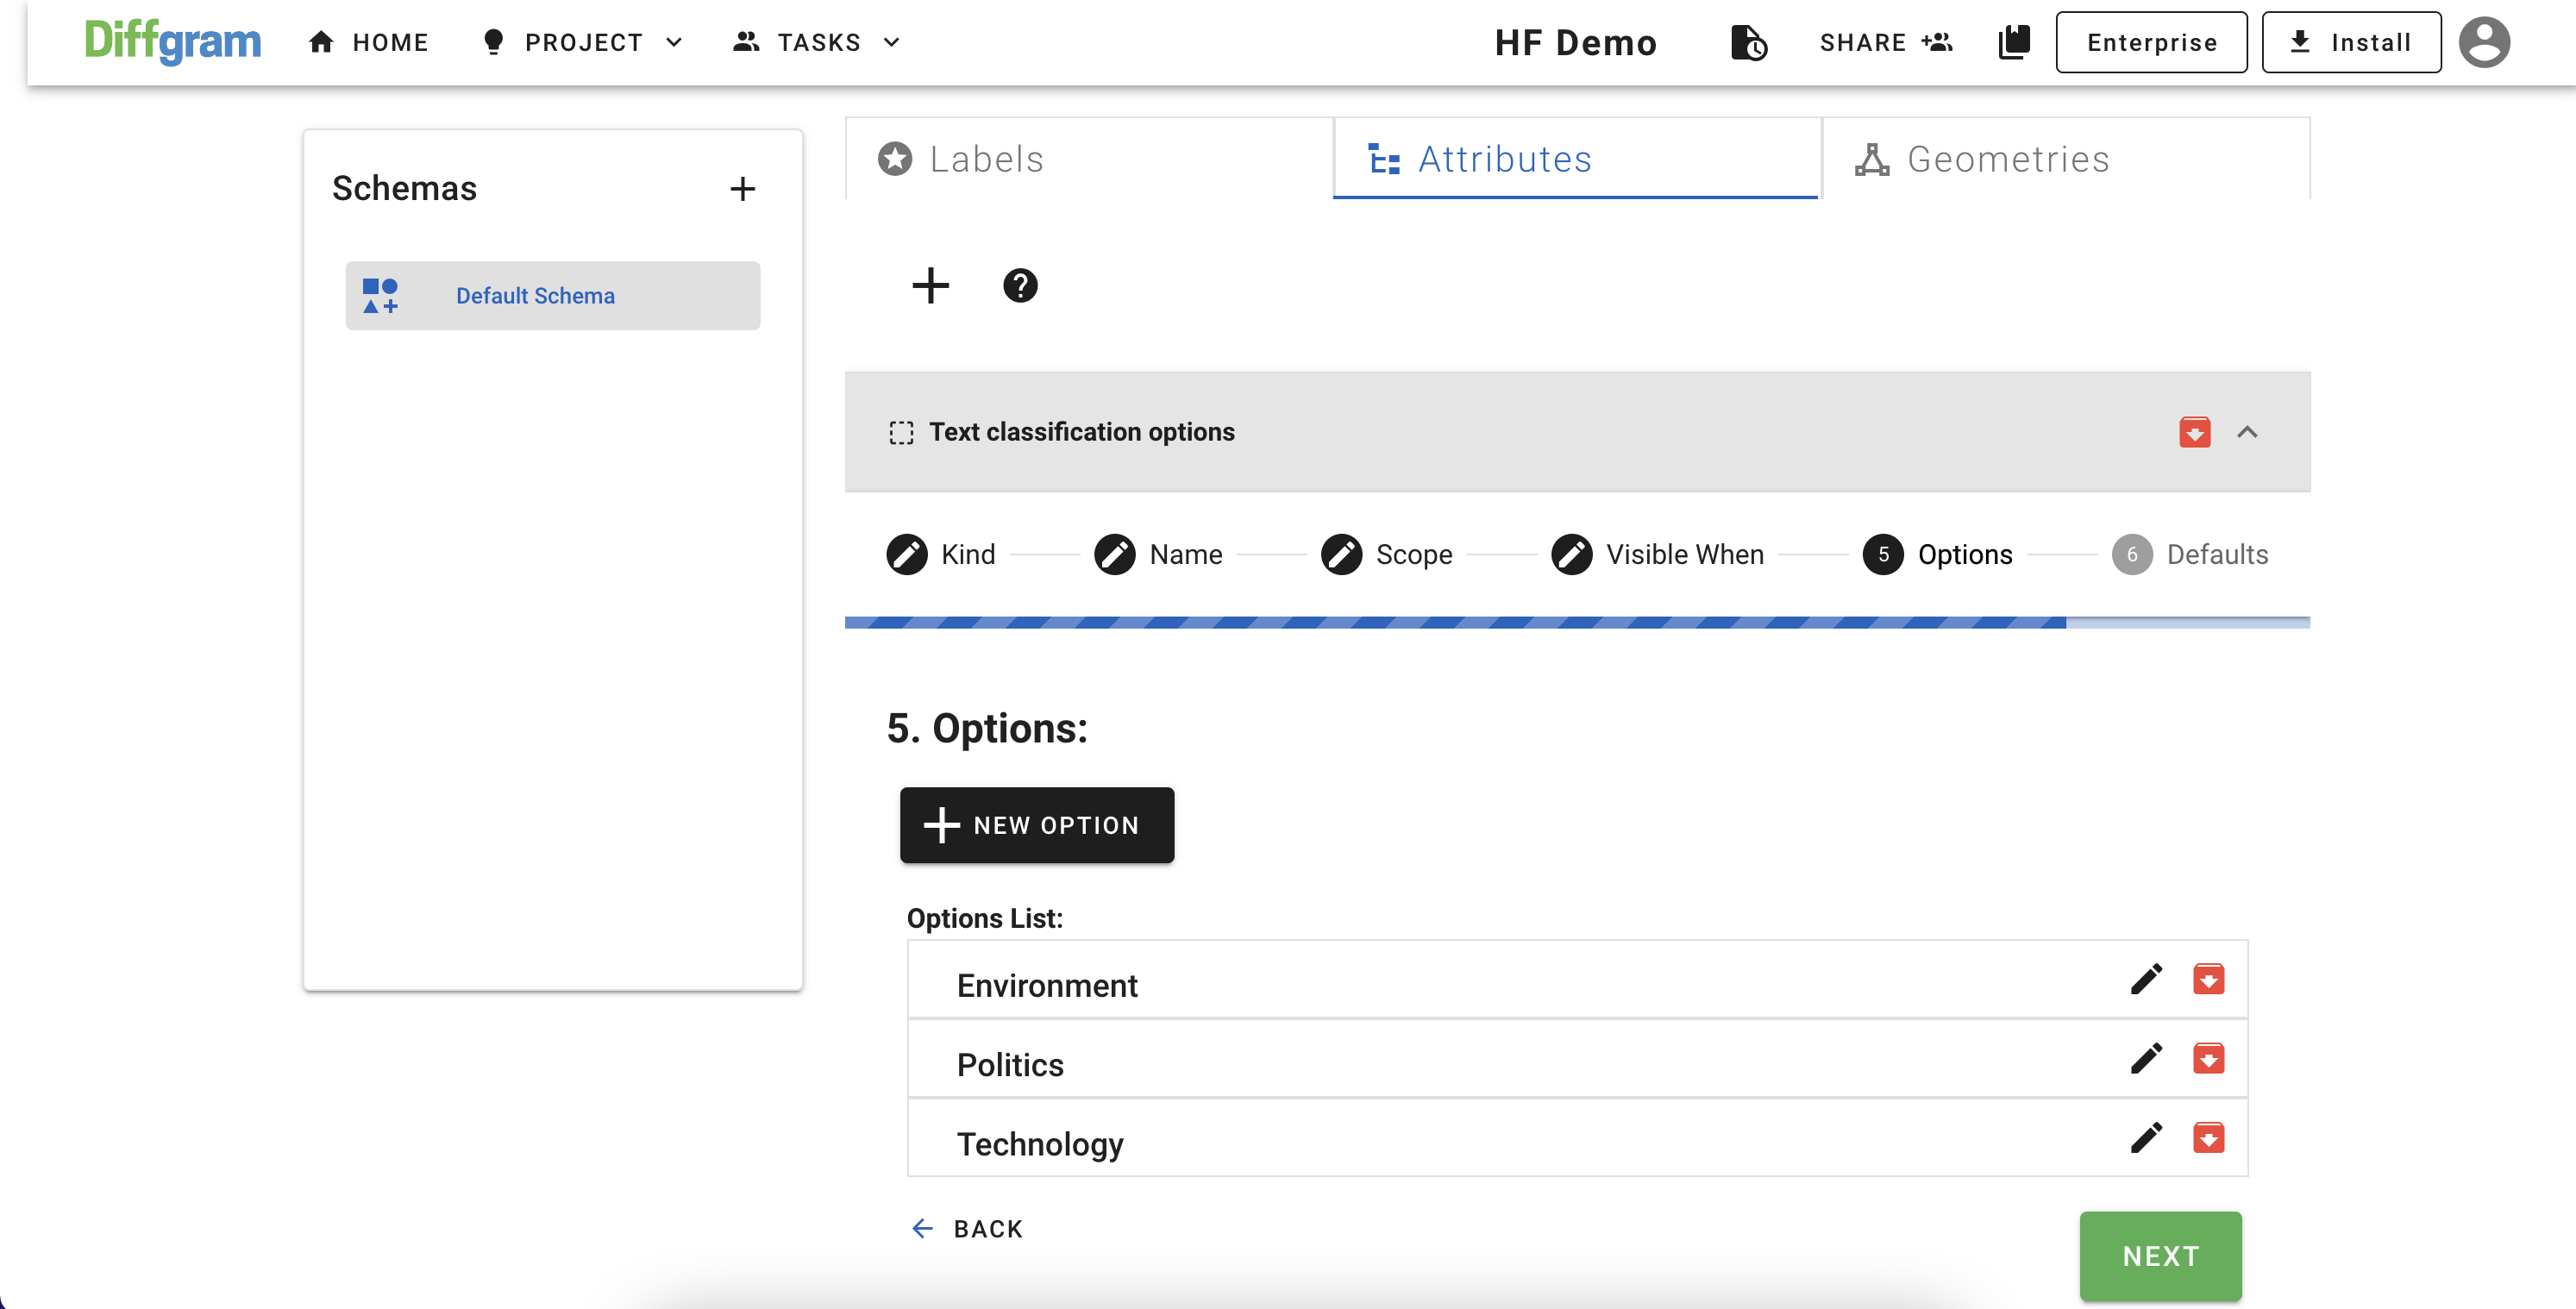
One the last step you can select a default value (this is not related to this tutorial)
2. Setup The Workflow
Open the Project menu one more time and click on the New Workflow:
There are two ways to perform Zero Shot Classification: apply the attribute to the file when uploaded or apply the attribute to the task when it's created. To make this tutorial more fun, let's create a workflow that runs Zero Shot Classification when file is uploaded and then creates a task if the file is classified as technology
First, select Zero Shot Classification (Hugging Face) action and follow the wizard to configure it (you can go with all the defaults).
After you finish, click on the *Human Labeling Task. From When select action_completed, select a task template (or create a new one) and apply select technology** option as a condition to create a task:
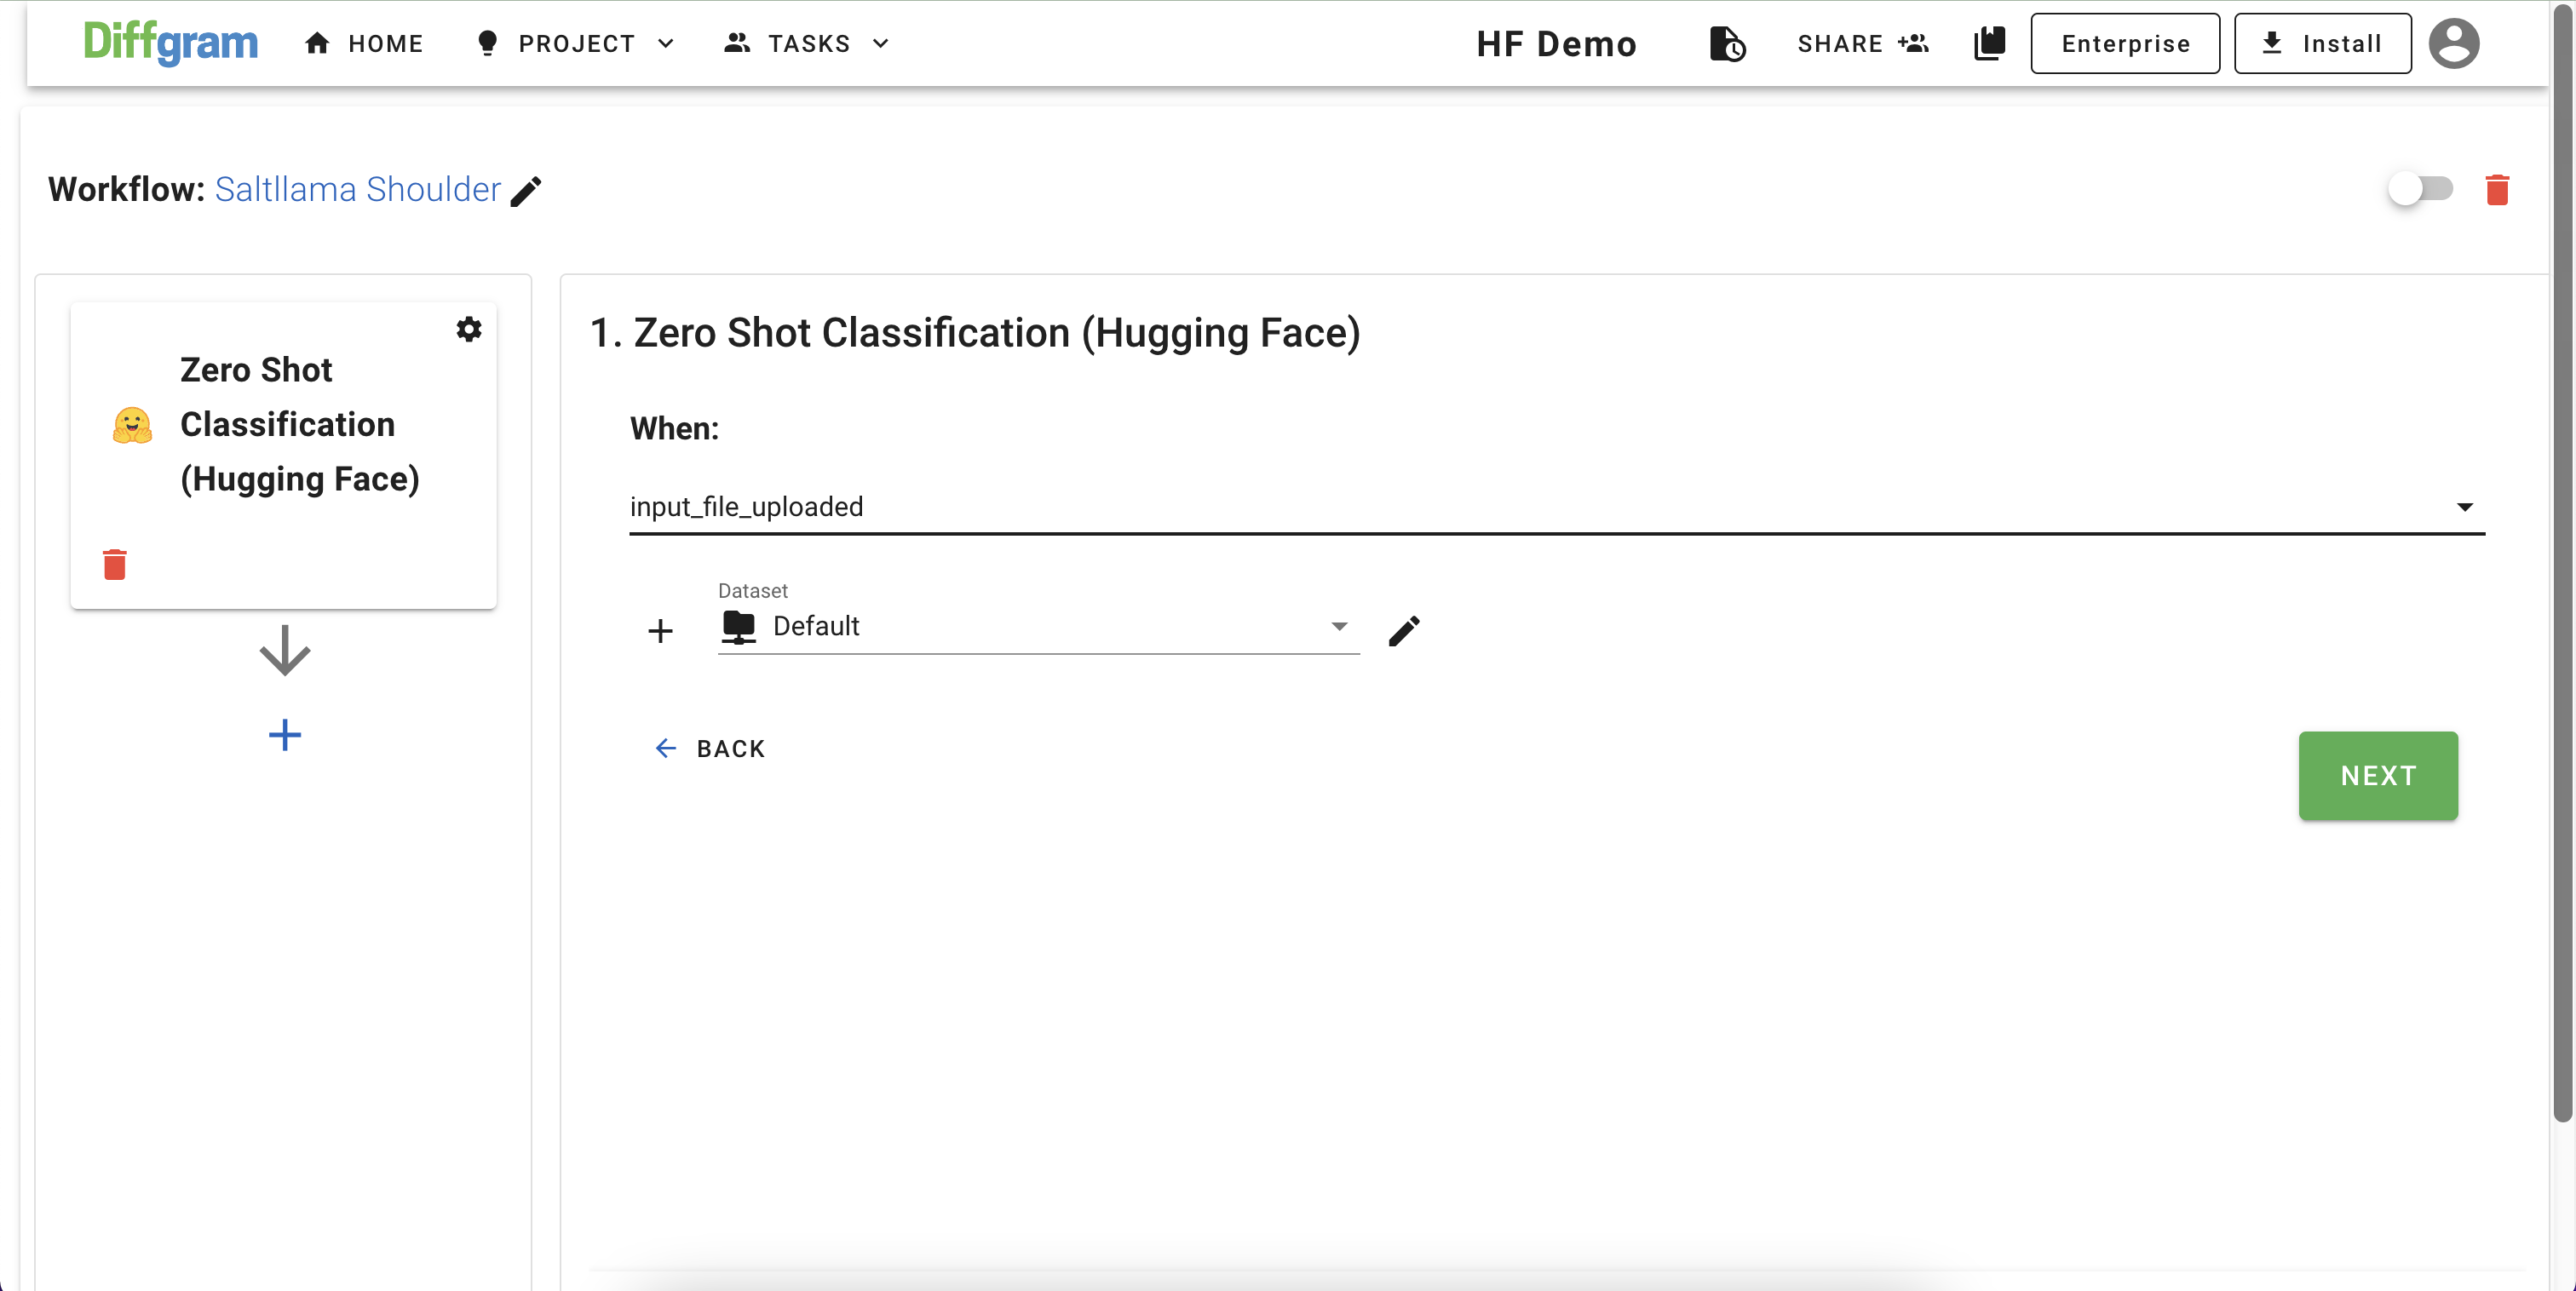
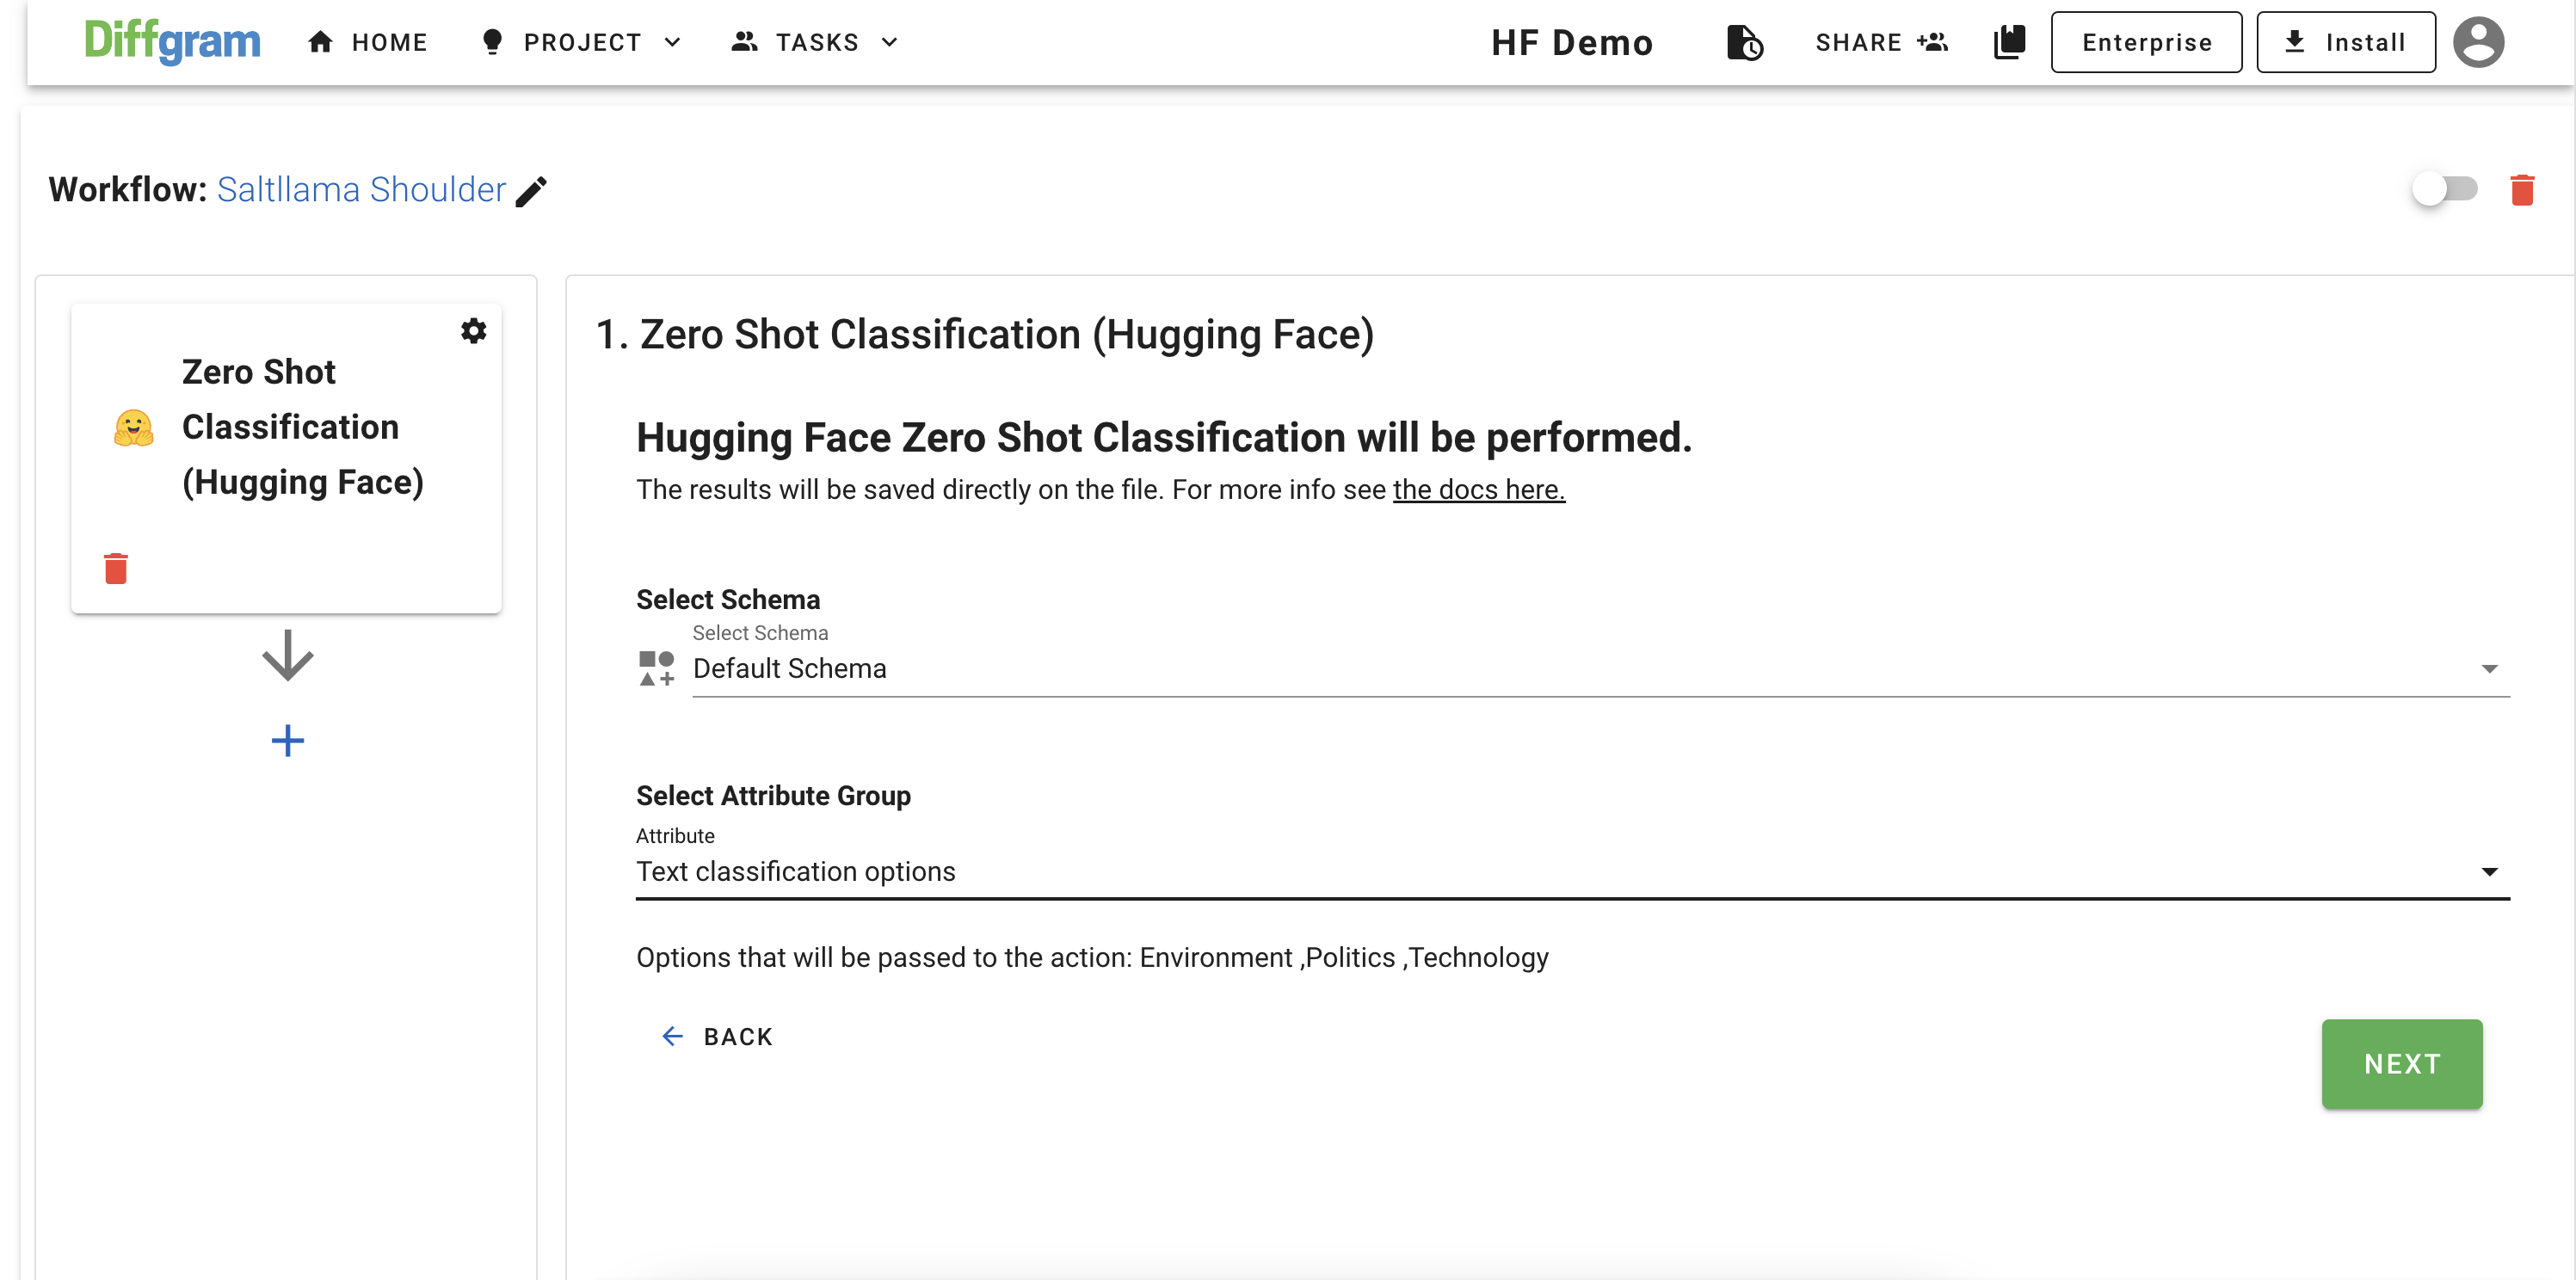
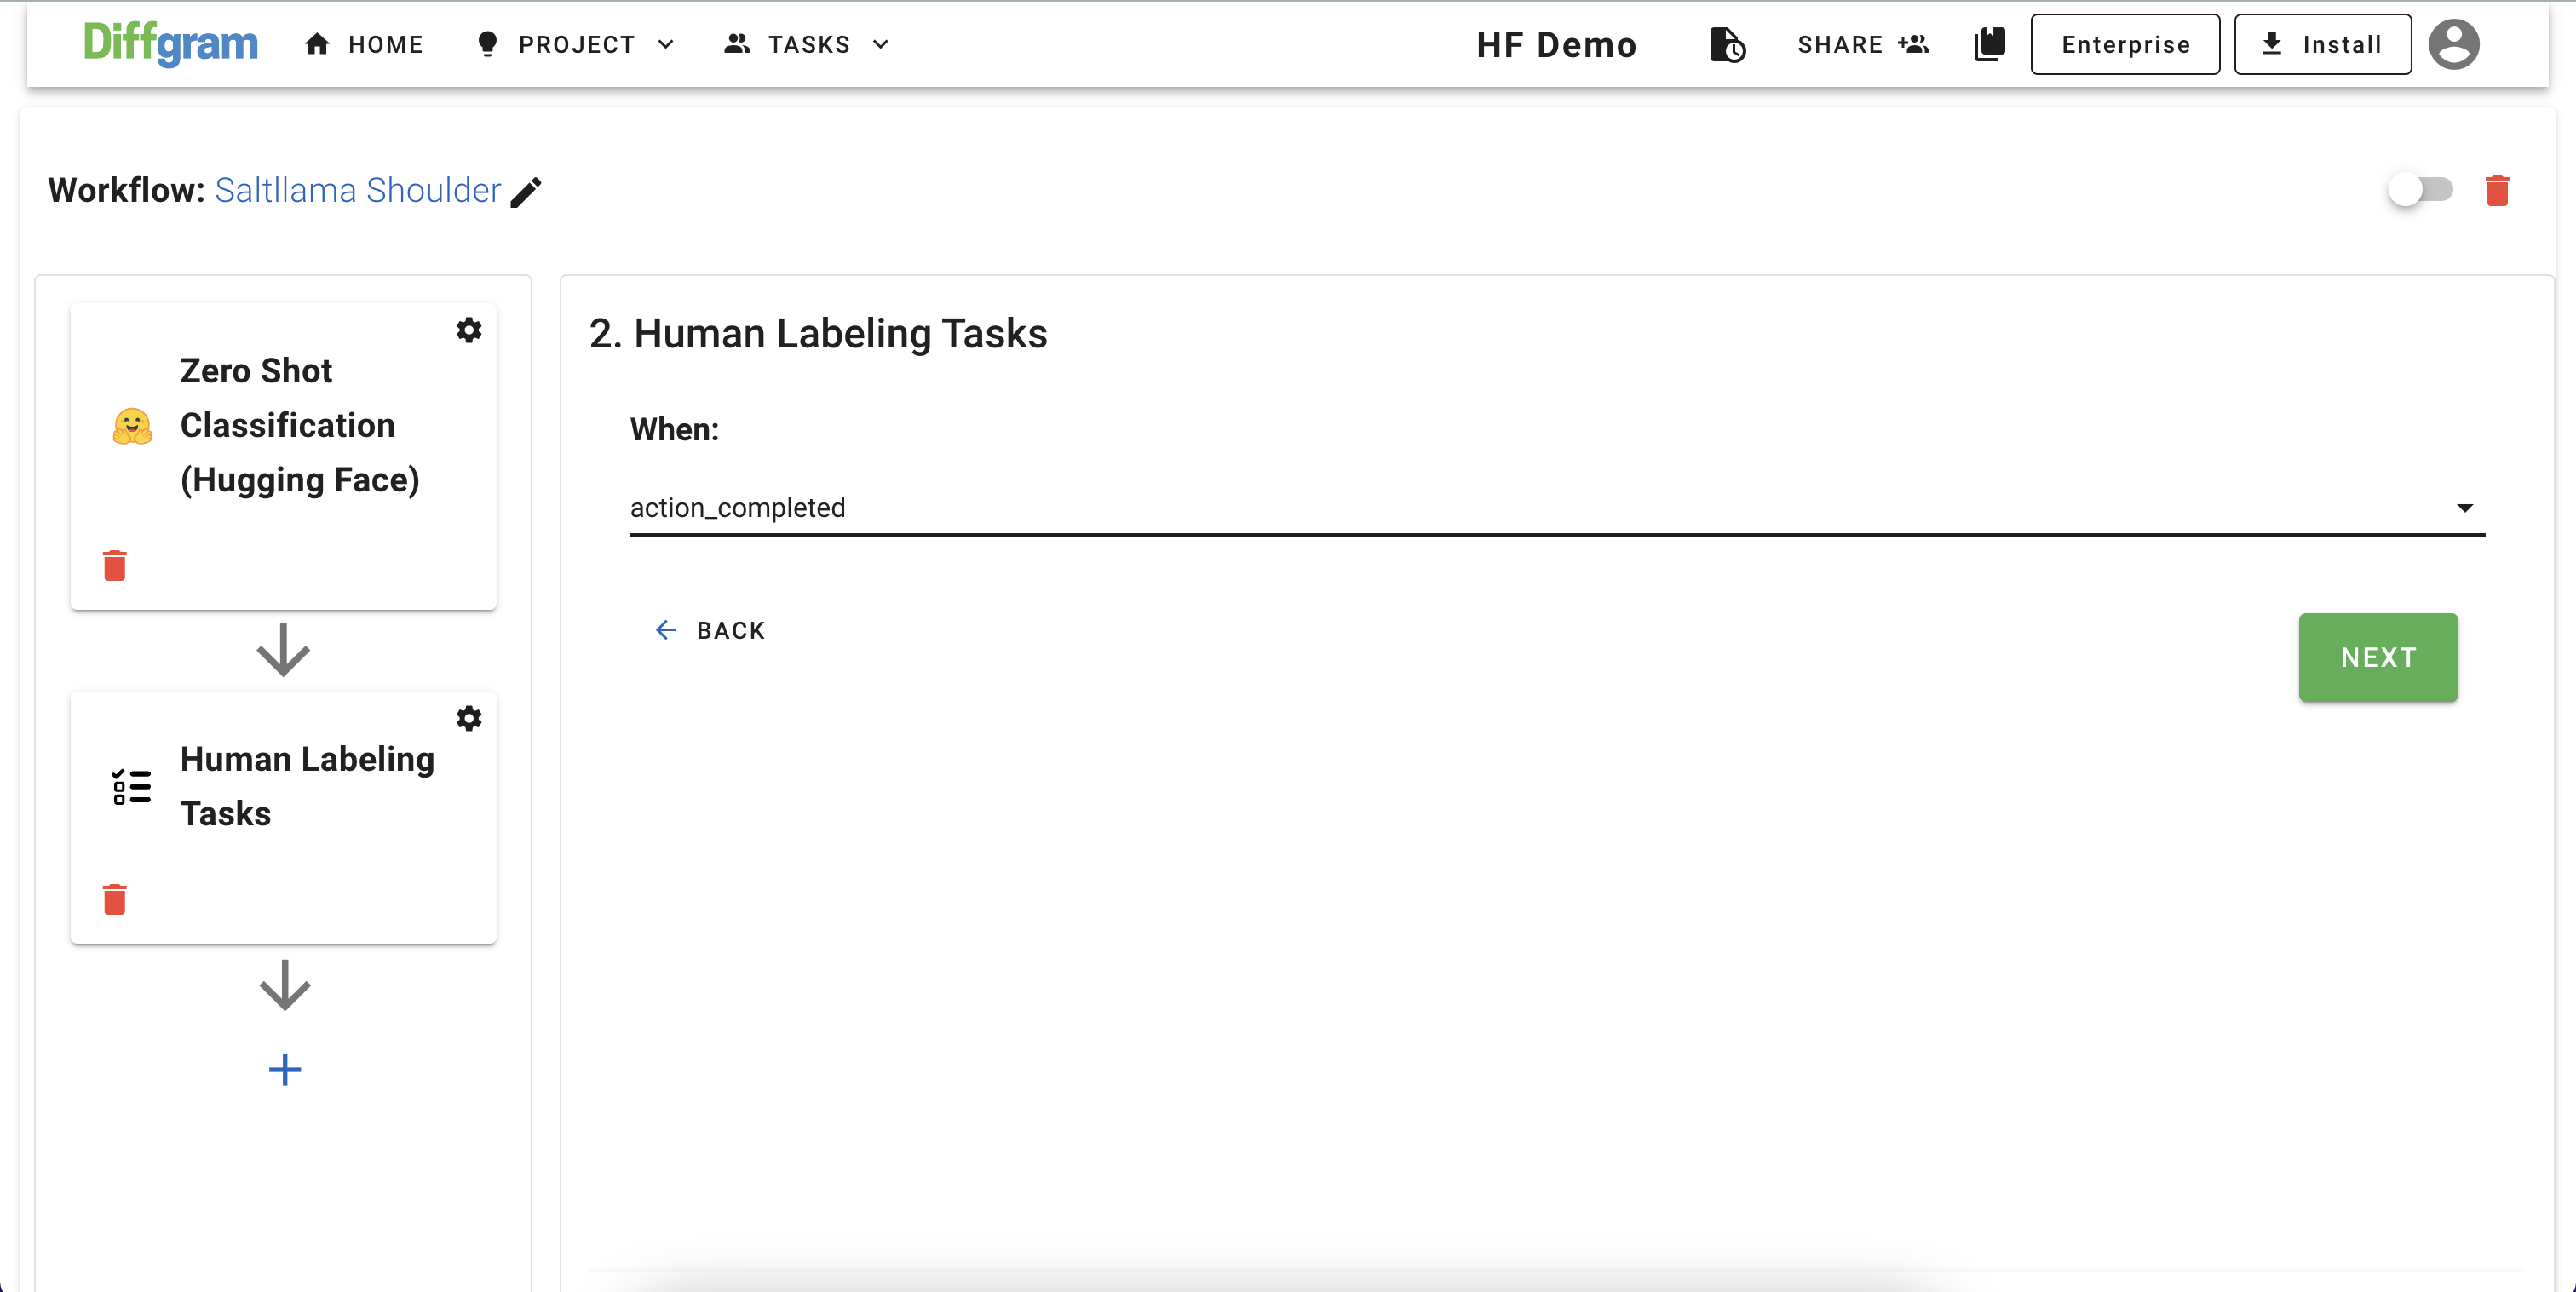
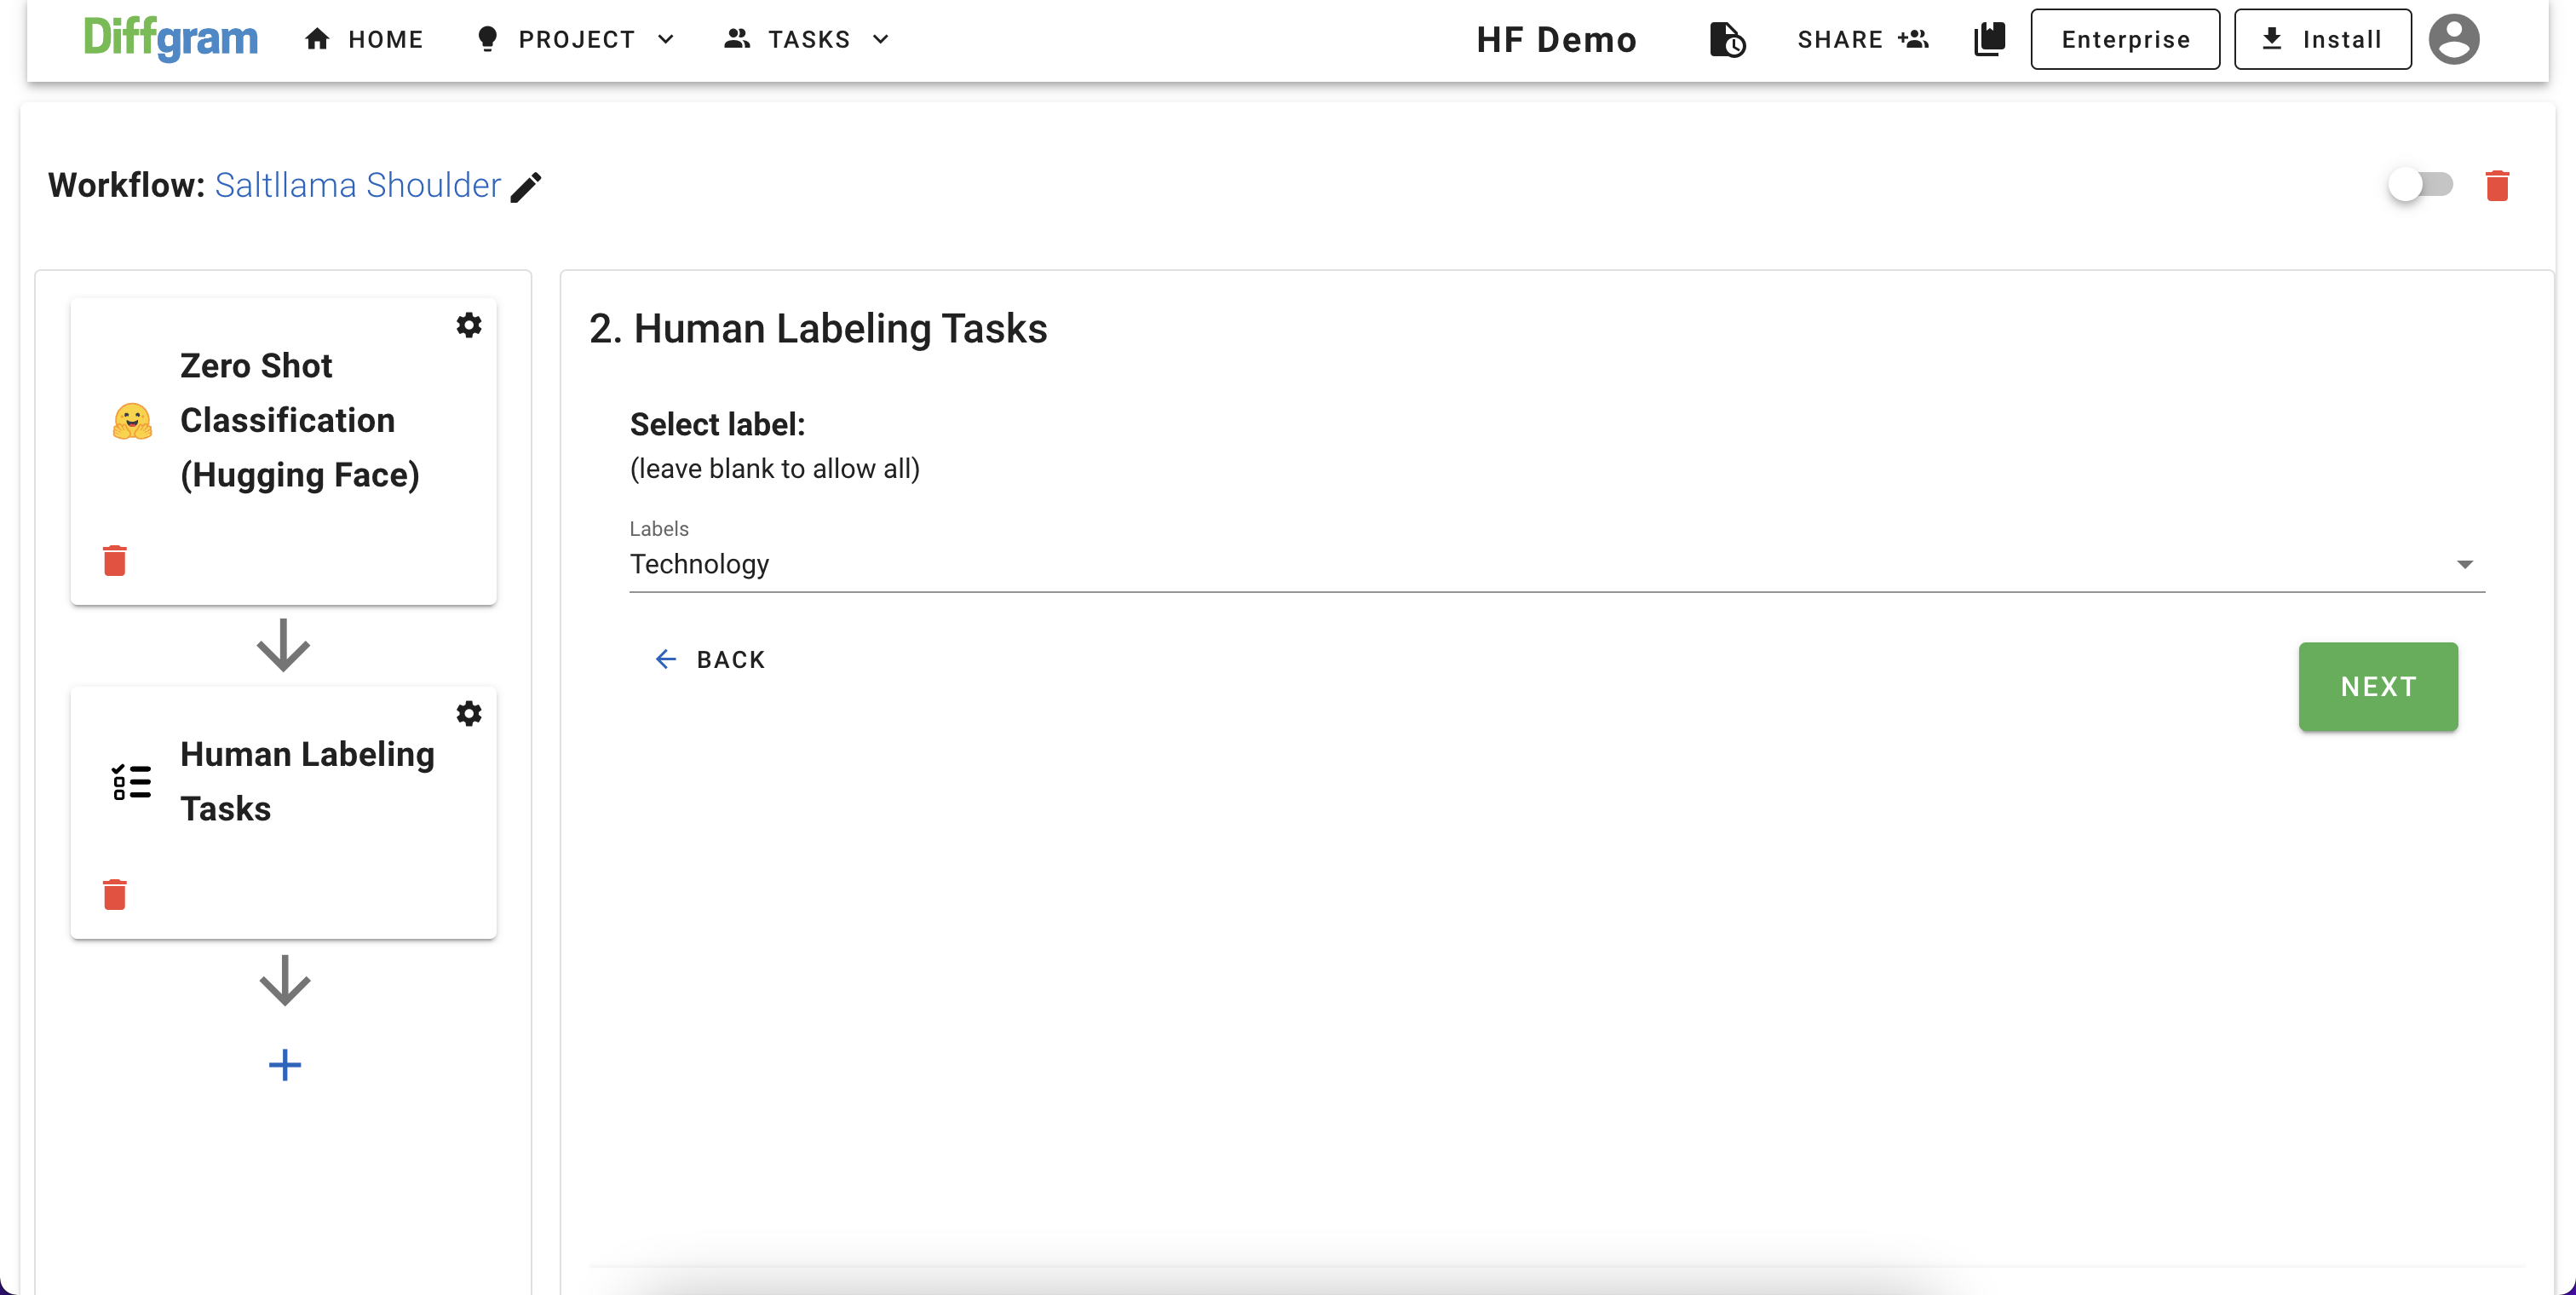
At the end you workflow should look like:
Note
Don't forget to activate the workflow
3. Testing a Zero Shot Classification Workflow
Now, when we created an attribute that should be applied to the tasks and our workflow, let's see if it actually works. I have 9 .txt files (3 for each category I created above), so we can see how accurate is the model.
As usual, click Project and then Import, and after following all the instructions to import your files, in the end, you will have something like this:
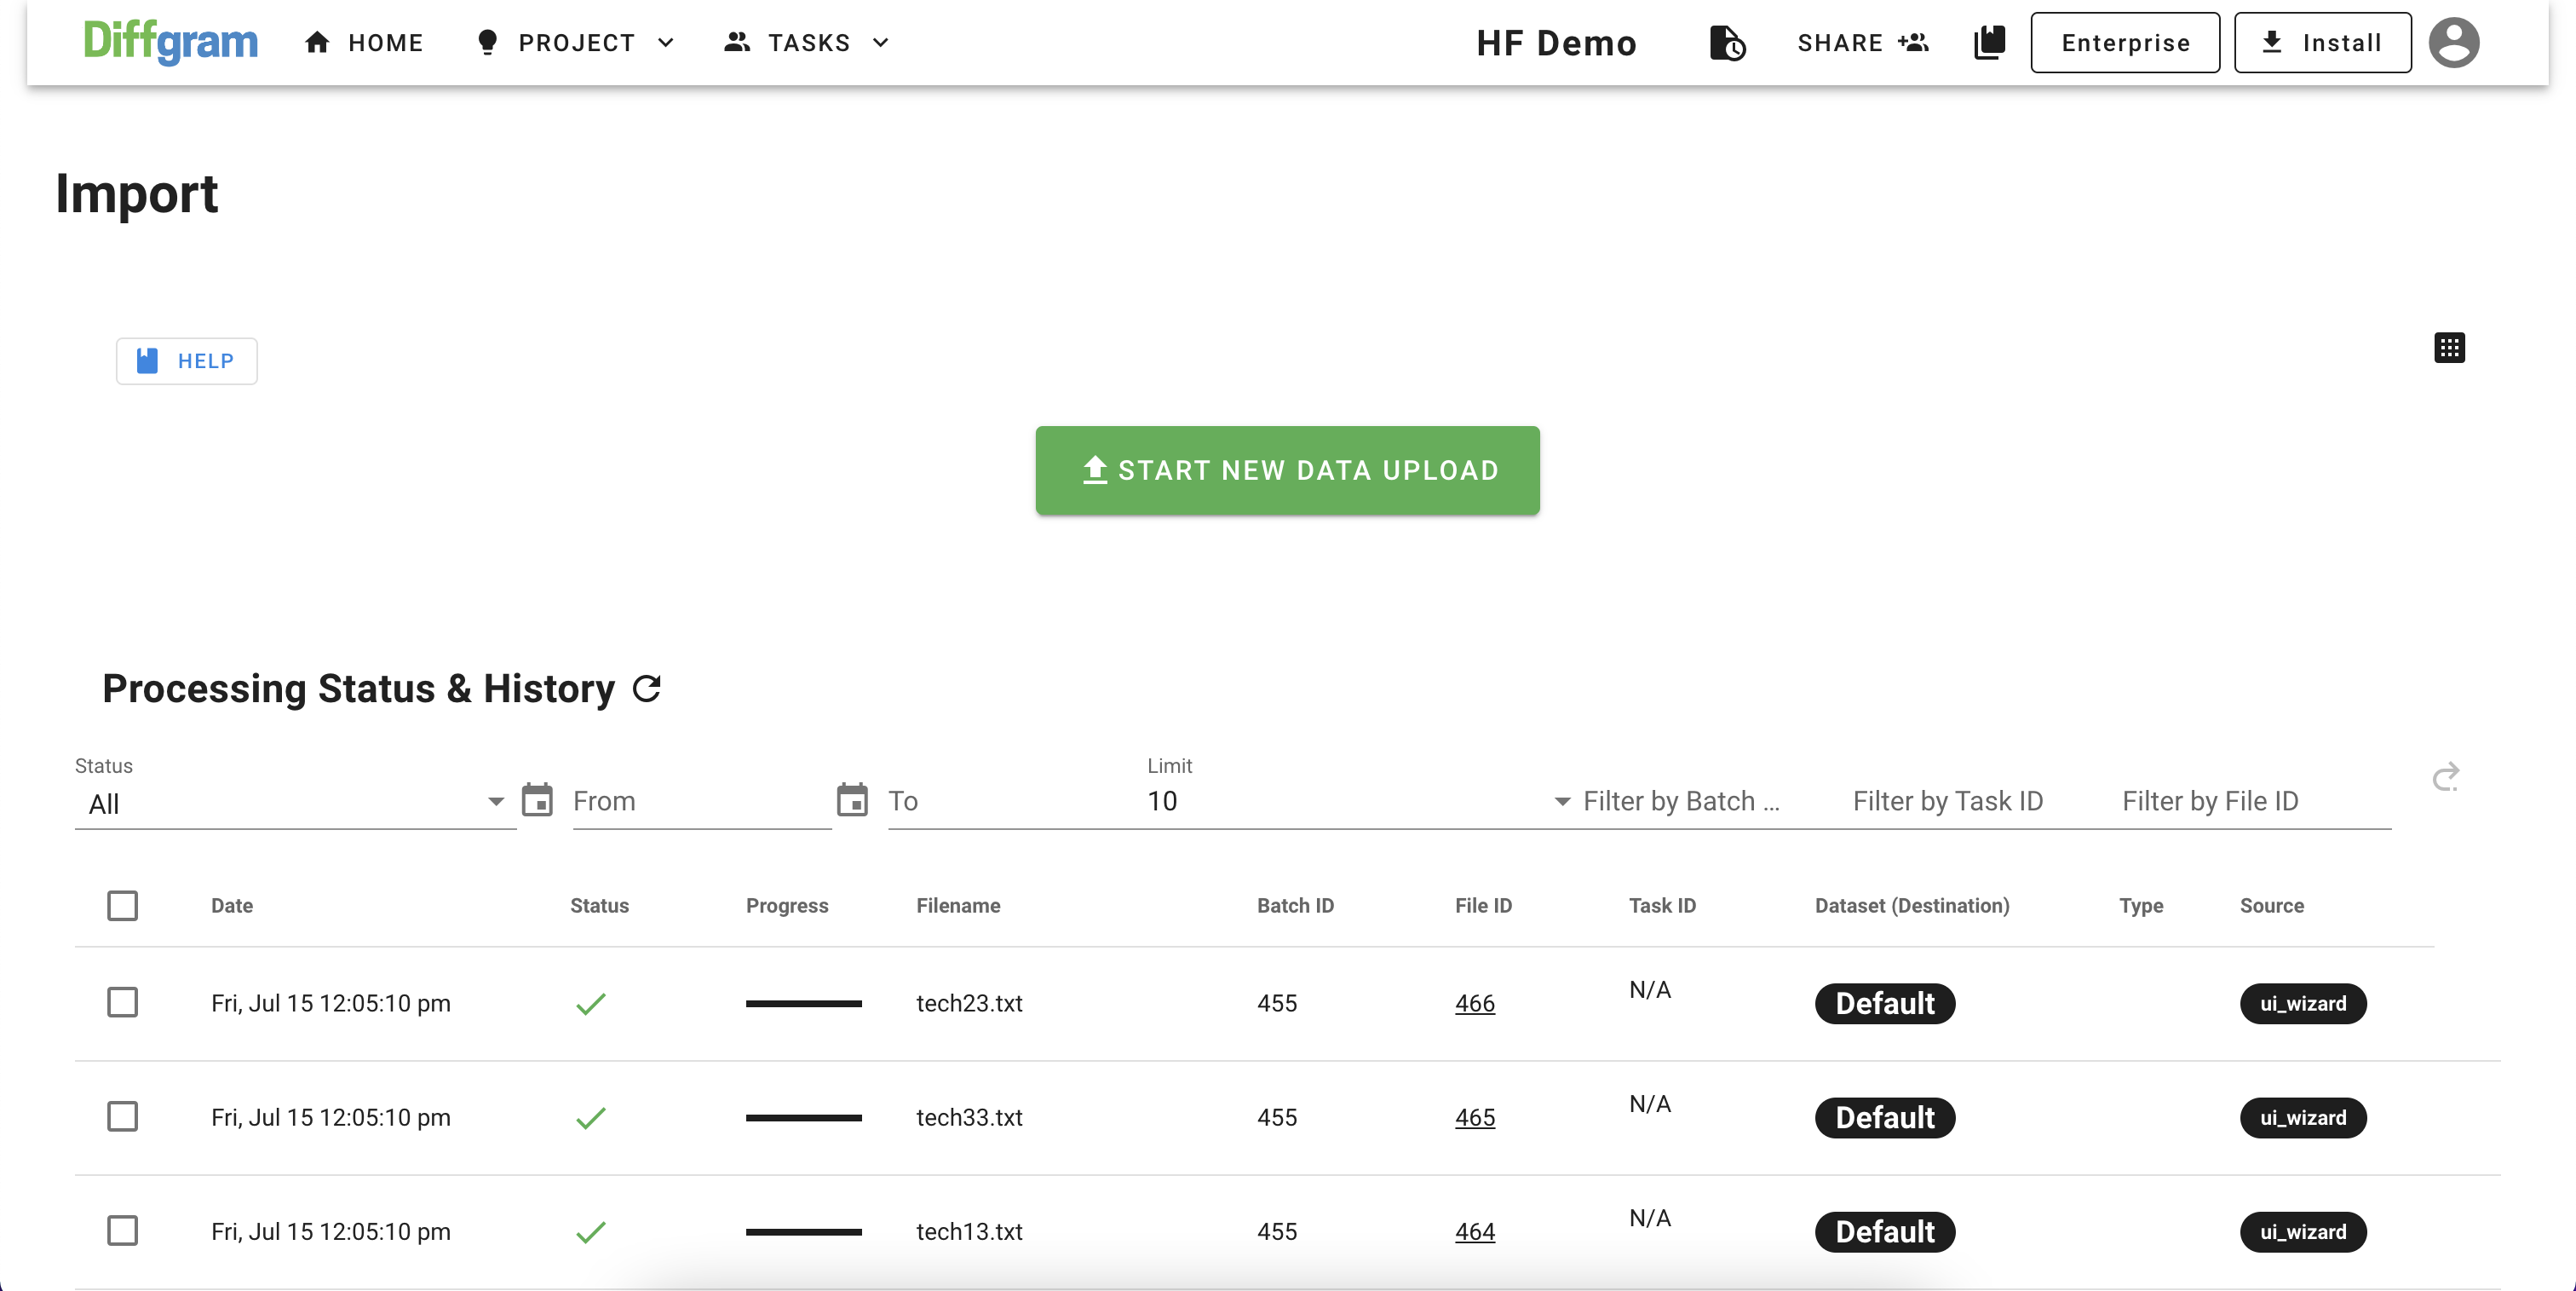
Depending on the size of your dataset, it may take a few minutes to create tasks and perform Zero Shot Classification, and after you can go back to the workflow and click on Zero Shot Classification action to see the results:
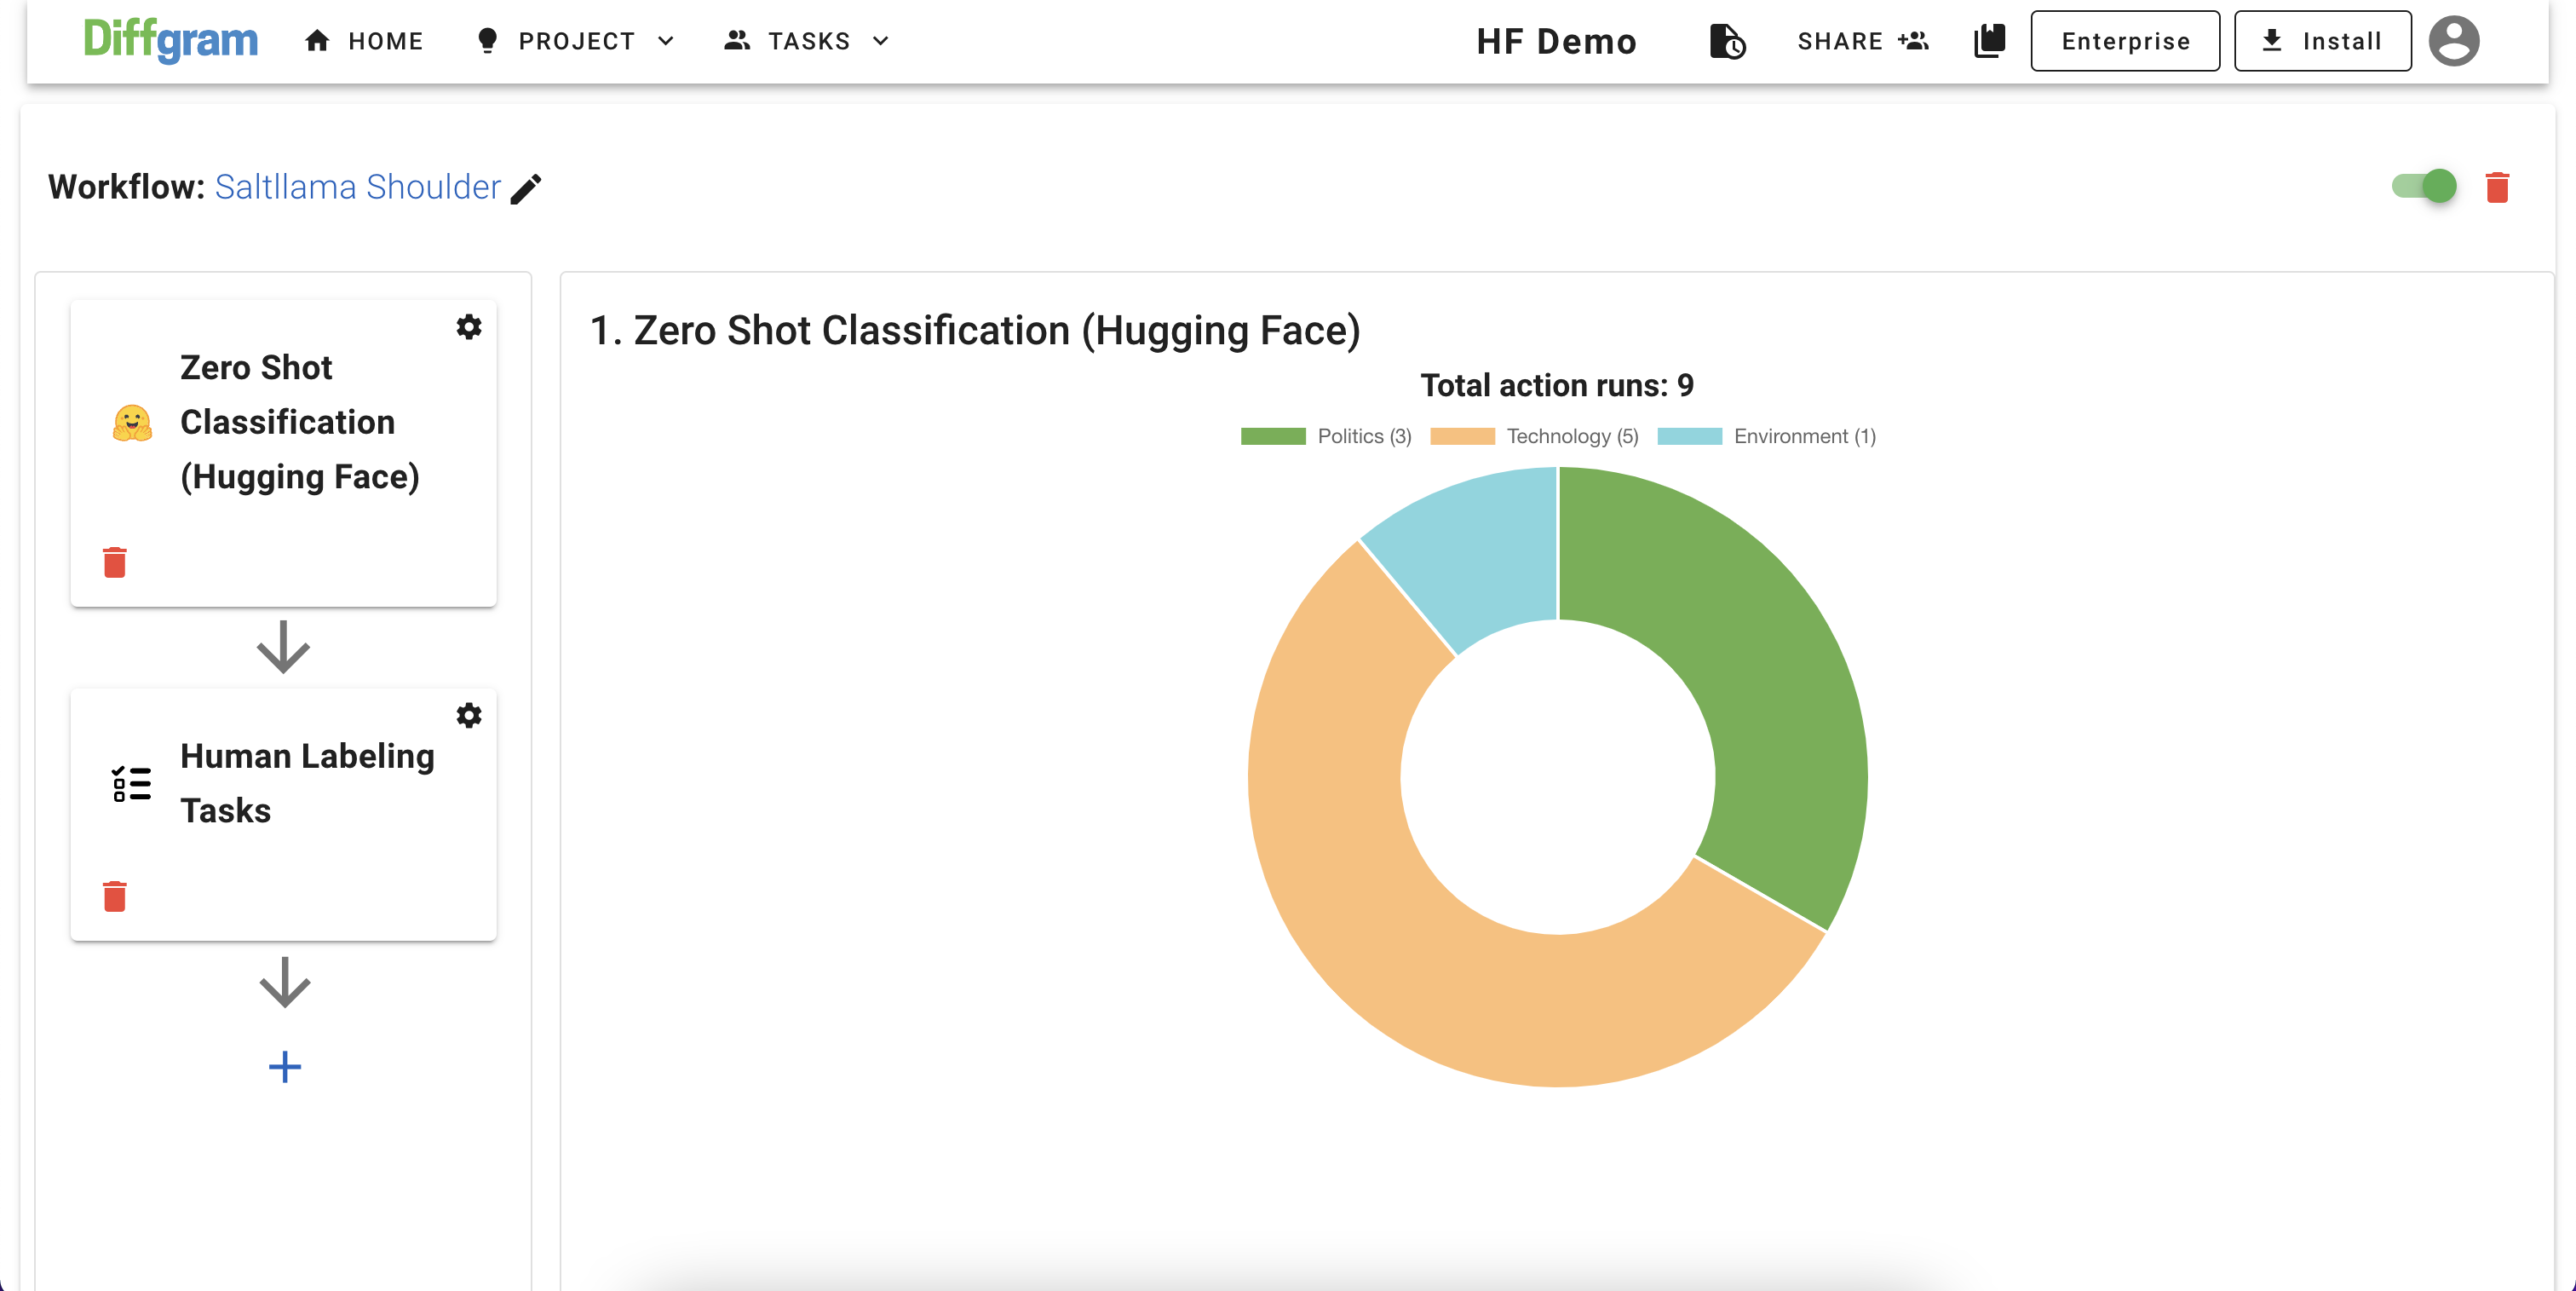
As we see, it clarified only 1 text as "environment" and 5 as "technology" (because the text I used was related to tech as well, so it seems fair enough that they were classified as technology)
According to the results of the Zero Shot model, we should have 5 tasks created on our job:
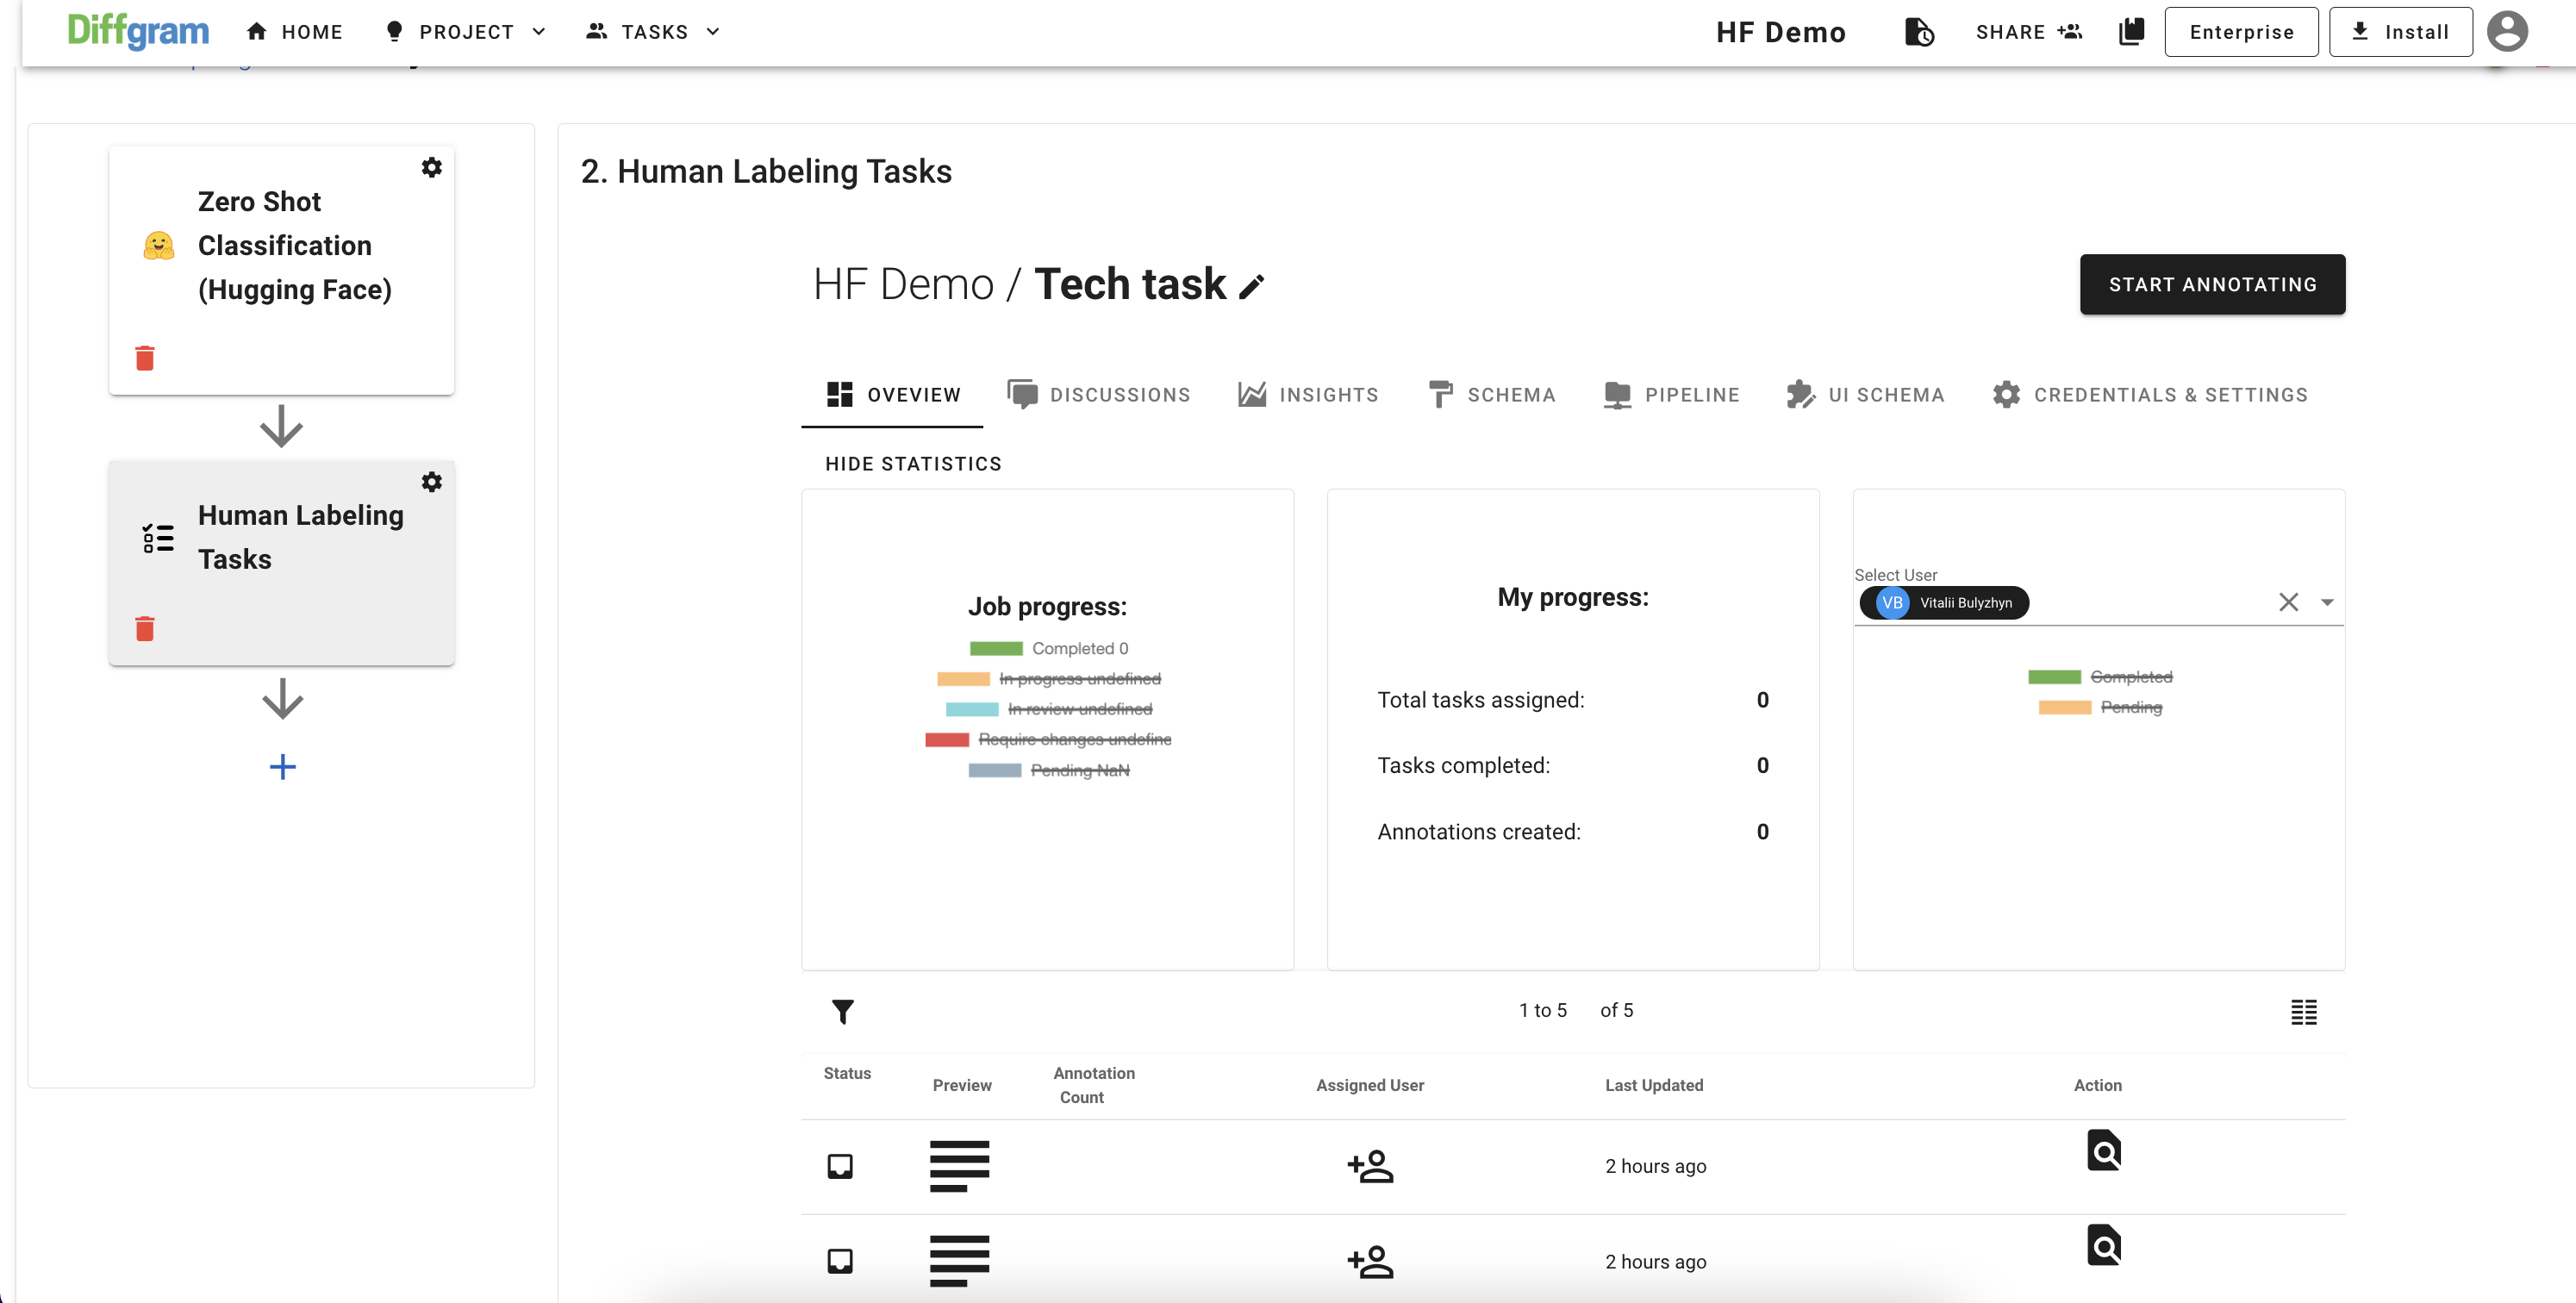
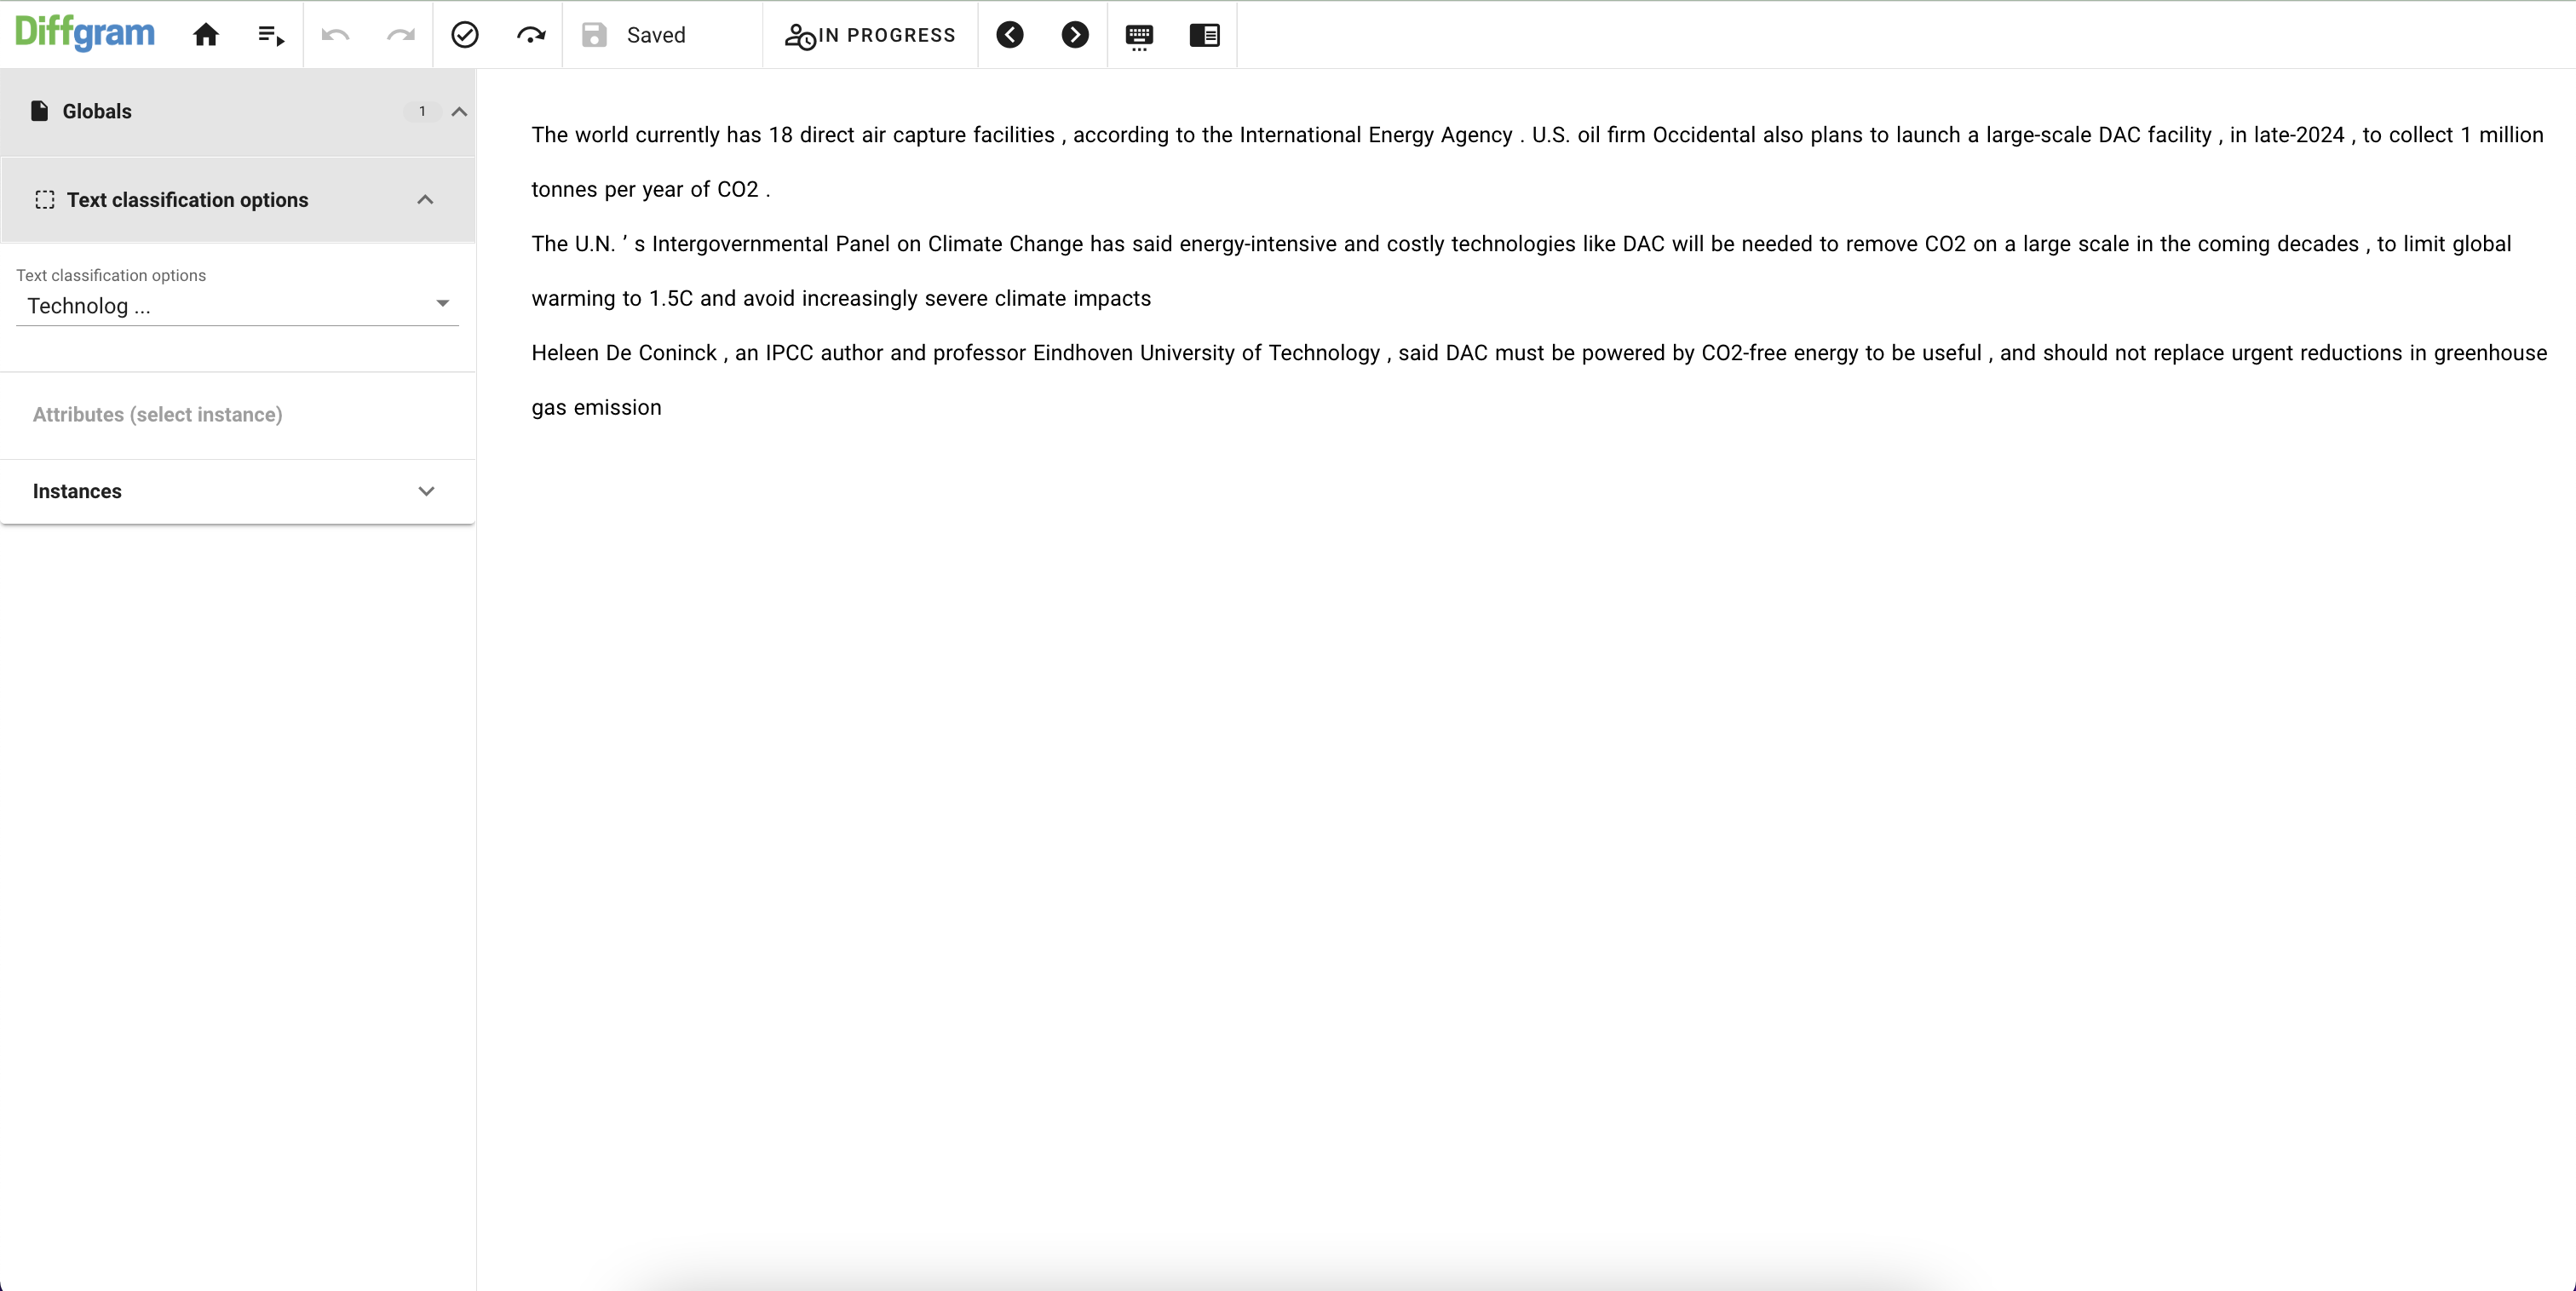
On the task list click on the task you would like to open. When the task page is open, on the Global panel, you will see what attribute was assigned to the task:
Updated over 3 years ago
