Setting Keycloak on Diffgram
Starter guide to integrate Diffgram with Keycloak
The following guide will help you to install and setup Keycloak on Diffgram. Keycloak will help you to enhance your system security with great features like Single Sign On, multiple identity providers management, and enhanced permissions.
Technical Notes:
- Diffgram will default to use a client credentials grant using OIDC standard. SAML is not yet supported.
- Diffgram will map Keycloak users using the
subID provided when exchanging the access token. - New users should be registered in Keycloak first. On first login, Diffgram will bind the user if it already exists, or register a new one and take the user to Diffgram's internal registration flow.
Install Keycloak:
To install keycloak for dev purposes you can user a single docker command:
docker run -p 8080:8080 -e KEYCLOAK_ADMIN=admin -e KEYCLOAK_ADMIN_PASSWORD=admin quay.io/keycloak/keycloak:18.0.0 start-dev
Set Env Variables
Once Keycloak is installed you will need to provide the correct values for the following env variables to your Diffgram installation. This can be set either on the docker compose environment .env file, or on the values.yaml if you are using a helm chart.
# Keycloak / OIDC Settings
USE_OIDC = "True"
OIDC_PROVIDER_HOST = 'http://localhost:8099/' # URL where your keycloak is running
OIDC_PROVIDER_CLIENT_ID = 'diffgram'
OIDC_PROVIDER_SECRET = 'keycloak_client_secret'
OIDC_PROVIDER_REALM = 'keycloak_realm'
KEY_CLOAK_MASTER_USER = 'admin' # Same as the one you inputted in the Keycloak docker
KEY_CLOAK_MASTER_PASSWORD = '123' # Same as the one you inputted in the Keycloak docker
KEY_CLOAK_DIFFGRAM_PASSWORD = 'diffgram'
KEY_CLOAK_DIFFGRAM_USER = 'diffgram'
The variable that activates all keycloak functionality in Diffgram is the USE_OIDC variable. When this value is set to True, diffgram will default to login using Keycloak instead of the built-in identity system.
- Diffgram will create a new realm and client (if it does not already exist( and user for that client. And add a new user on the realm based on the values of
KEY_CLOAK_DIFFGRAM_PASSWORDandKEY_CLOAK_DIFFGRAM_USER
Setup Keycloak
First yo need to create a realm in keycloak. Click on the add realm button on the UI and add your realm. Set the realm value on the OIDC_PROVIDER_REALM variable on your Diffgram env variables.

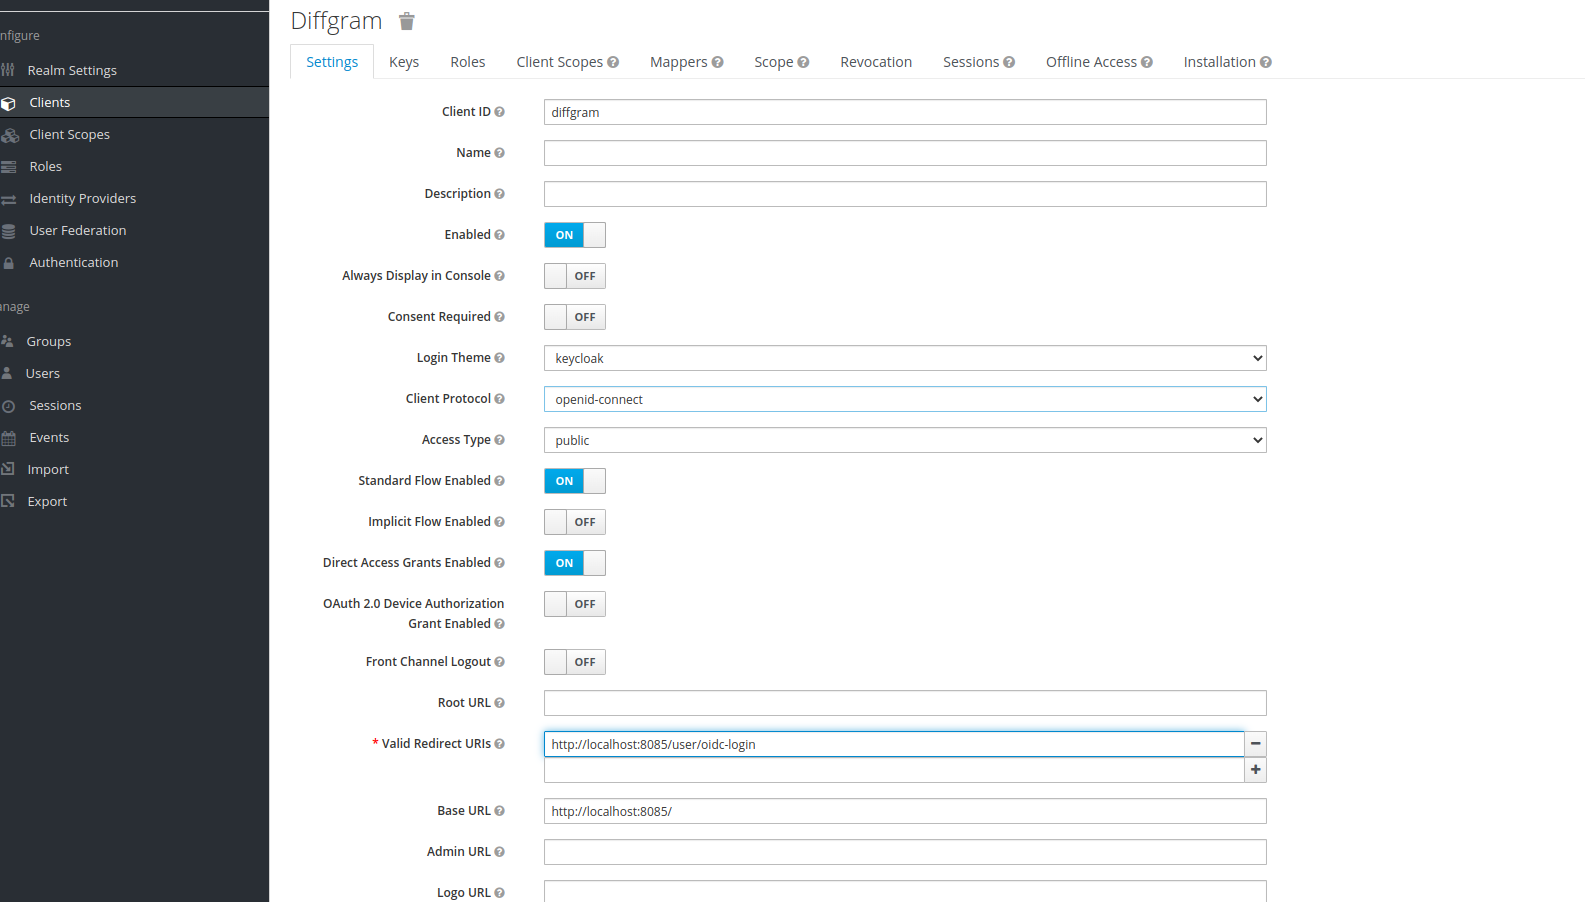
After adding your realm, create your client. Go to clients and click new client on the top left corner:

Give your client a name, and set the Client protocol to openid-connect.
Once the client is created, set the valid redirect uri to http://your_diffgram_host:8085/user/oauth2-login/

Also if you want your client to be private be sure to copy the client secret and add it in the OIDC_PROVIDER_SECRET. For this example we'll keep the client public so there is no need to get the client secret.
Create a User in Keycloak
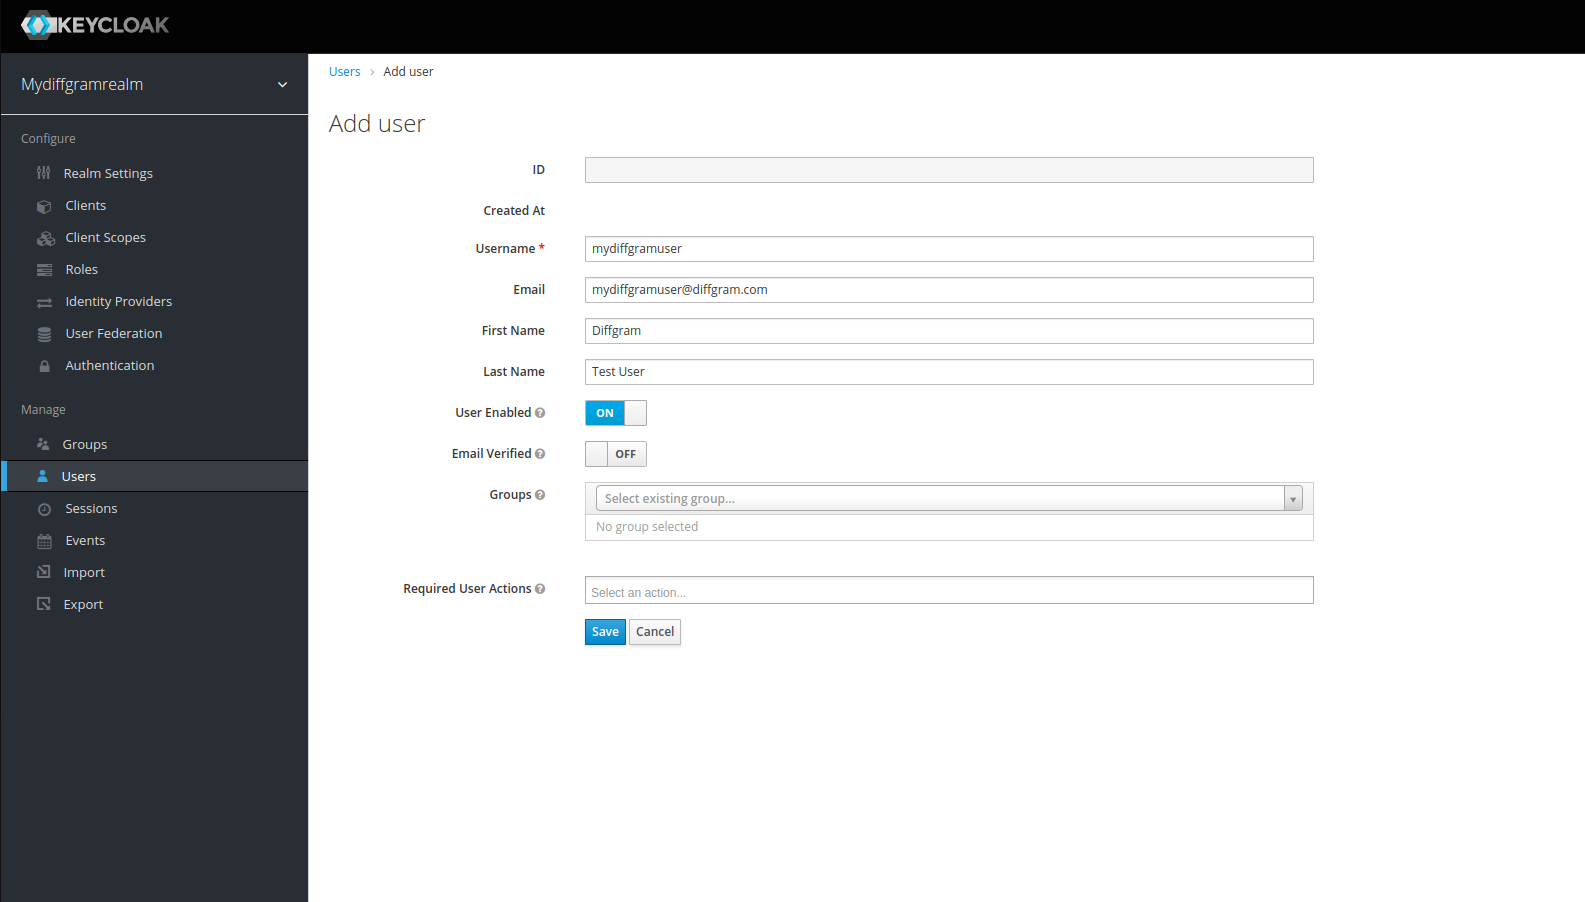
Go to the Users section and click Add User:

Set the username and email, first and last name. Then go to the credentials tab and set your password.
Email is Required for Diffgram
Diffgram uses the email address as the binding data point for finding a user that comes from Keycloak. Make sure all your Keycloak users have an email, as Keycloak does not require it out of the box.
Log In Using Keycloak
Go your Keycloak auth url from the client you just created:
The url schema to access your auth url should be something like this:
http://<KEY_CLOAK_HOST>/auth/realms/<KEY_CLOAK_REALM>/protocol/openid-connect/auth?response_type=code&client_id=<KEY_CLOAK_CLIENT>&redirect_uri=http://<DIFFGRAM_HOST>/user/oidc-login
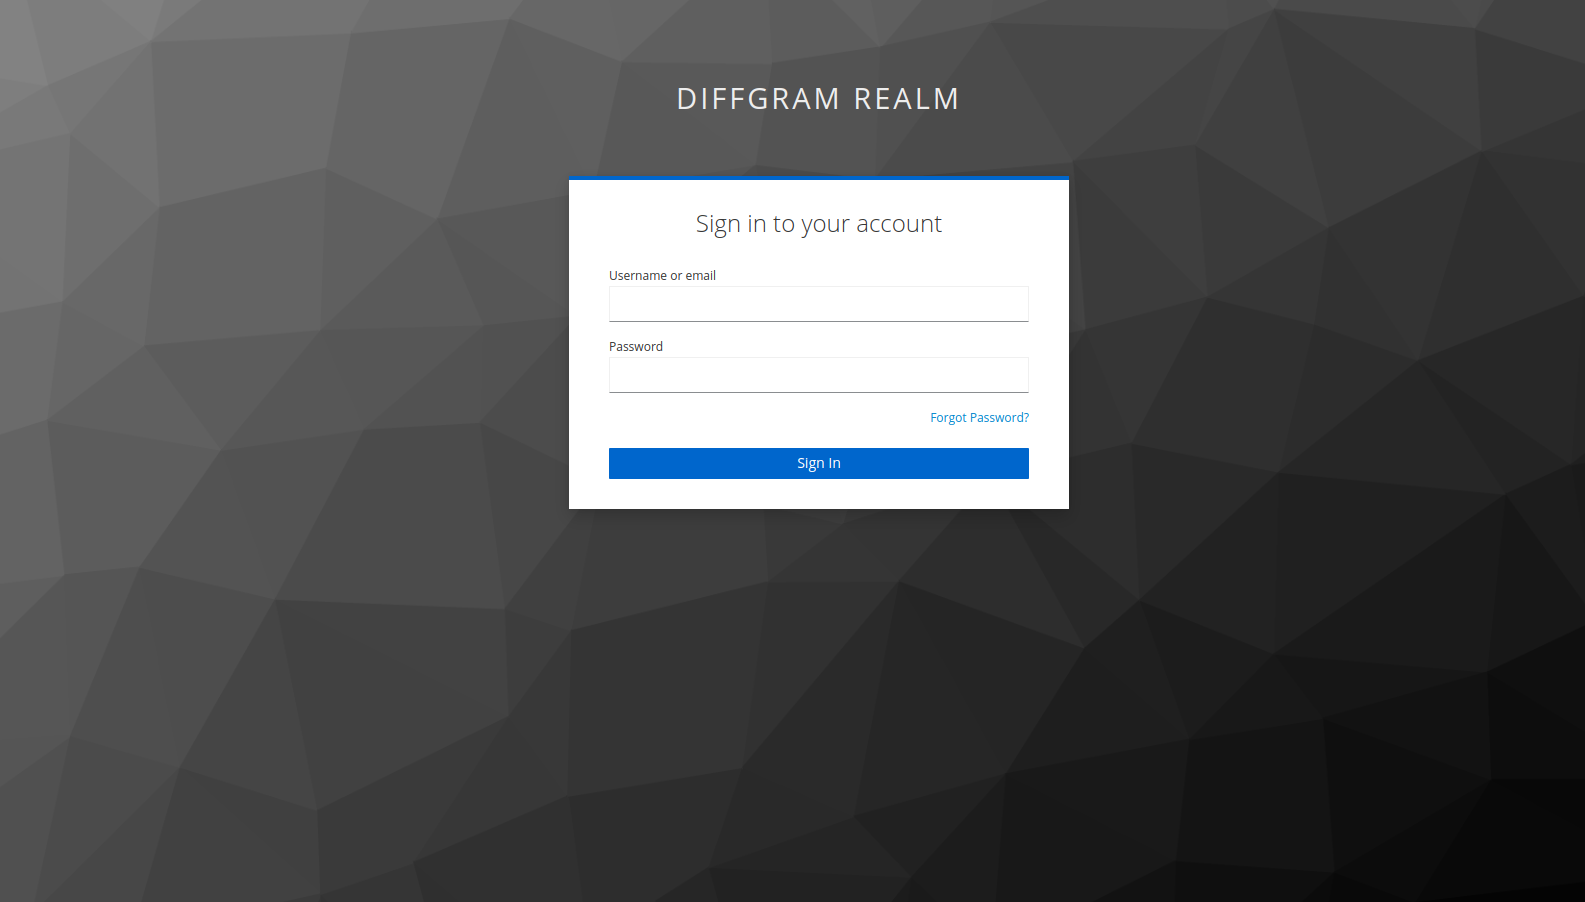
You should see a screen similar to this one on your browser:

Now you should be able to login, and you will be redirected to your Diffgram dashboard as an authenticated user.
Updated over 3 years ago
