Importing Files & Instances on the Upload Wizard
Import Files and Instances on Diffgram's UI With no Code
Diffgram support importing files and instances data with no code or API calls using the UI Import Wizard. This wizard will accept raw media (Images, Videos, Text) and annotation files (CSV, JSON).
You don't need any special formats for the JSON or CSV. The wizard will guide you through the mapping of the keys in the JSON (or columns in the CSV) to the values that diffgram requires to upload the data correctly.
Import Wizard Walkthrough
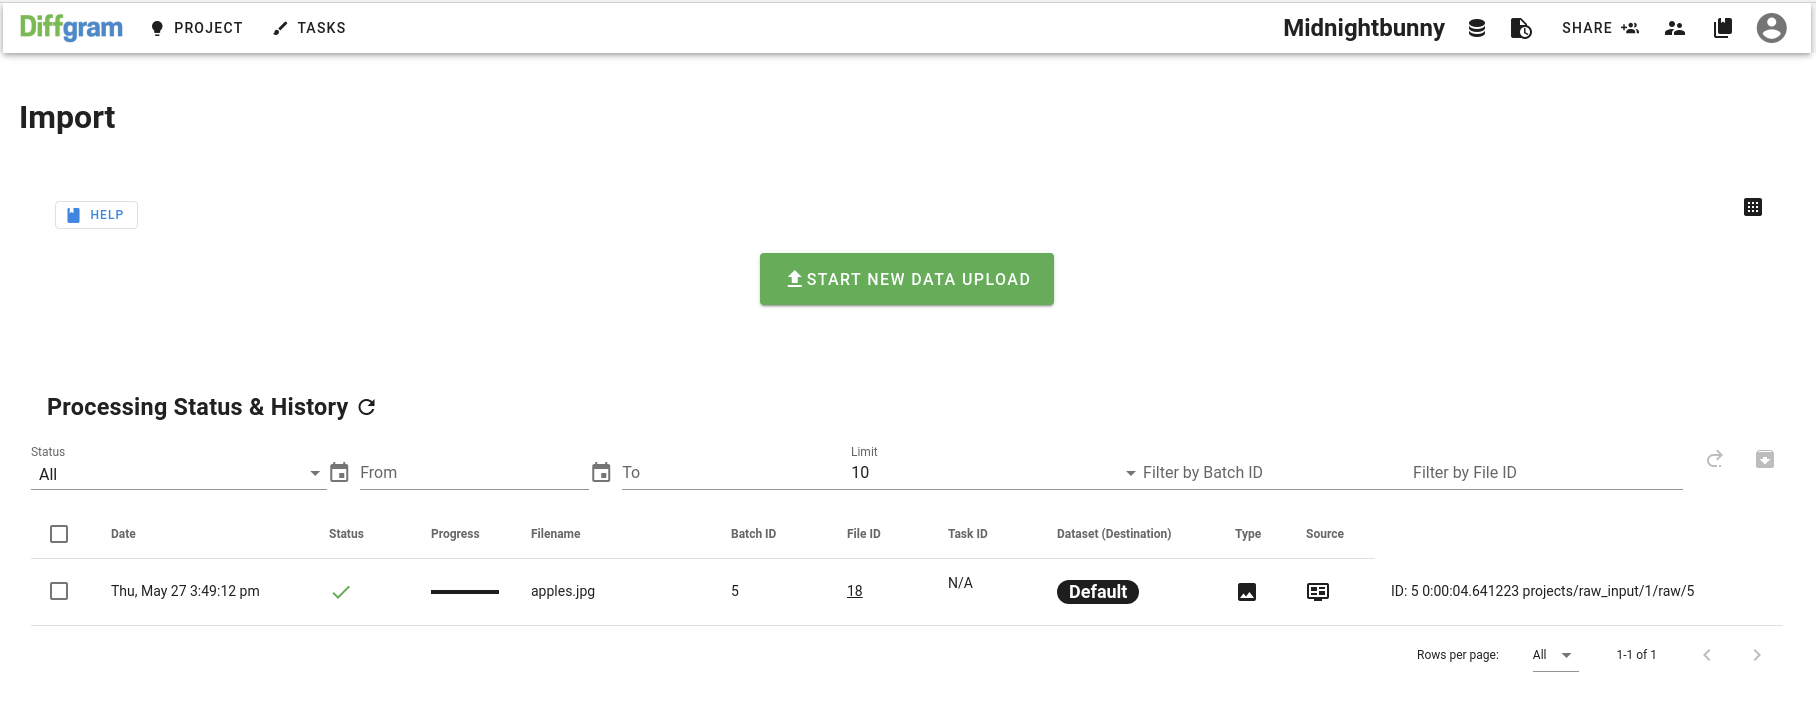
Start by going to the import section on your project and click on "Start New Data Upload".
Upload vs Update
You will be asked to either upload new data or update existing files.
- Upload New Data: Use this when you want to add new file and instances to the system. You need to provider the raw media files and (optionally) a JSON or CSV with the annotations,
- Update Existing: Use this when you have existing diffgram files and you want to add new annotations to it via a JSON or CSV file. The only requirement for this is that the annotations file should have the diffgram file ID to map this instances.

Selecting Dataset
After deciding on the upload vs update mode, you will be asked to select the dataset where you want to upload the files. You can also create a new dataset on this step if you wish.

Upload Source
The next step is to decide the upload source. You can either upload from your local machine, or upload from a cloud storage provider like S3, Azure or GCP.

Add Prelabaled Data
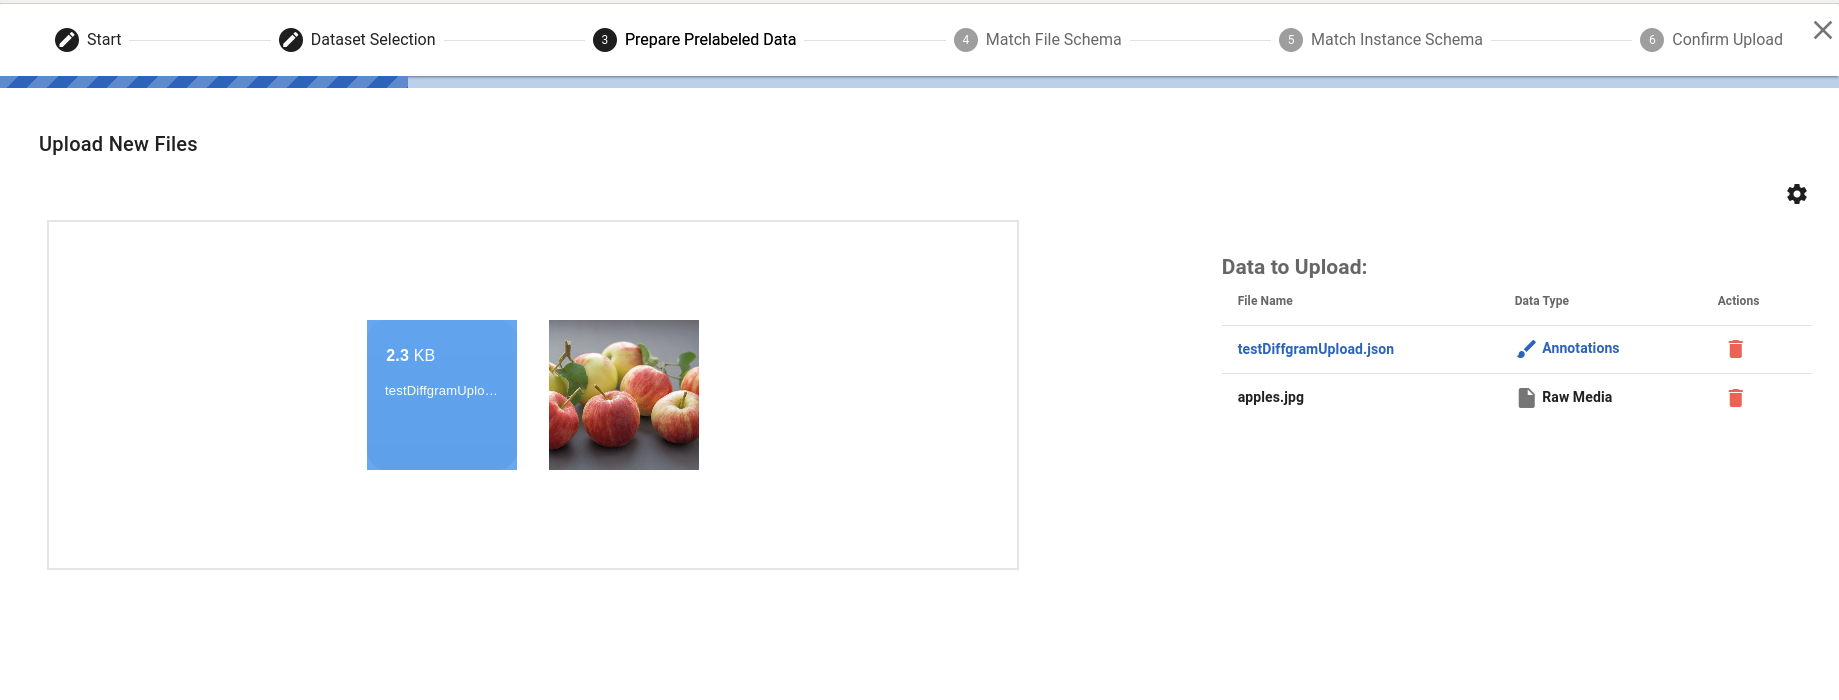
The next step on the wizard will ask you if you want to add any prelabeled data along with the files. If you click yes, you will be required to upload either a JSON or CSV file along with your media files.

Select Your Files
Now Diffgram will ask you for your files. You will either add them from your local machine, or select the files from your cloud provider using Diffgram Connections
Start Data Mapping (For files with Instances)
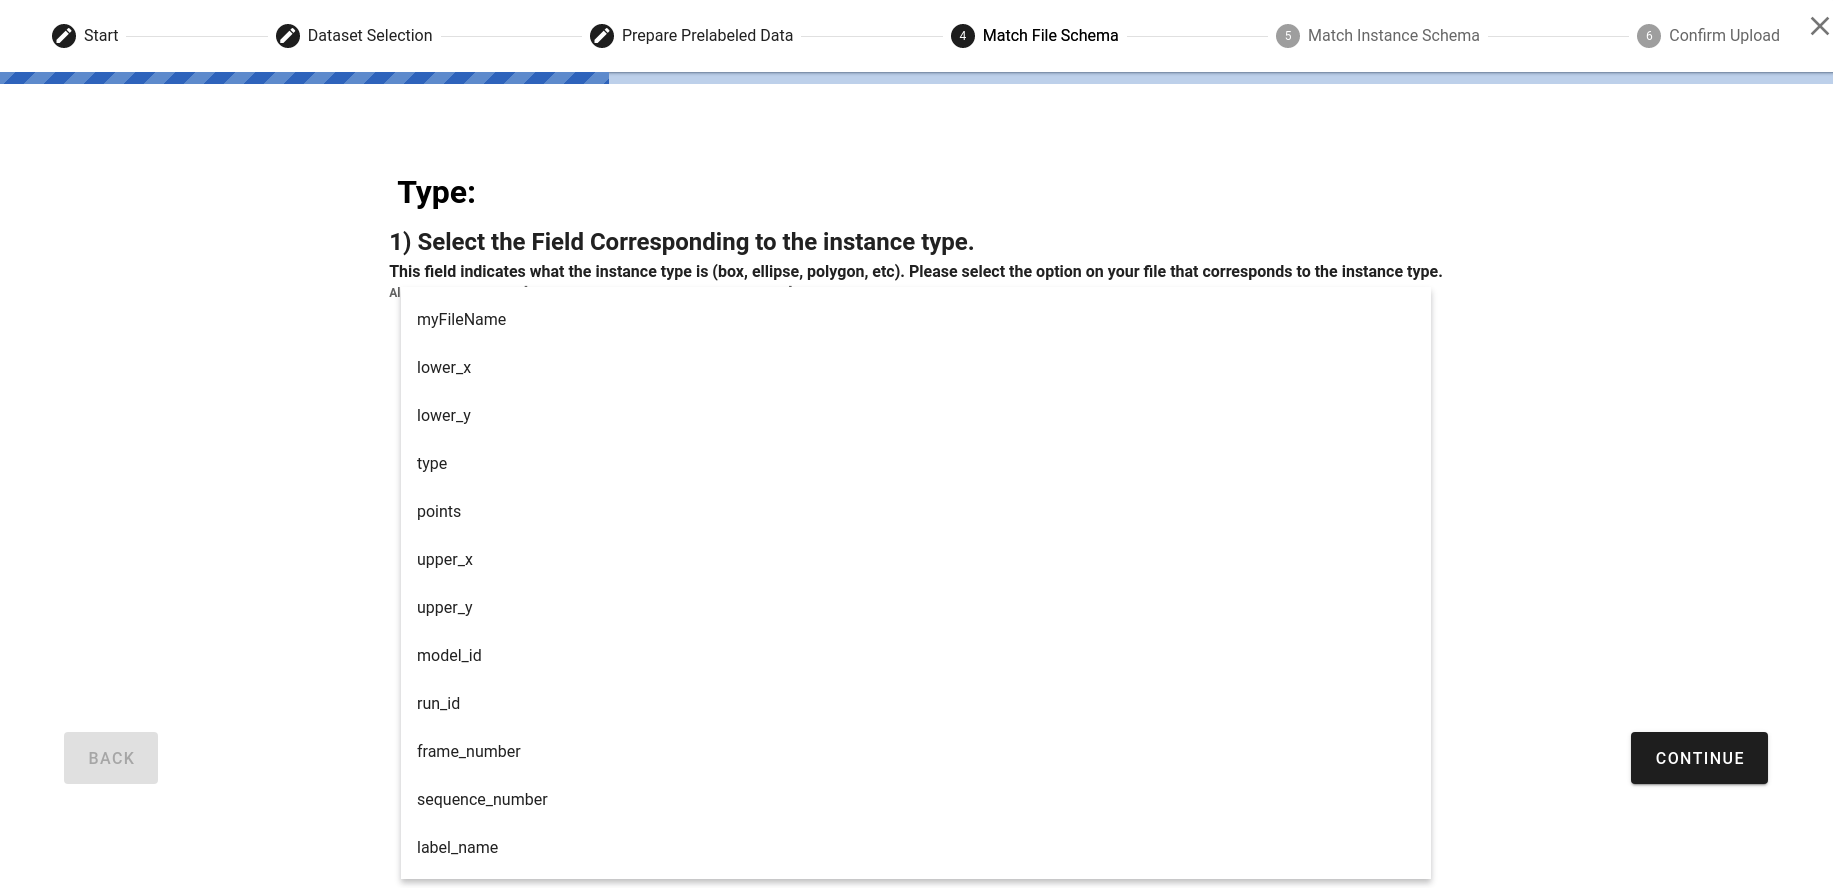
After you select your files, you will start the data mapping process. Diffgram will start asking you to select the keys corresponding to each of the core properties necessary to upload your instances into Diffgram. Diffgram's Wizard will start asking for the JSON key or CSV column that corresponds to each of the required properties of the file.Make sure you have in your JSON or CSV the file name, instance type, label name, and frame numbers/sequence number for the case of videos.
Map Spacial Data
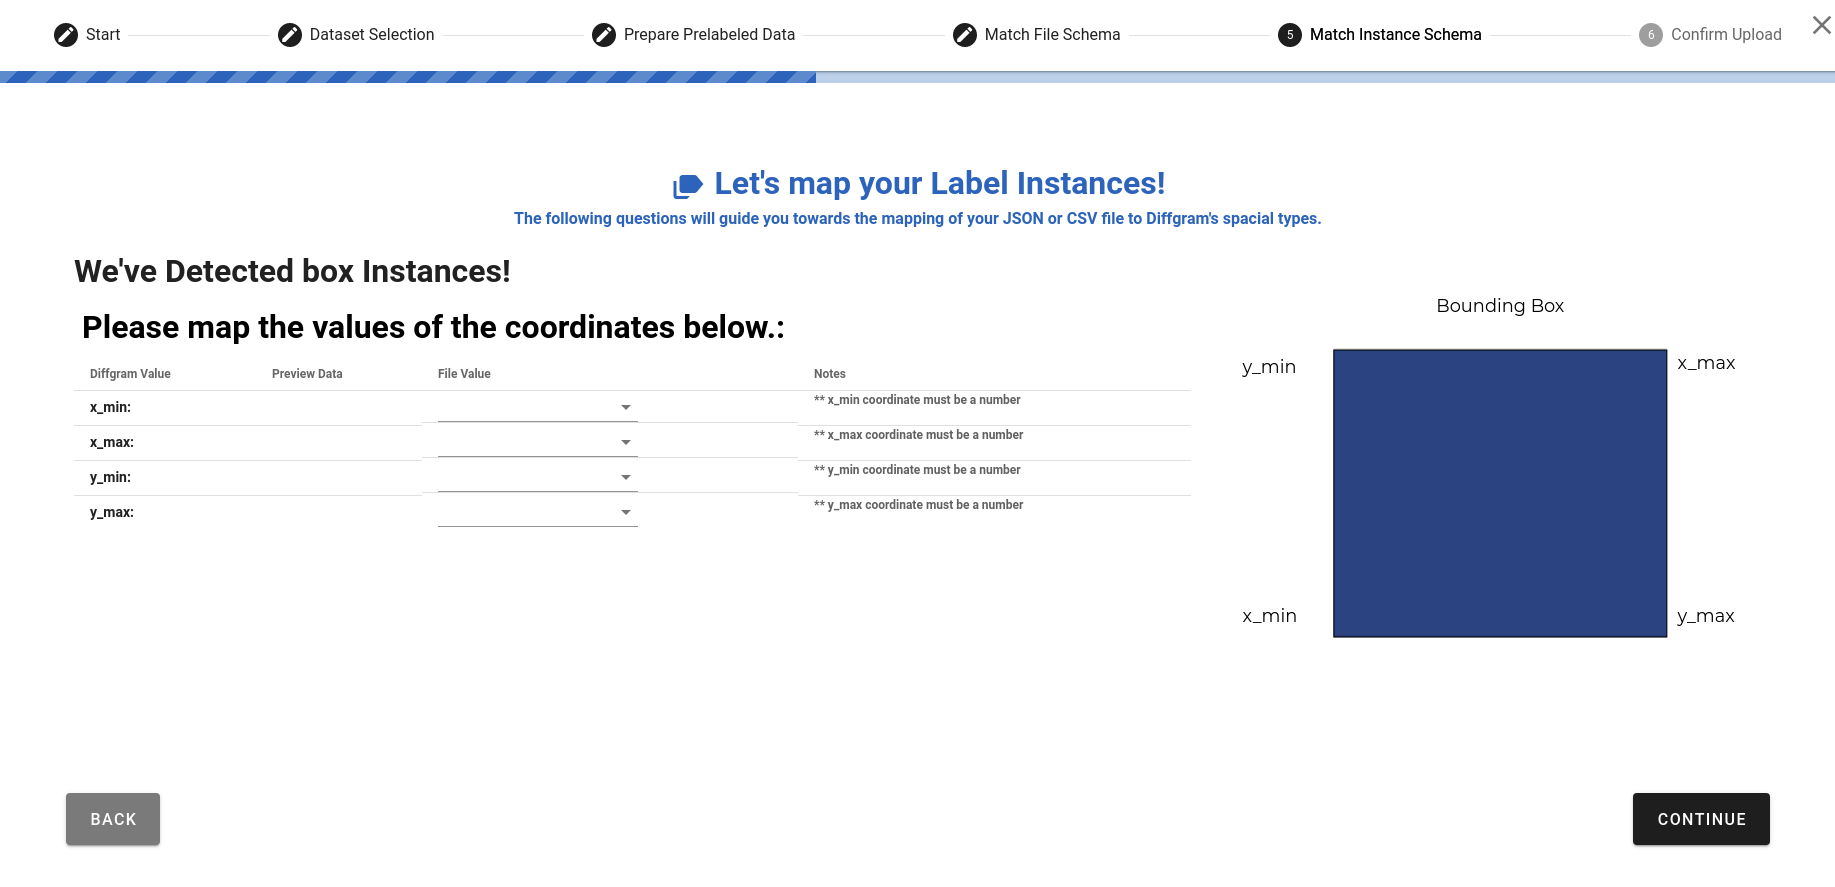
After mapping the file data, Diffgram will analyze your uploaded instances file and determine which instance types exist in the upload batch. The wizard will then ask you to map the spacial value to the keys/columns in your instance data file.
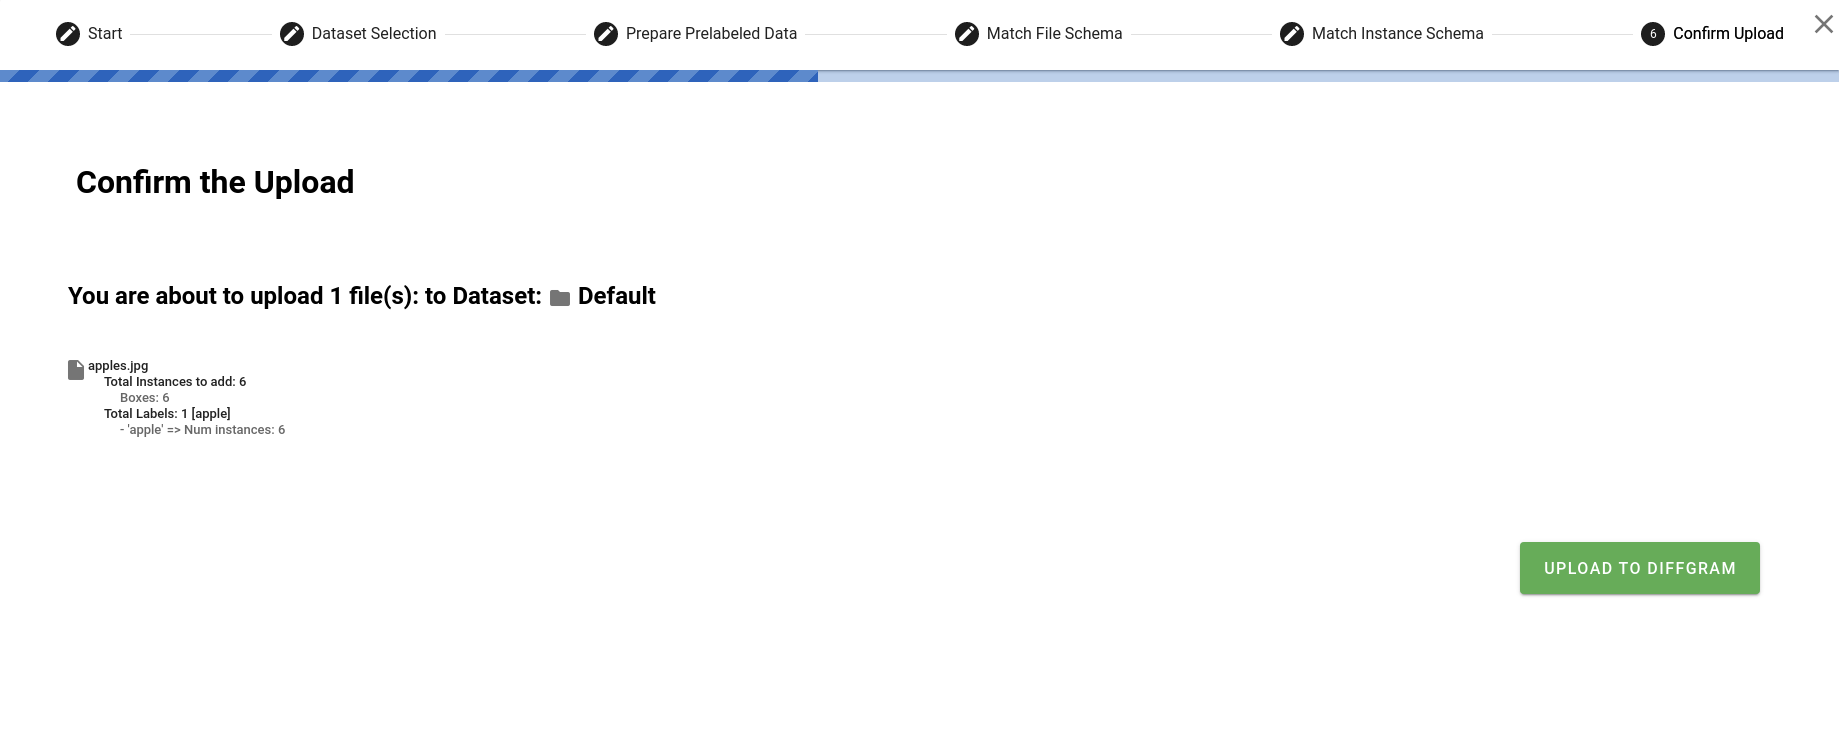
Confirm The Upload
Finally, the Wizard will show you a summary of the actions that will happen once you start the upload process. You will se all the files that will be uploaded as well as the instance count on each of the files, separated by label name.
Updated over 4 years ago
