3D Annotation Guide
Full guide to upload 3D Point Cloud In Diffgram & Annotate Them With Cuboids
This guide will help you upload a Point Cloud to Diffgram using the Diffgram SDK, we will then visualize the point cloud in the 3D Annotation tool and draw some cuboids to annotate the point cloud data. Finally we will generate an export JSON for ingestion on any training model you have.
LiDAR focused - any 3D data is possible
At the moment this is focused on LiDAR usage - but any type of 3D annotation is possible. Please join our slack channel or contact us for any questions or ideas.
Video
Pre-Requisites
- A Working Diffgram Installation (either with docker or directly on diffgram.com)
- An API Key for usage with the SDK
- A Point Cloud File. (You can use our test point cloud file by clicking here)
- Diffgram SDK installed
SDK Required (No UI Uplaod)
Currently assumptions in PCD files means we need to capture this data through the SDK. Contributions or ideas on UI based assumptions welcome.
1. Ingest The Data Using the SDK
For the data ingestion, we will use the Diffgram SDK. The basic idea is to iterate over the points in the point cloud to create a Diffgram File3D object. Here's the sample code to open our test Point cloud file and upload it to Diffgram.
Some notes:
- We are assuming the filename is
Zaghetto.pcdas we are sing the PCD file from the pre-requisites section. Feel free to change this to whatever path you point cloud file is. - We are using open3d library to read the point cloud, but feel free to use whatever method you have to get the points data. It can be from a lidar sensor directly, a .obj file, glb file, etc. As long as the correct parameters are provided to the
add_pointmethod. You should be good to go.
from diffgram.file.file_3d import File3D
from diffgram.core.core import Project
import open3d as o3d
import numpy as np

def read_pcd_o3d(file_name):
    pcd = o3d.io.read_point_cloud(file_name)
    out_arr = np.asarray(pcd.points)
    return out_arr

project = Project(project_string_id = "your_project_name",
                  client_id = "your_client_id",
                  client_secret = "your_client_secret")

filename = 'Zaghetto.pcd'

points_arr = read_pcd_o3d(filename )

diffgram_3d_file = File3D(client = project, name = filename )

for i in range(0, len(points_arr)):
  point = points_arr[i]
  diffgram_3d_file.add_point(
    x = point[0],
    y = point[1],
    z = point[2],
  )
diffgram_3d_file.upload()
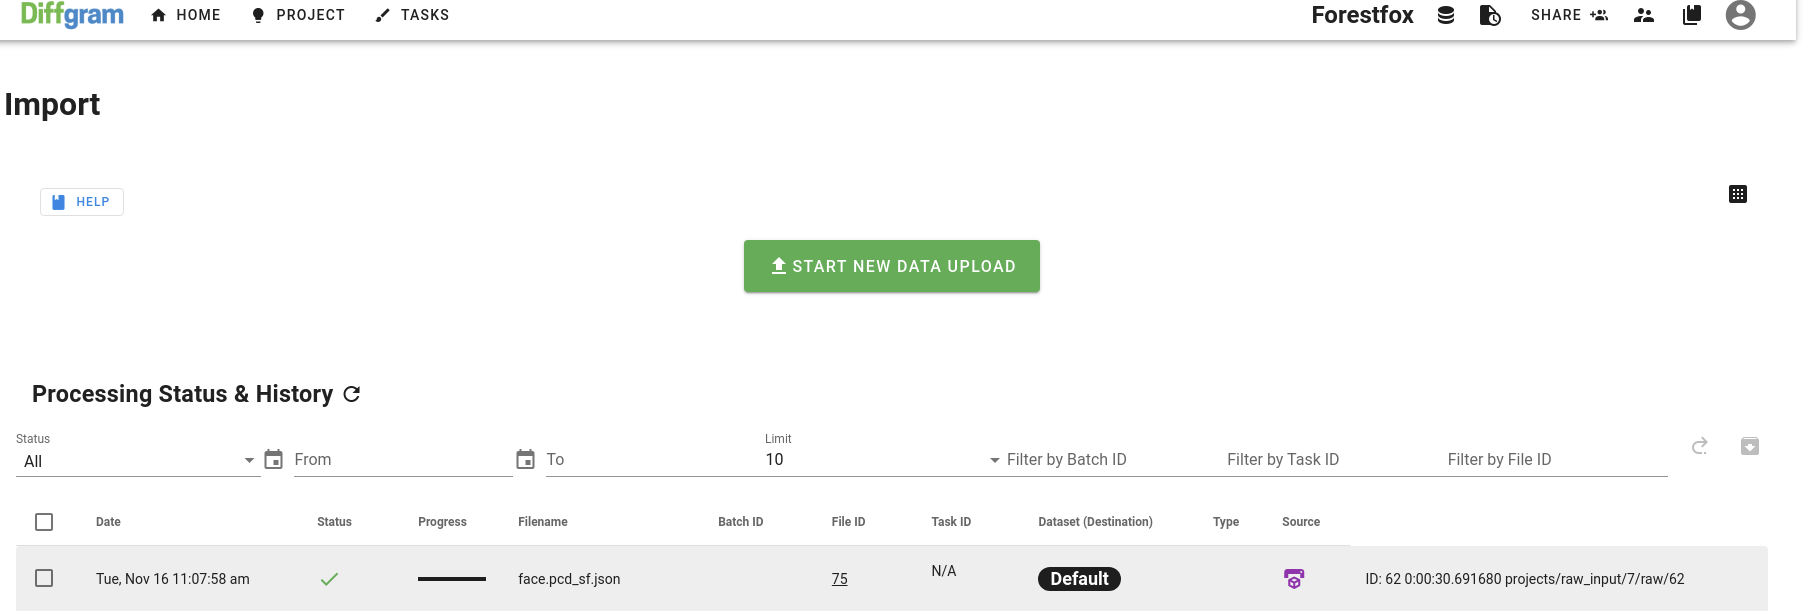
The process is simple, we add all the points to the File3D objects, and the call upload() method once all the points have been added. You should be able to see the upload progress in the import Section of your Diffgram Project similar to this:

2. Visualize the 3D File
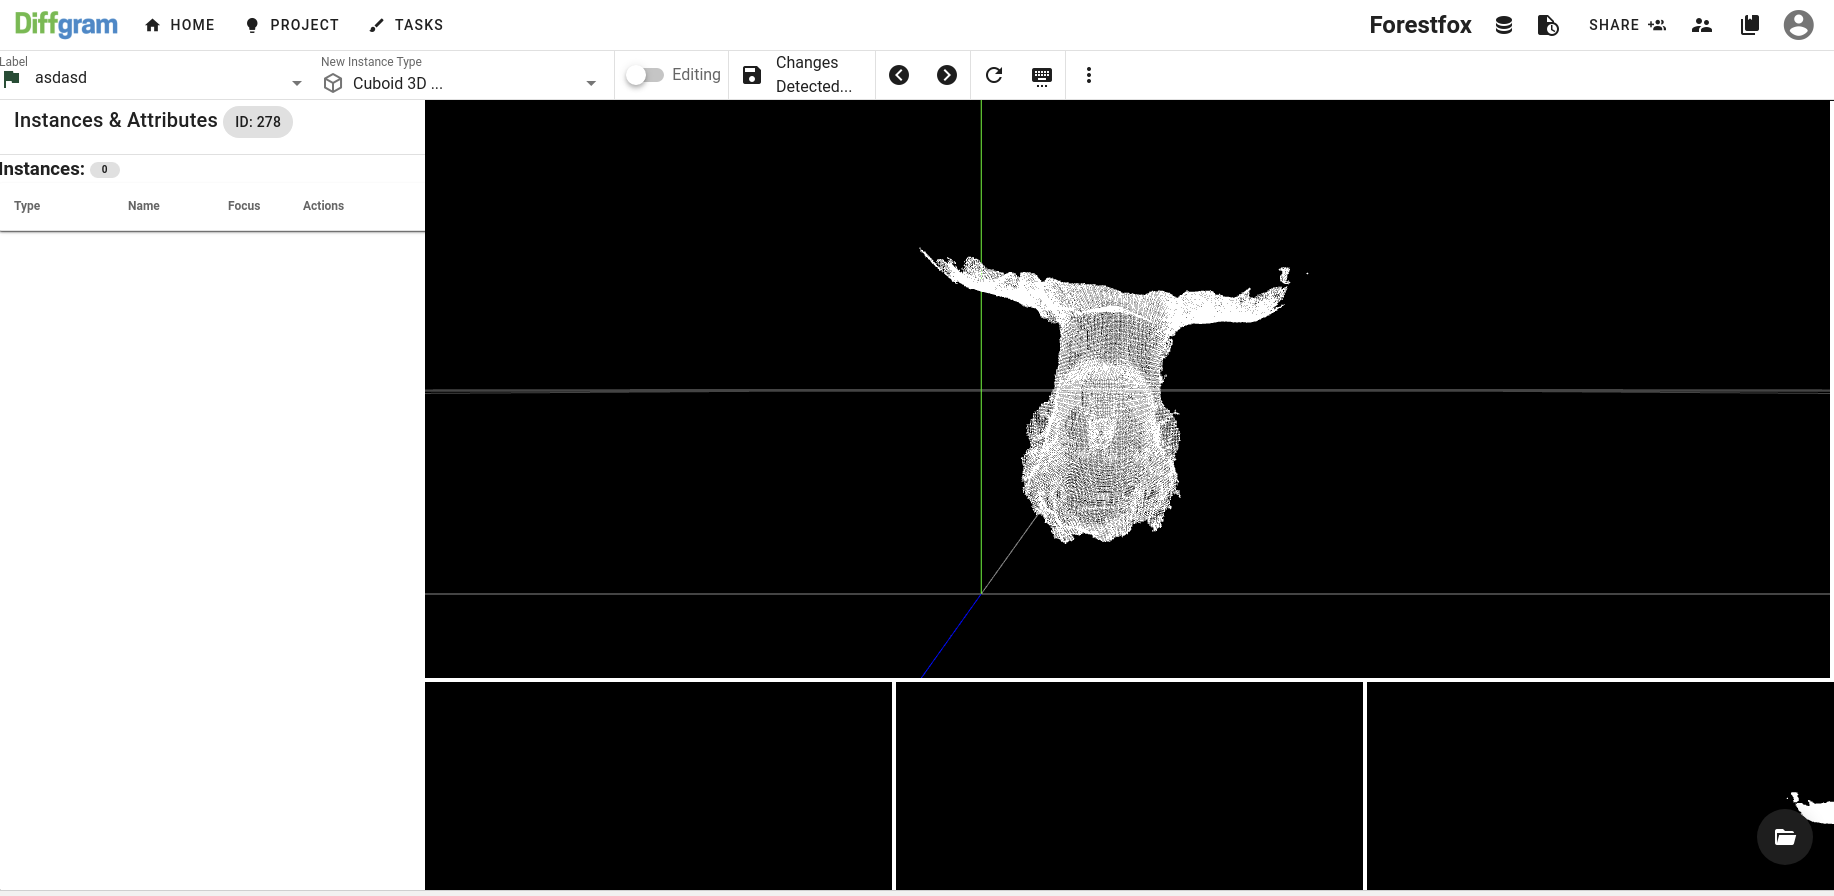
Once the File has been uploaded successfully. Yoy can see it by clicking the FileID on the import section of the project, or by going to the Data Explorer Section on the Diffgram project. You should see the Lidar interface ready to go here:

Diffgram 3D Annotation Interface
3. Add A cuboid To the File
Now let's try adding a cuboid to the Point cloud. You can click the draw mode toggle on the toolbar or press the ESC key to enter drawing mode. Then double click where you want to start drawing the cuboid.
- Once you draw a basic shape you can scale, move, or rotate the exsiting cuboids with the edit controls.
- Press the
tkey on your keyboard to switch between scaling, rotating or translating the cuboid on the 3D scene.
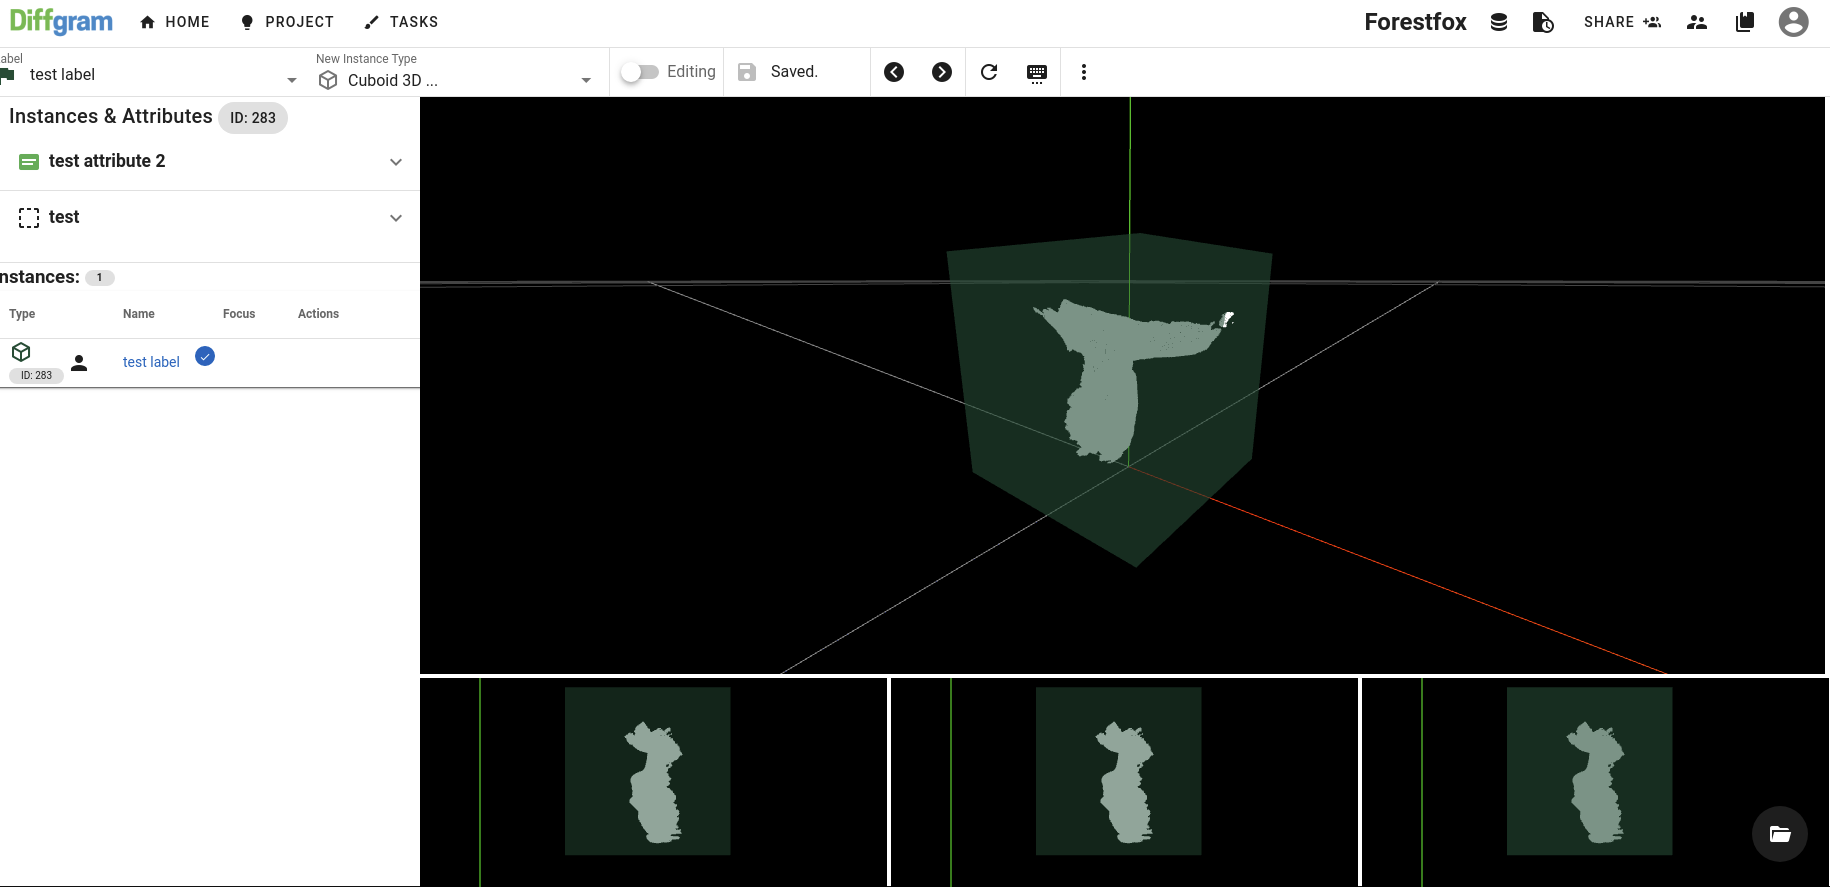
Once you draw the cuboid you will have something like this on the interface.

4. Export The Data
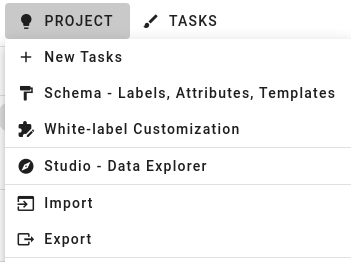
Now you can go to the export section on the project:

- There, you can select the dataset to generate the export from. In our case the
Defaultdataset. - Make sure to uncheck the "Complete Files Only" as we haven't marked the files as complete.
- Now Click the "Generate" button. And you should have your export file ready

You can learn more about the export on the following sections:
5. Final Notes
As you can see, it's pretty easy to get started with our 3D labeling interace. This is continously improving product so we would be super happy to hear your feedback. You can always create an issue on github or shoot us a message on our slack.
Some features that will be coming soon:
- Support for segementation tool
- Support for multi camera / sensor fusion scenes
- Video support
- Support for uploads from the Ingestion File Wizard (Learn more: Importing Files & Instances on the Upload Wizard )
Colab Notebook Upload Helper (Community Maintained)
This community created notebook provides an easy way to get started.
Updated over 3 years ago
