(old) Geospatial Annotation Guide
This guide will help you upload Geospatial data to Diffgram using the Diffgram UI and label the geospatial data. Finally we will generate an export JSON for ingestion for ML Model Training.
Video
Pre-Requisites
- A Diffgram Installation
- A valid COG file, you can download a 200 MB sample from here. So far Diffgram supports Cloud Optimized GeoTIFF files
Diffgram Python SDK (optional)
Example Files
1. Uploading file to the Diffgram
The easiest way to start with Diffgram Geospatial annotation is to upload COG files through the Diffgram UI (we assume you already have a project created).
To start importing data, click on the "Project" button on the main menu and find the "Import" button:
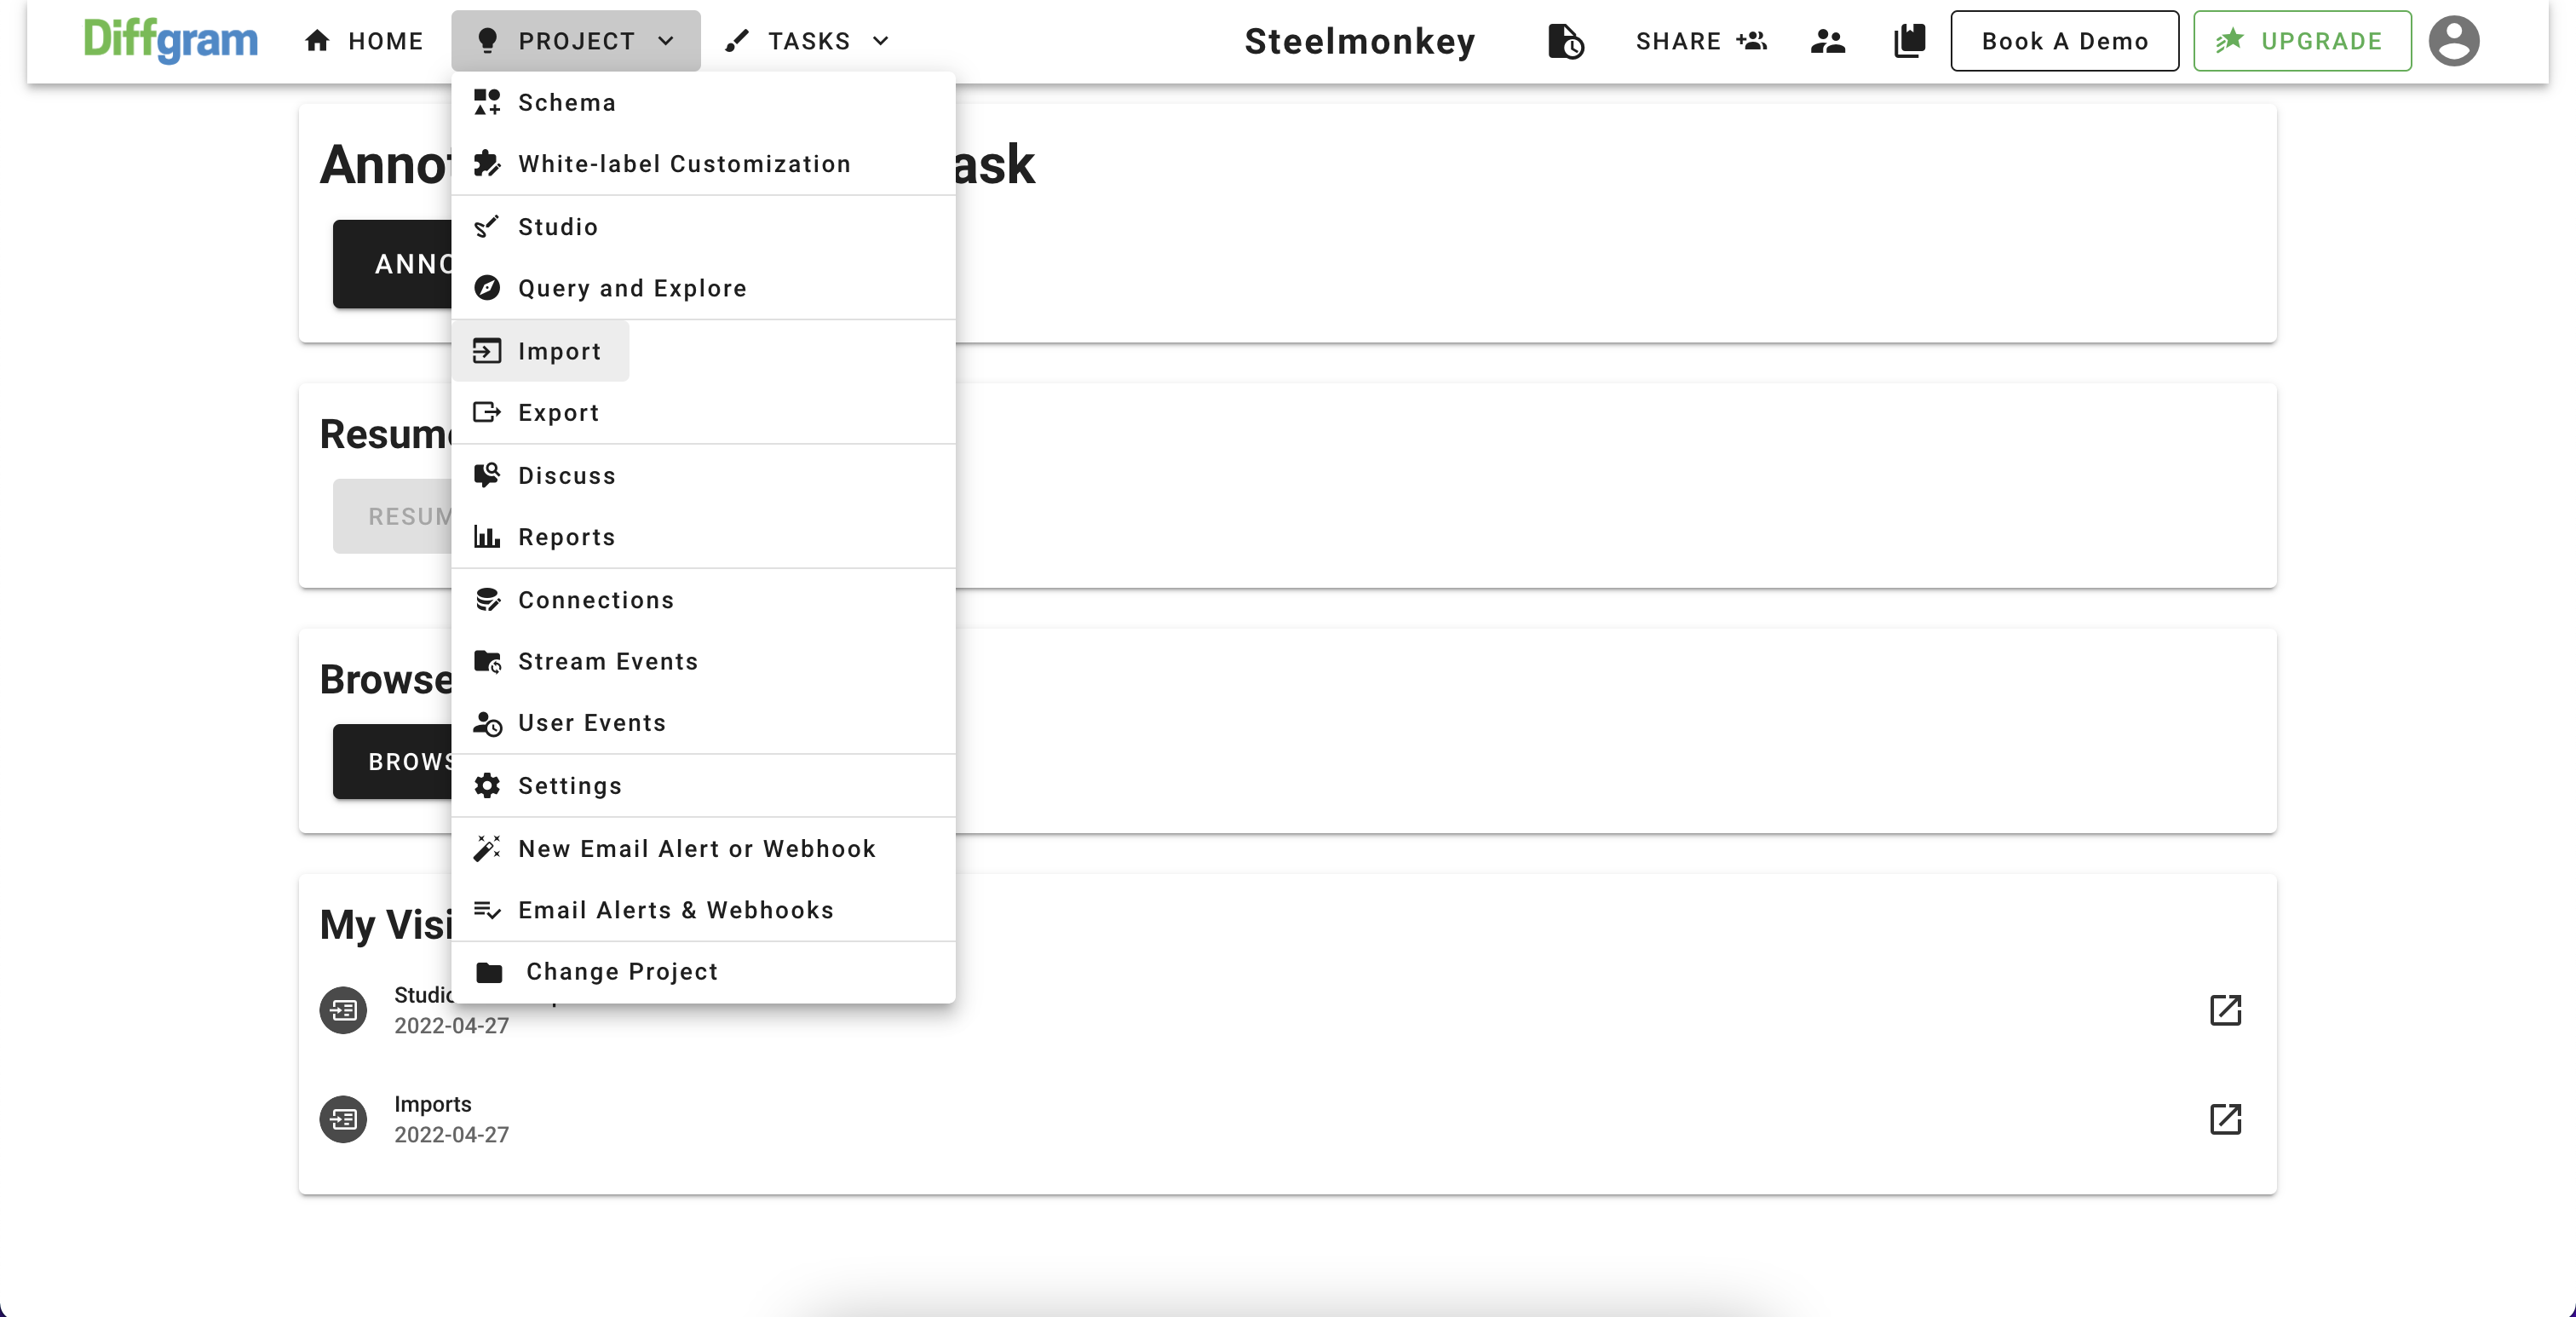
When you are on the Import page, click the "Start New Data Upload" button and follow the instructions (keep in mind that for now, we support only Cloud Optimised GeoTiff files for the geospatial annotation)
When Diffgram detects an upload of .tif file, you can chose if you want to annotate it as image or as geospatial data.
Hence, these two interfaces are quite similar, there is some difference in the structure of exported data (if your model requires geographical - you should annotate your file as GeoTiff)
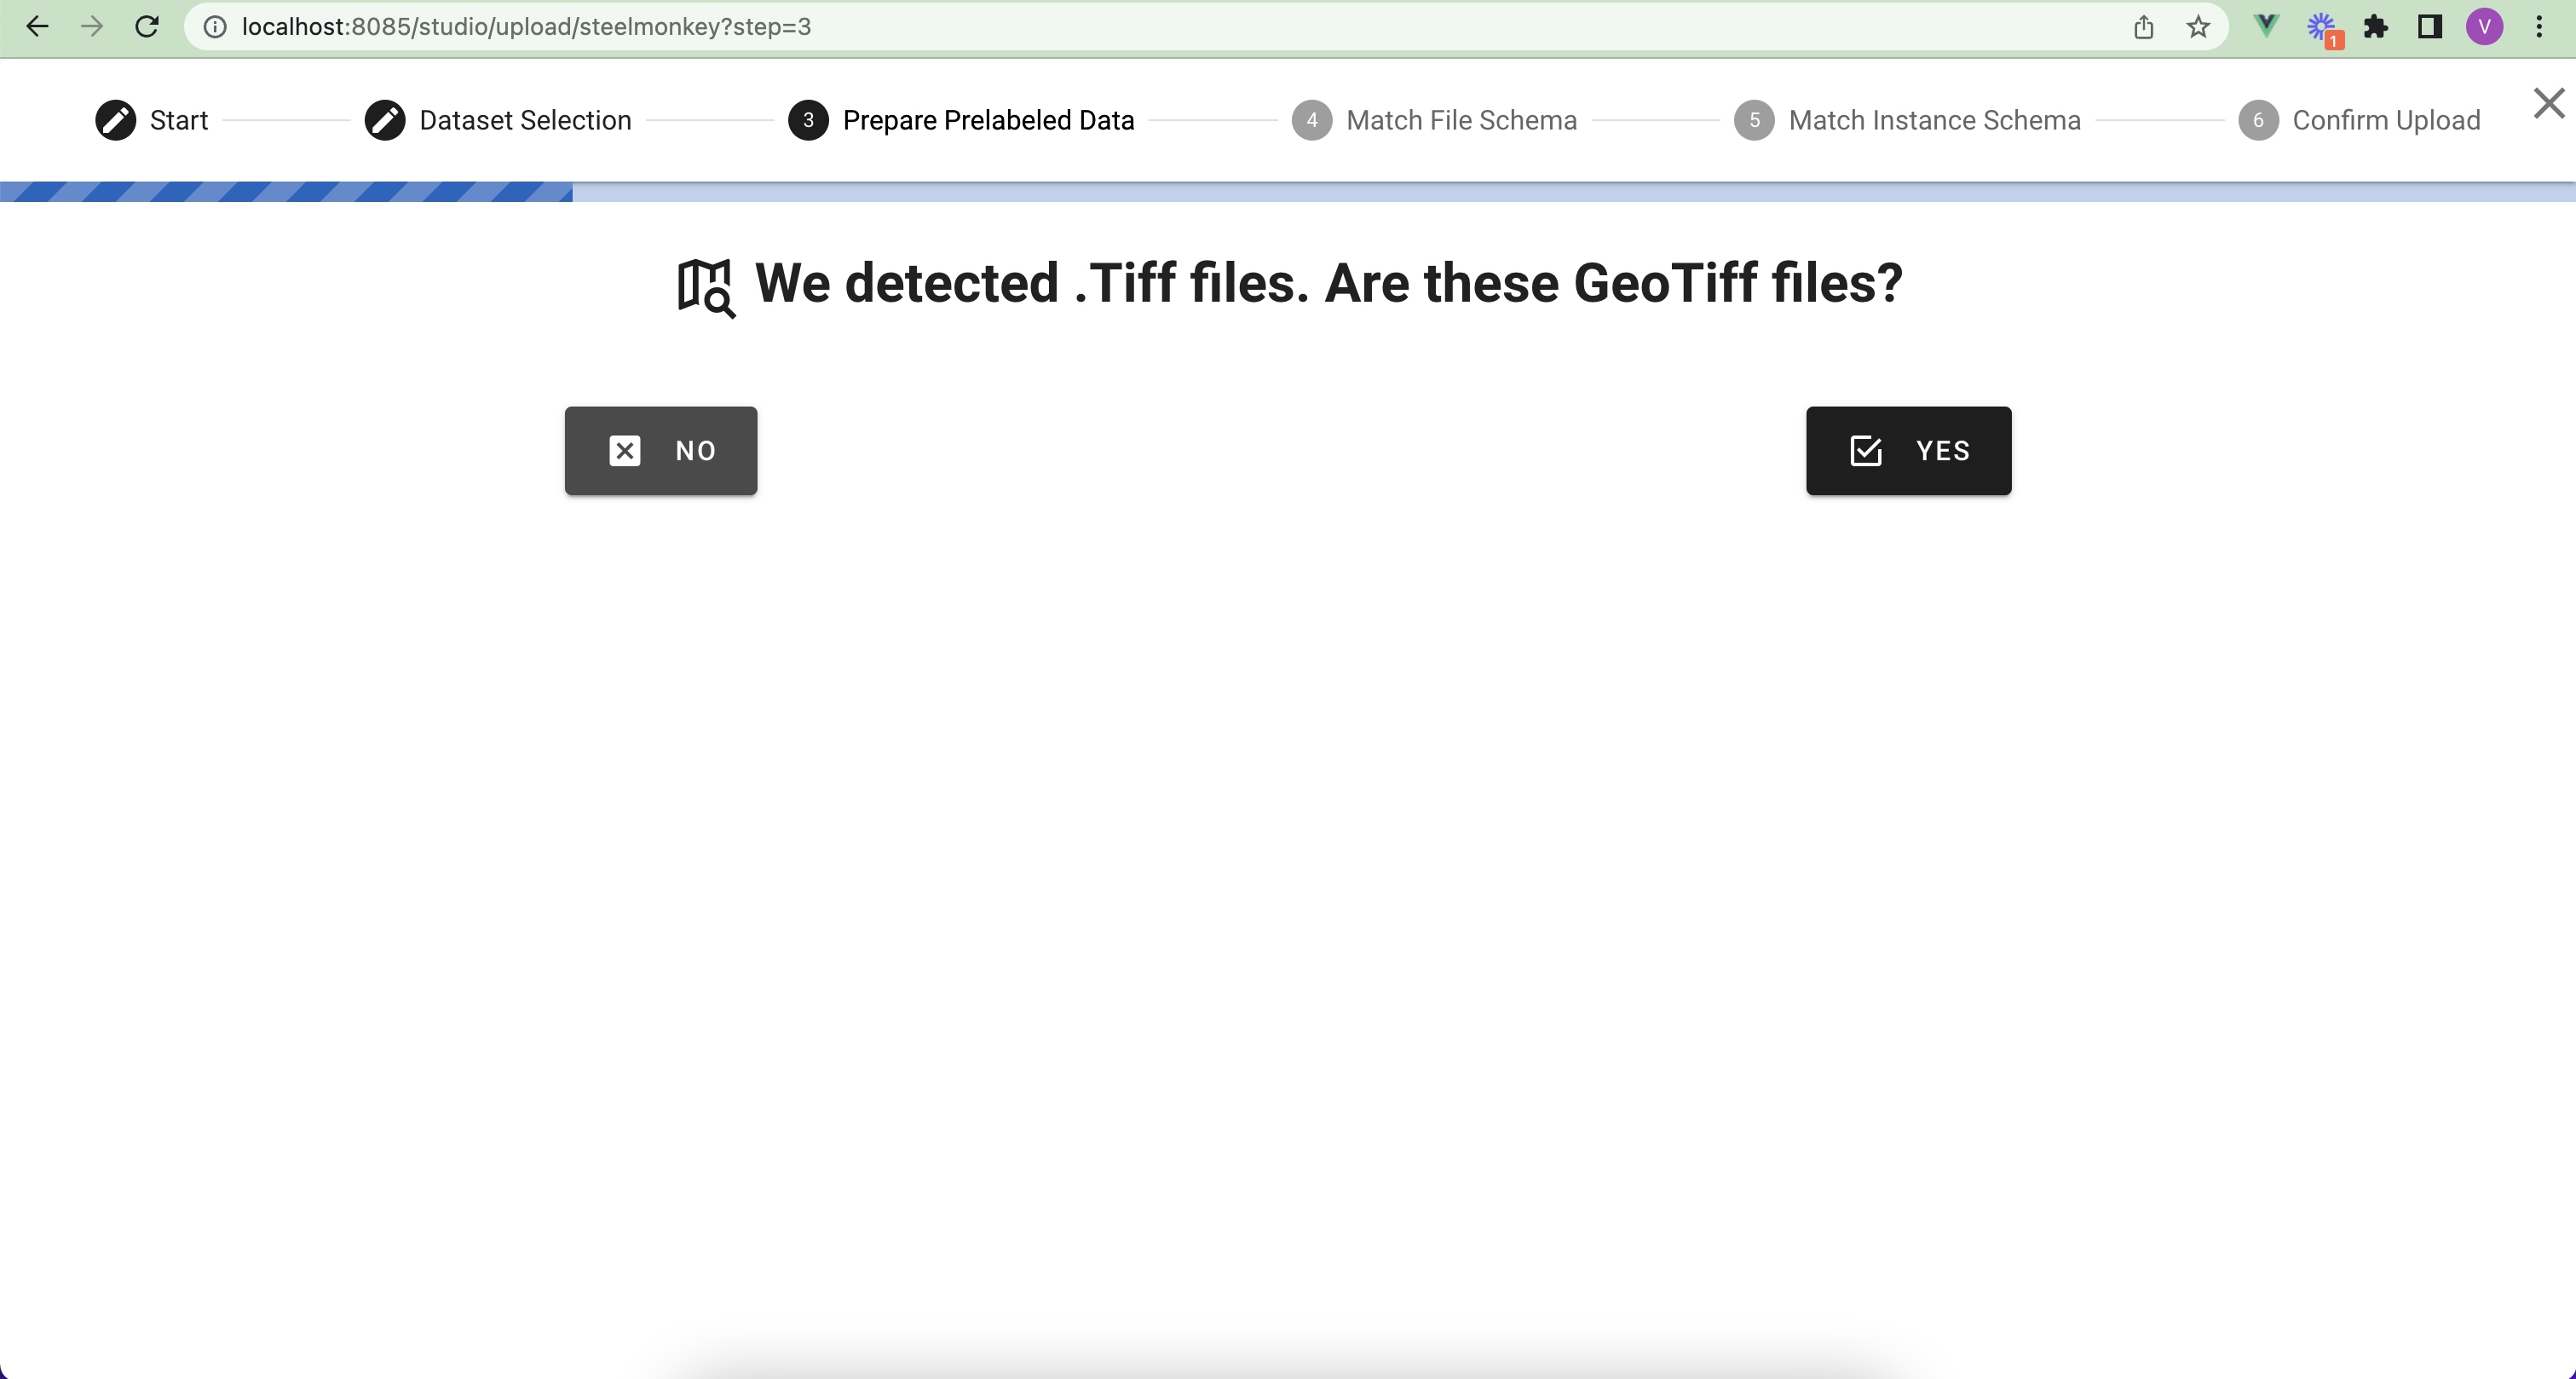
Upload of GeoTiff file can take few minutes. After that, you will be able to see your files on the import page:
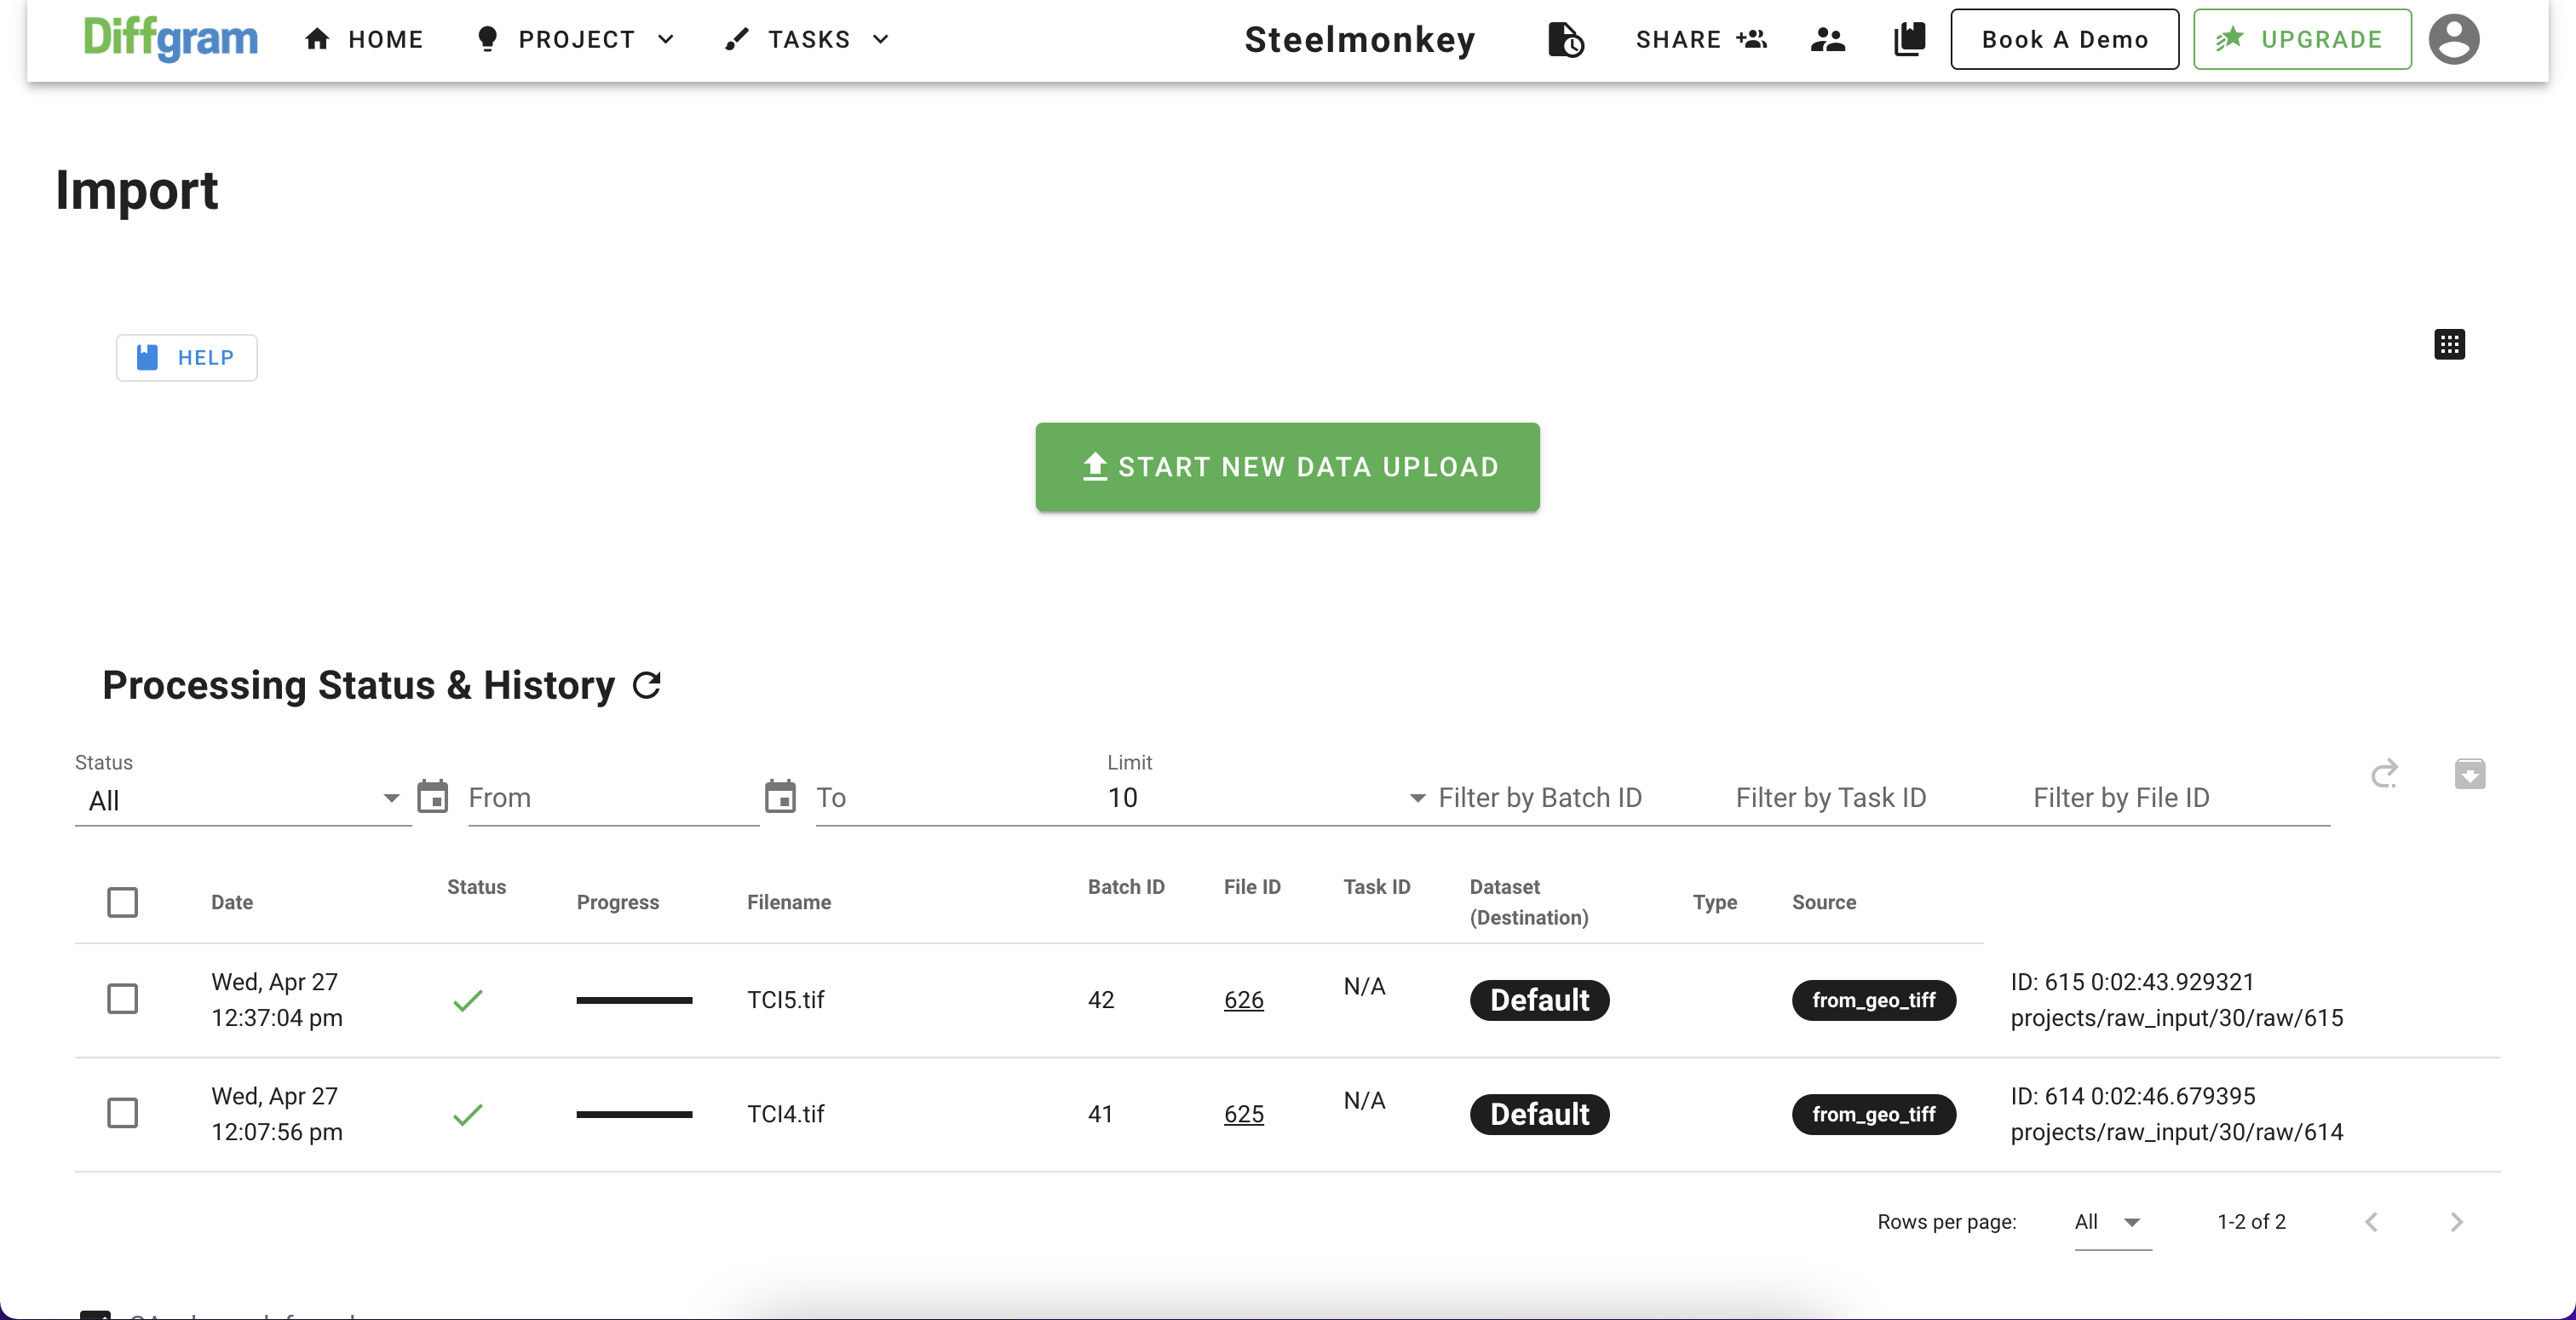
To start annotating, simply press "File ID" of the file you want to open.
For normal production usage the file will be embedded or use the Tasks system.
2. Overview of the interface
If you are already worked with Diffgram before, the geospatial annotation interface is similar to the rest of the interfaces.
If you are completely new to Diffgram, our screen is divided into 3 main parts:
- Toolbar - panel with all the available tools
- Sidebar - where you can see a list of the created instances
- Annotation field - a place where your file is being displayed and you can annotate it
Toolbar
We have a pretty minimalistic toolbar, where you can perform the next operations: undo/redo, select label schema, select label, select instance type, save status, move to previous and next files, see available hotkeys

Sidebar
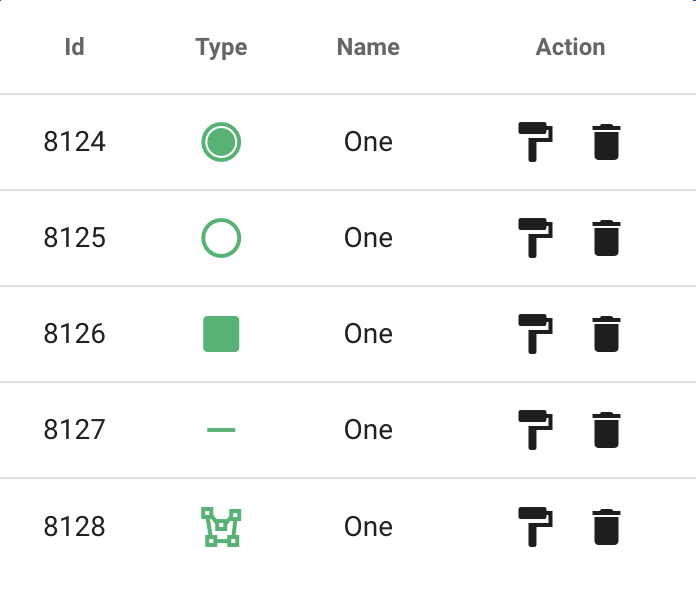
The sidebar is the container where you can see all the created instances and can modify them. The instance list includes the next data:
- Id (visible only for super admins) - unique database id of the instance
- Type - the of the instance ("Point", "Circle", "Box", "Polyline" or "Polygon") with the corresponding color of the instance label
- Name - a label name
- Action - available action for the instances. So far there are two actions: "Change Label Template" and "Delete Instance"
Annotation field
On this part of the screen, you will be able to see uploaded geospatial file, overlayed on top of map and all the instances you have created
On the top left corner you can see "+" and "-" sign that you can use for zoom in and out, and on the top right corner current coordinates of your mouse (please note that these are cartesian coordinates, about cartesian and geographic coordinate systems you can read here)
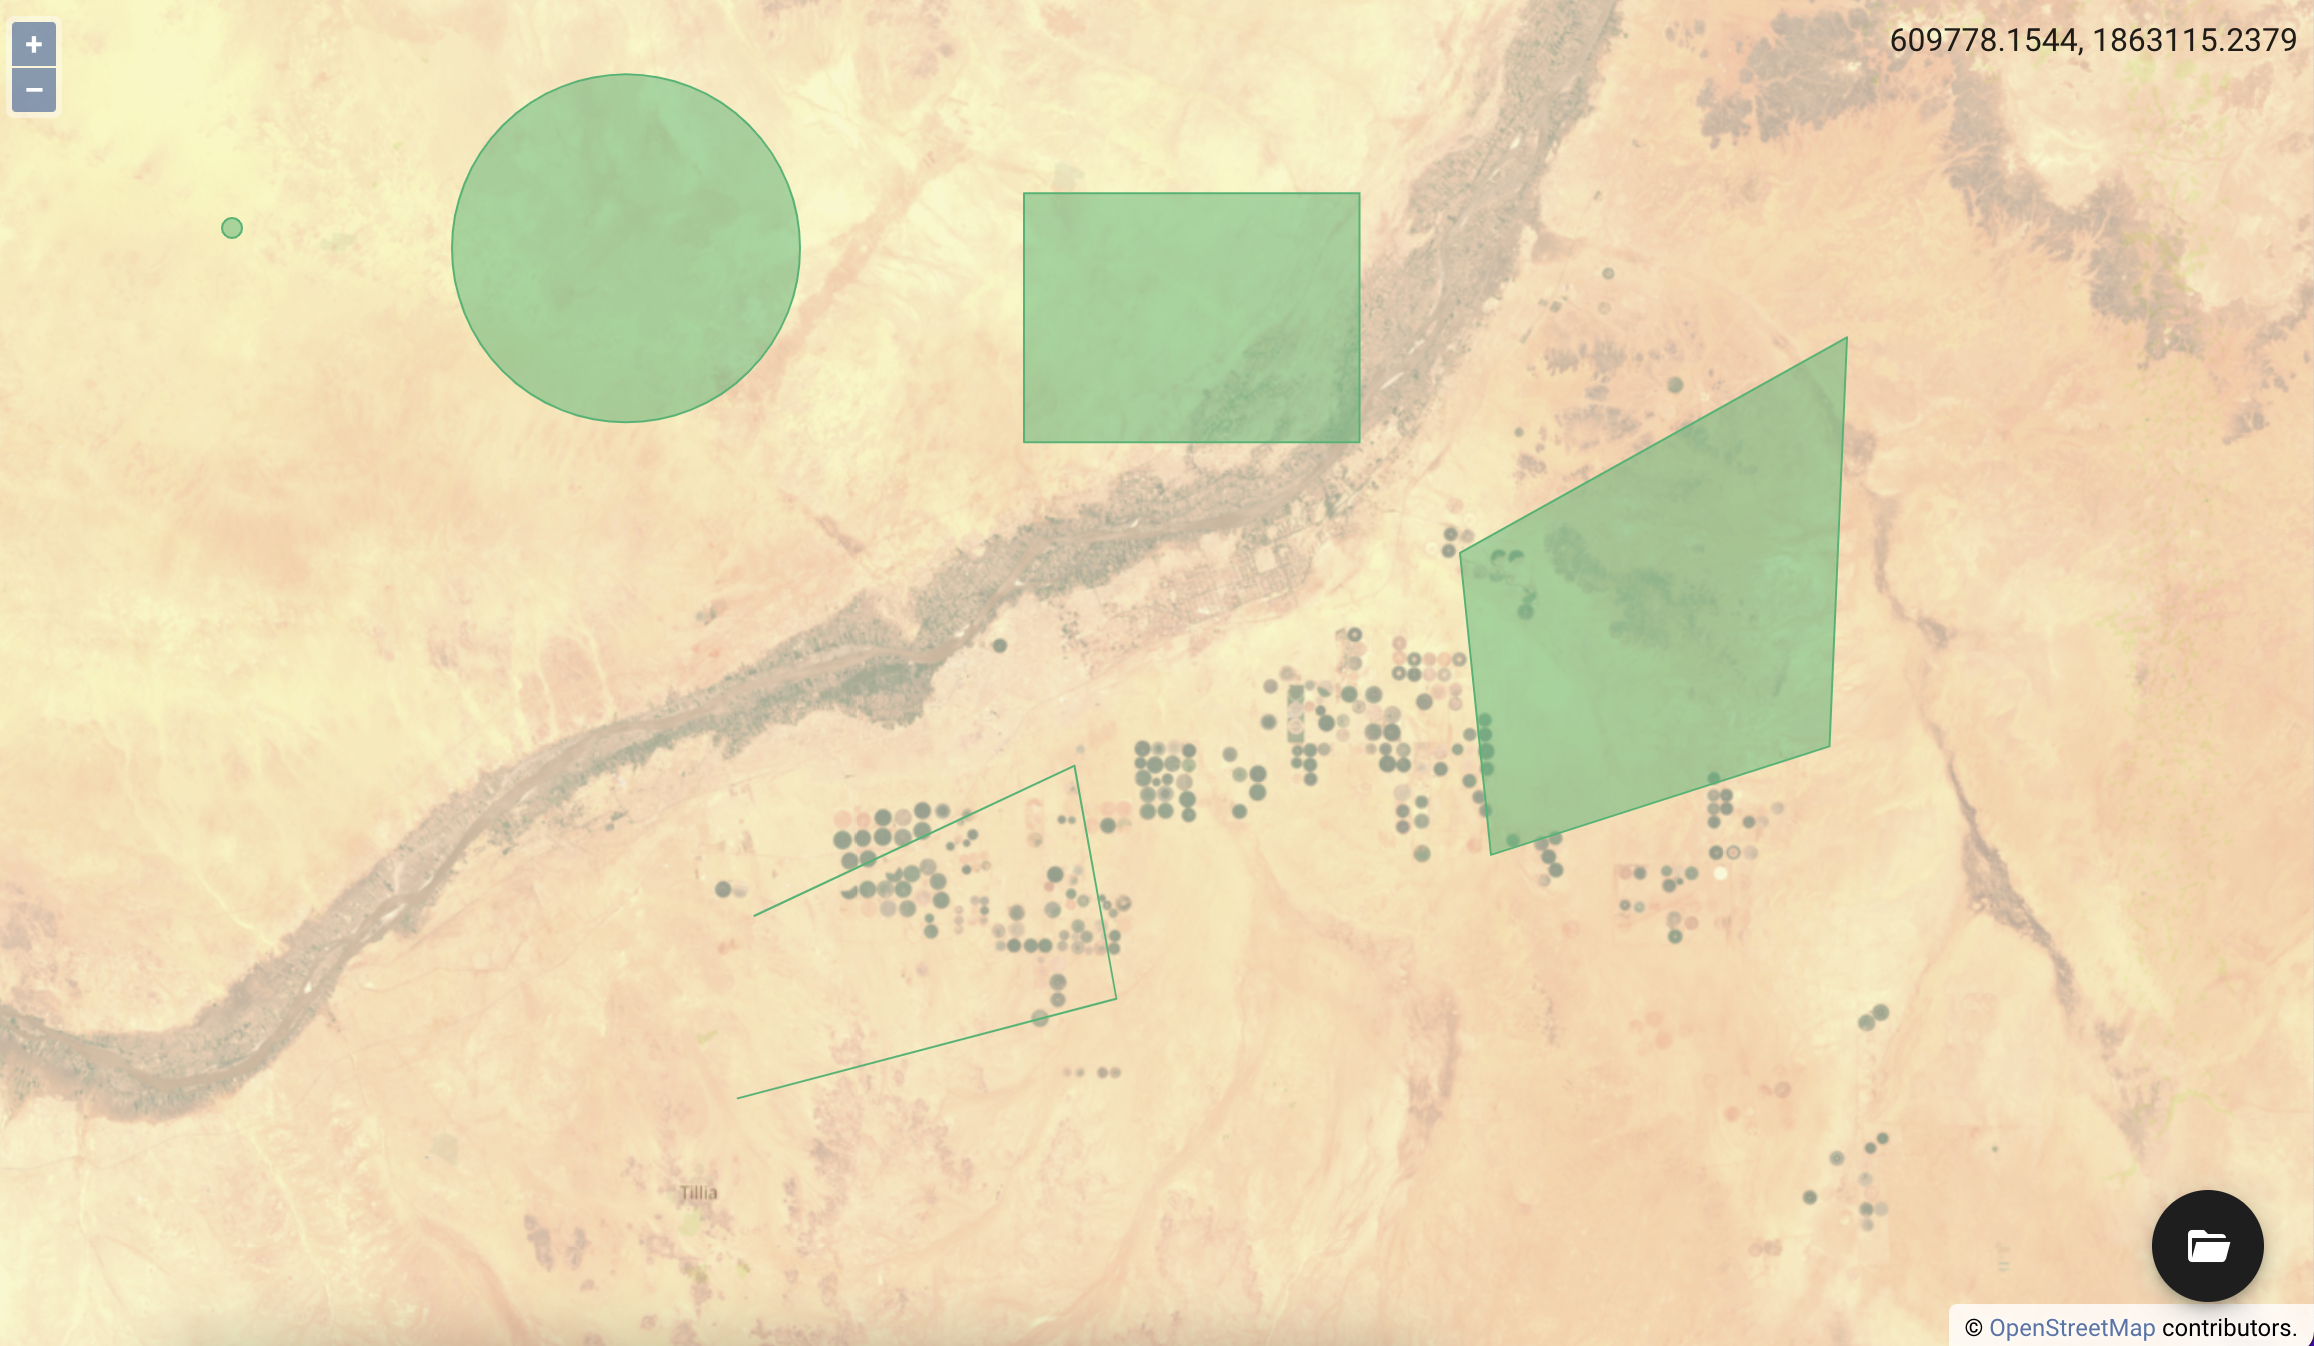
3. Geospatial annotation
At this point, we assume you have the GeoTiff file uploaded and you are familiar with the UI of the text interface, so we can jump on annotating our geospatial data.
Let's start annotating from creating our first circle annotation. On the toolbar select "Circle" instance and click on the map and you will see a new point in the centre of circle. Move your mouse to set radius of the circle, and by clicking on the map for a second time will create your circle instance:
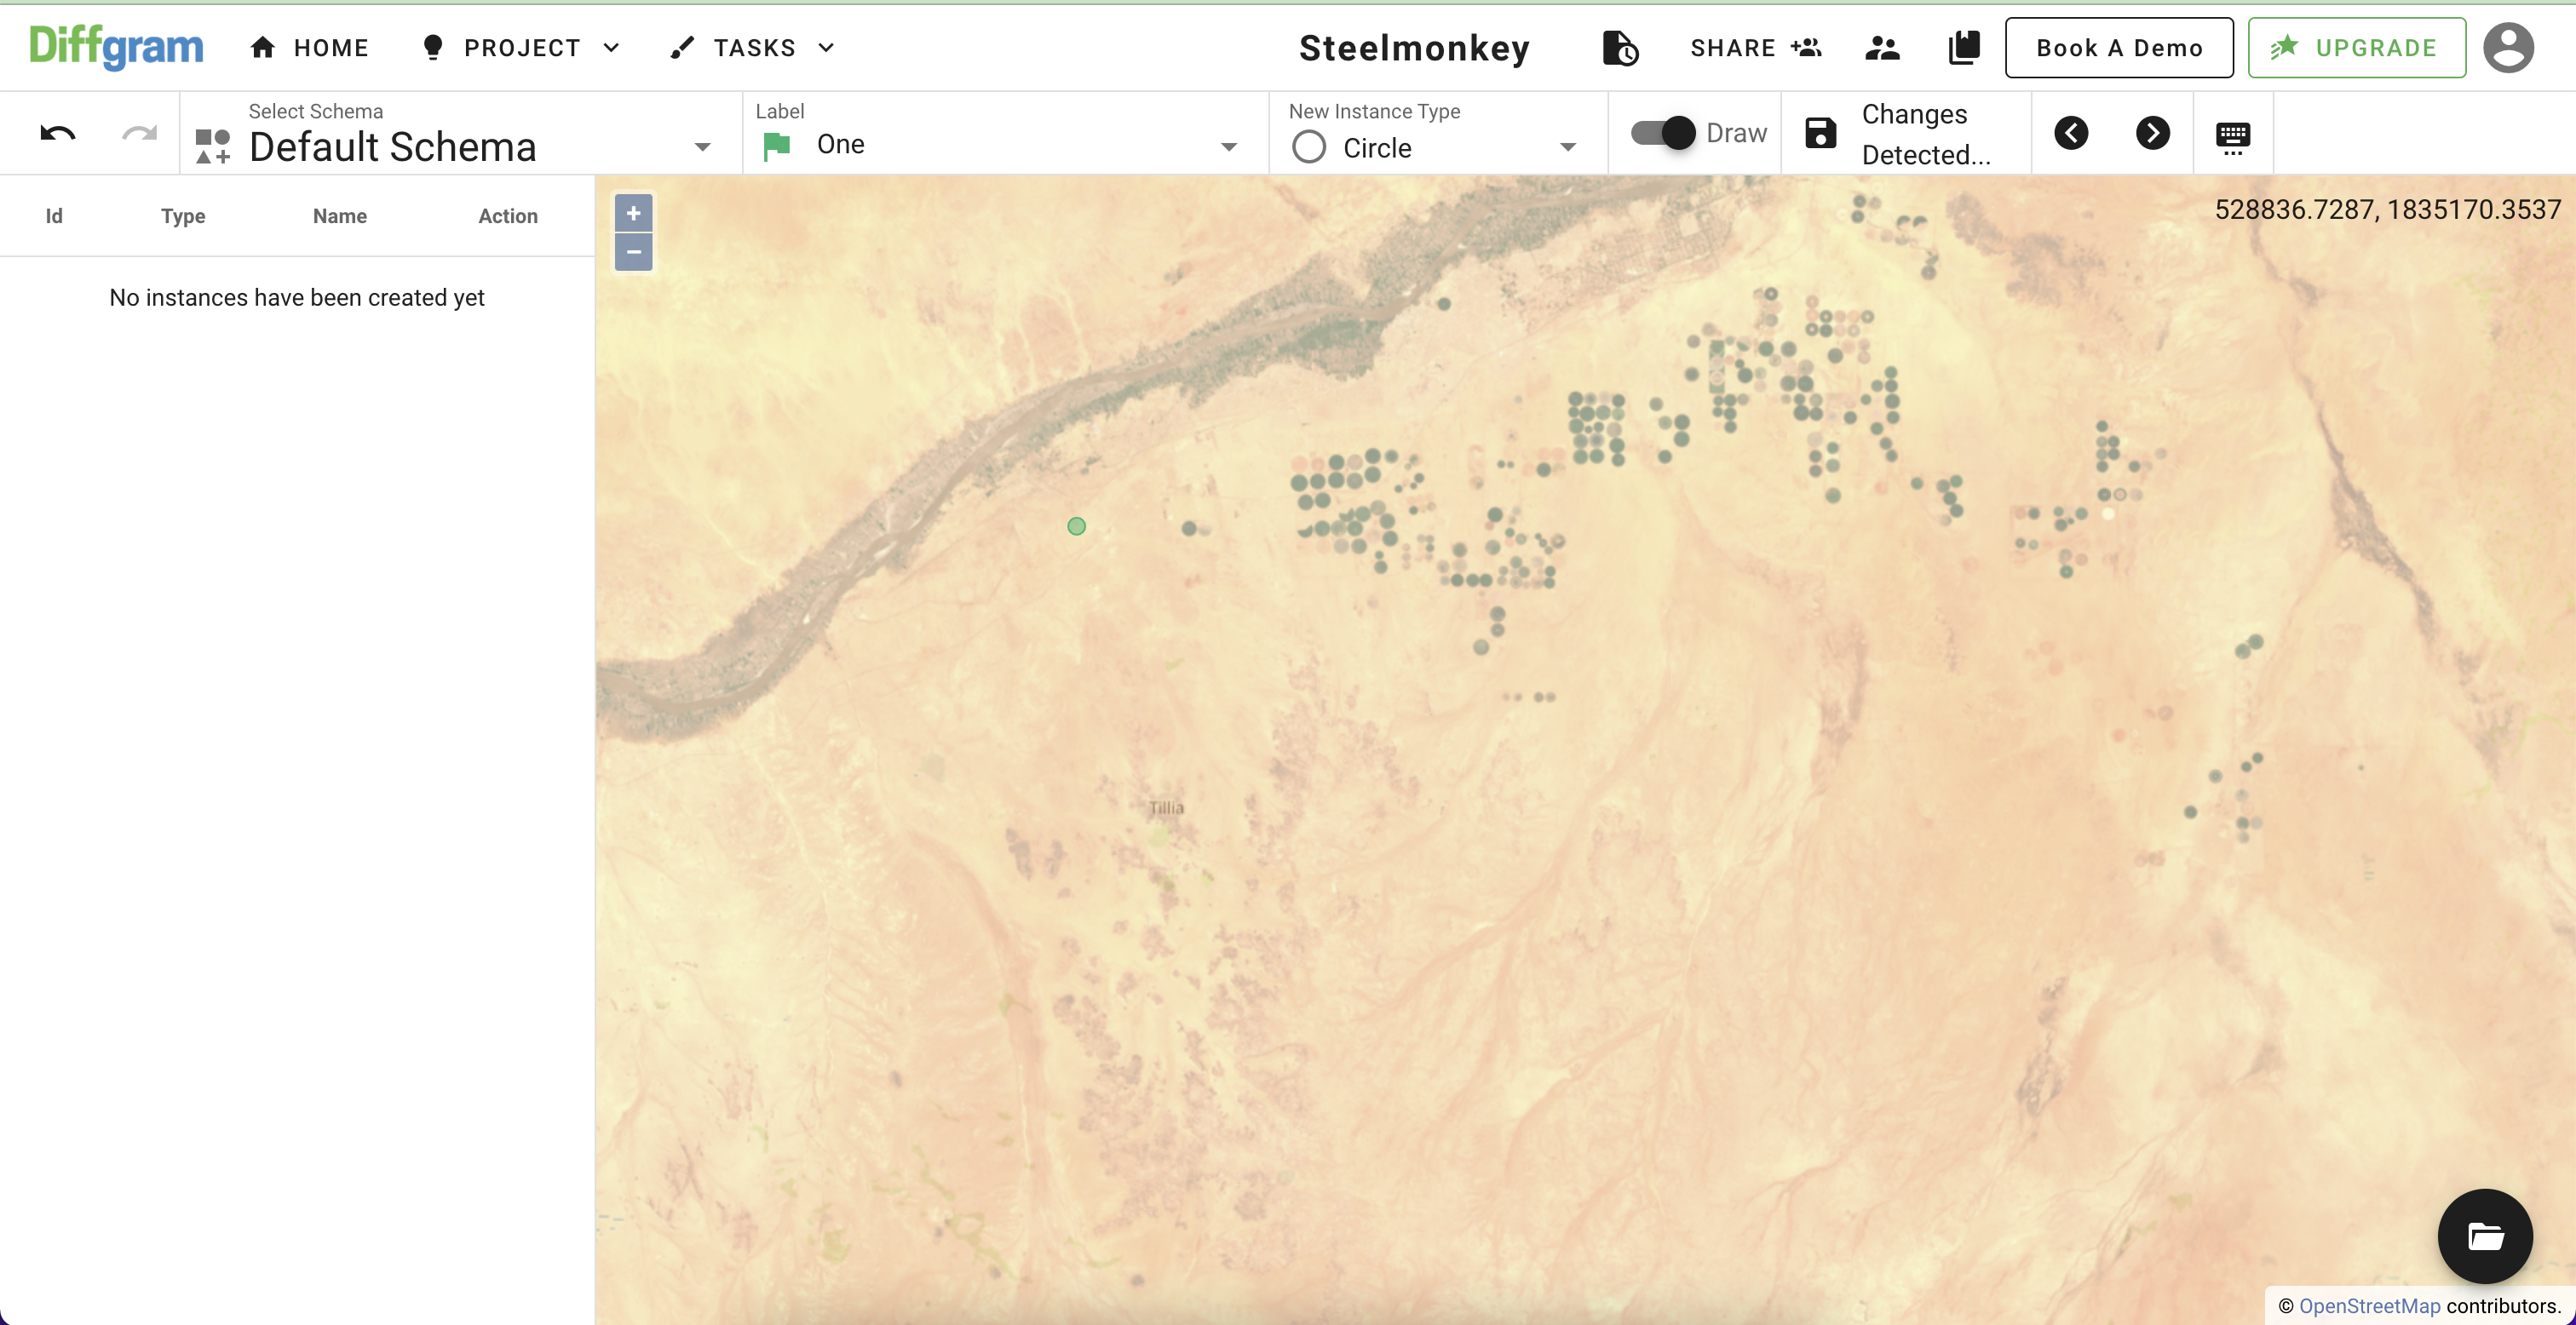
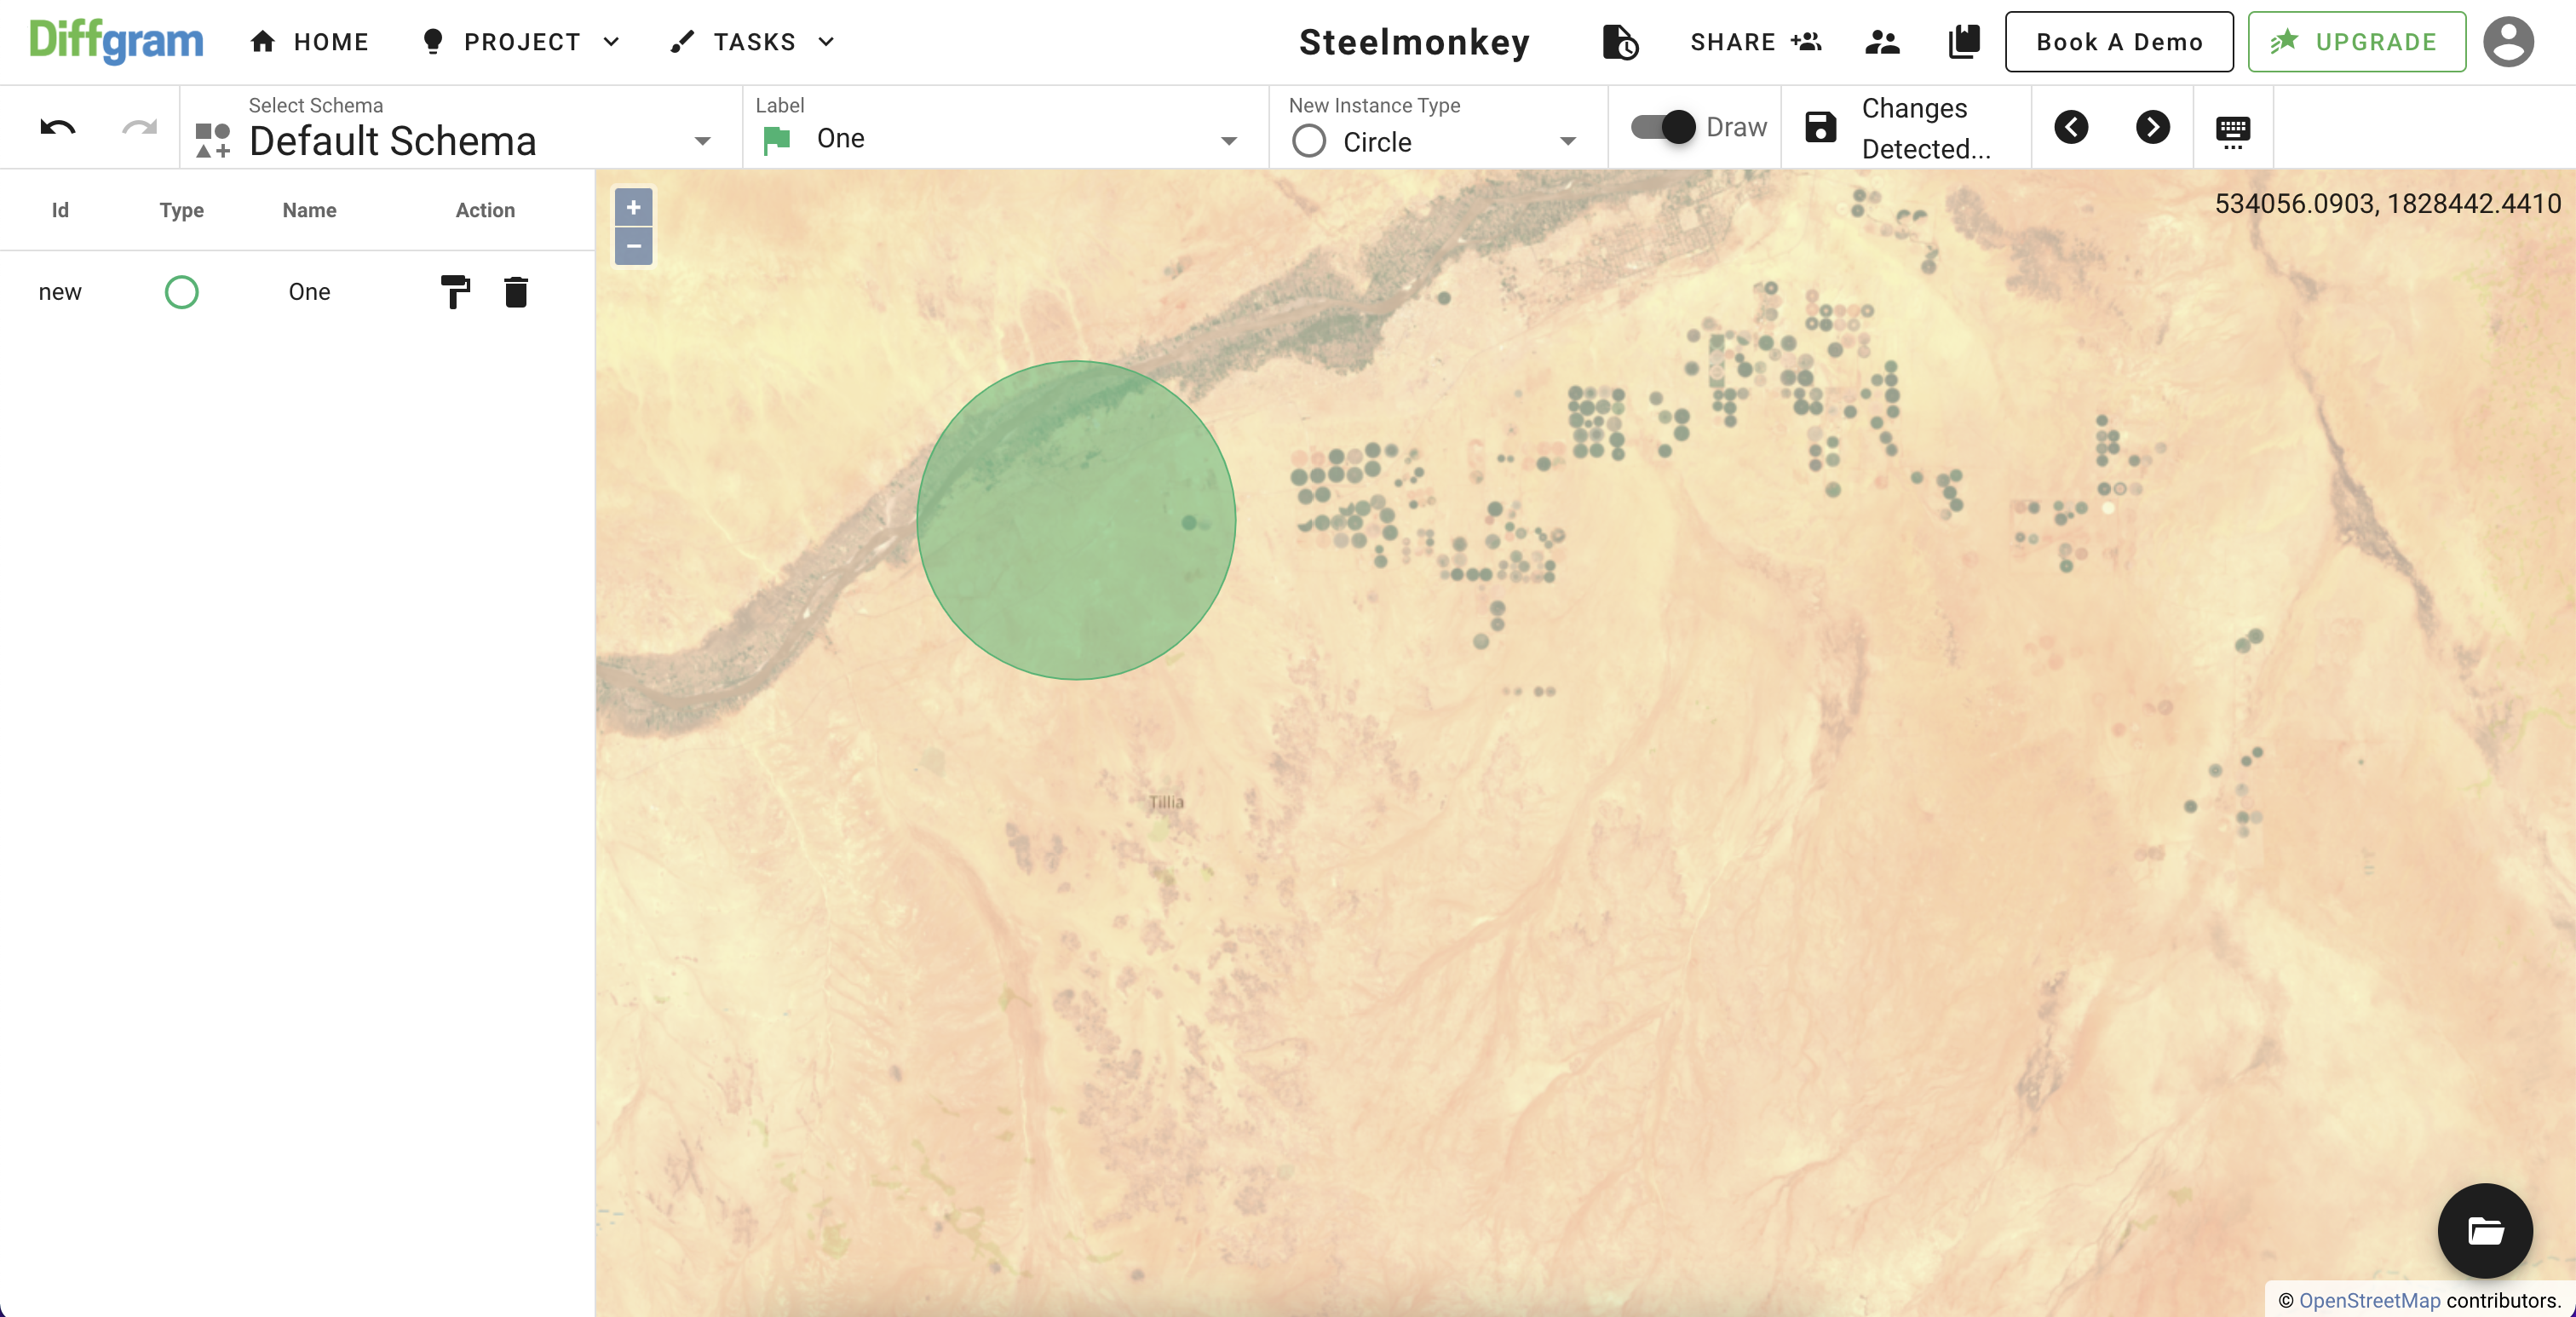
To draw point on the map, select Point type on the toolbar and just click where it should be placed on the map:
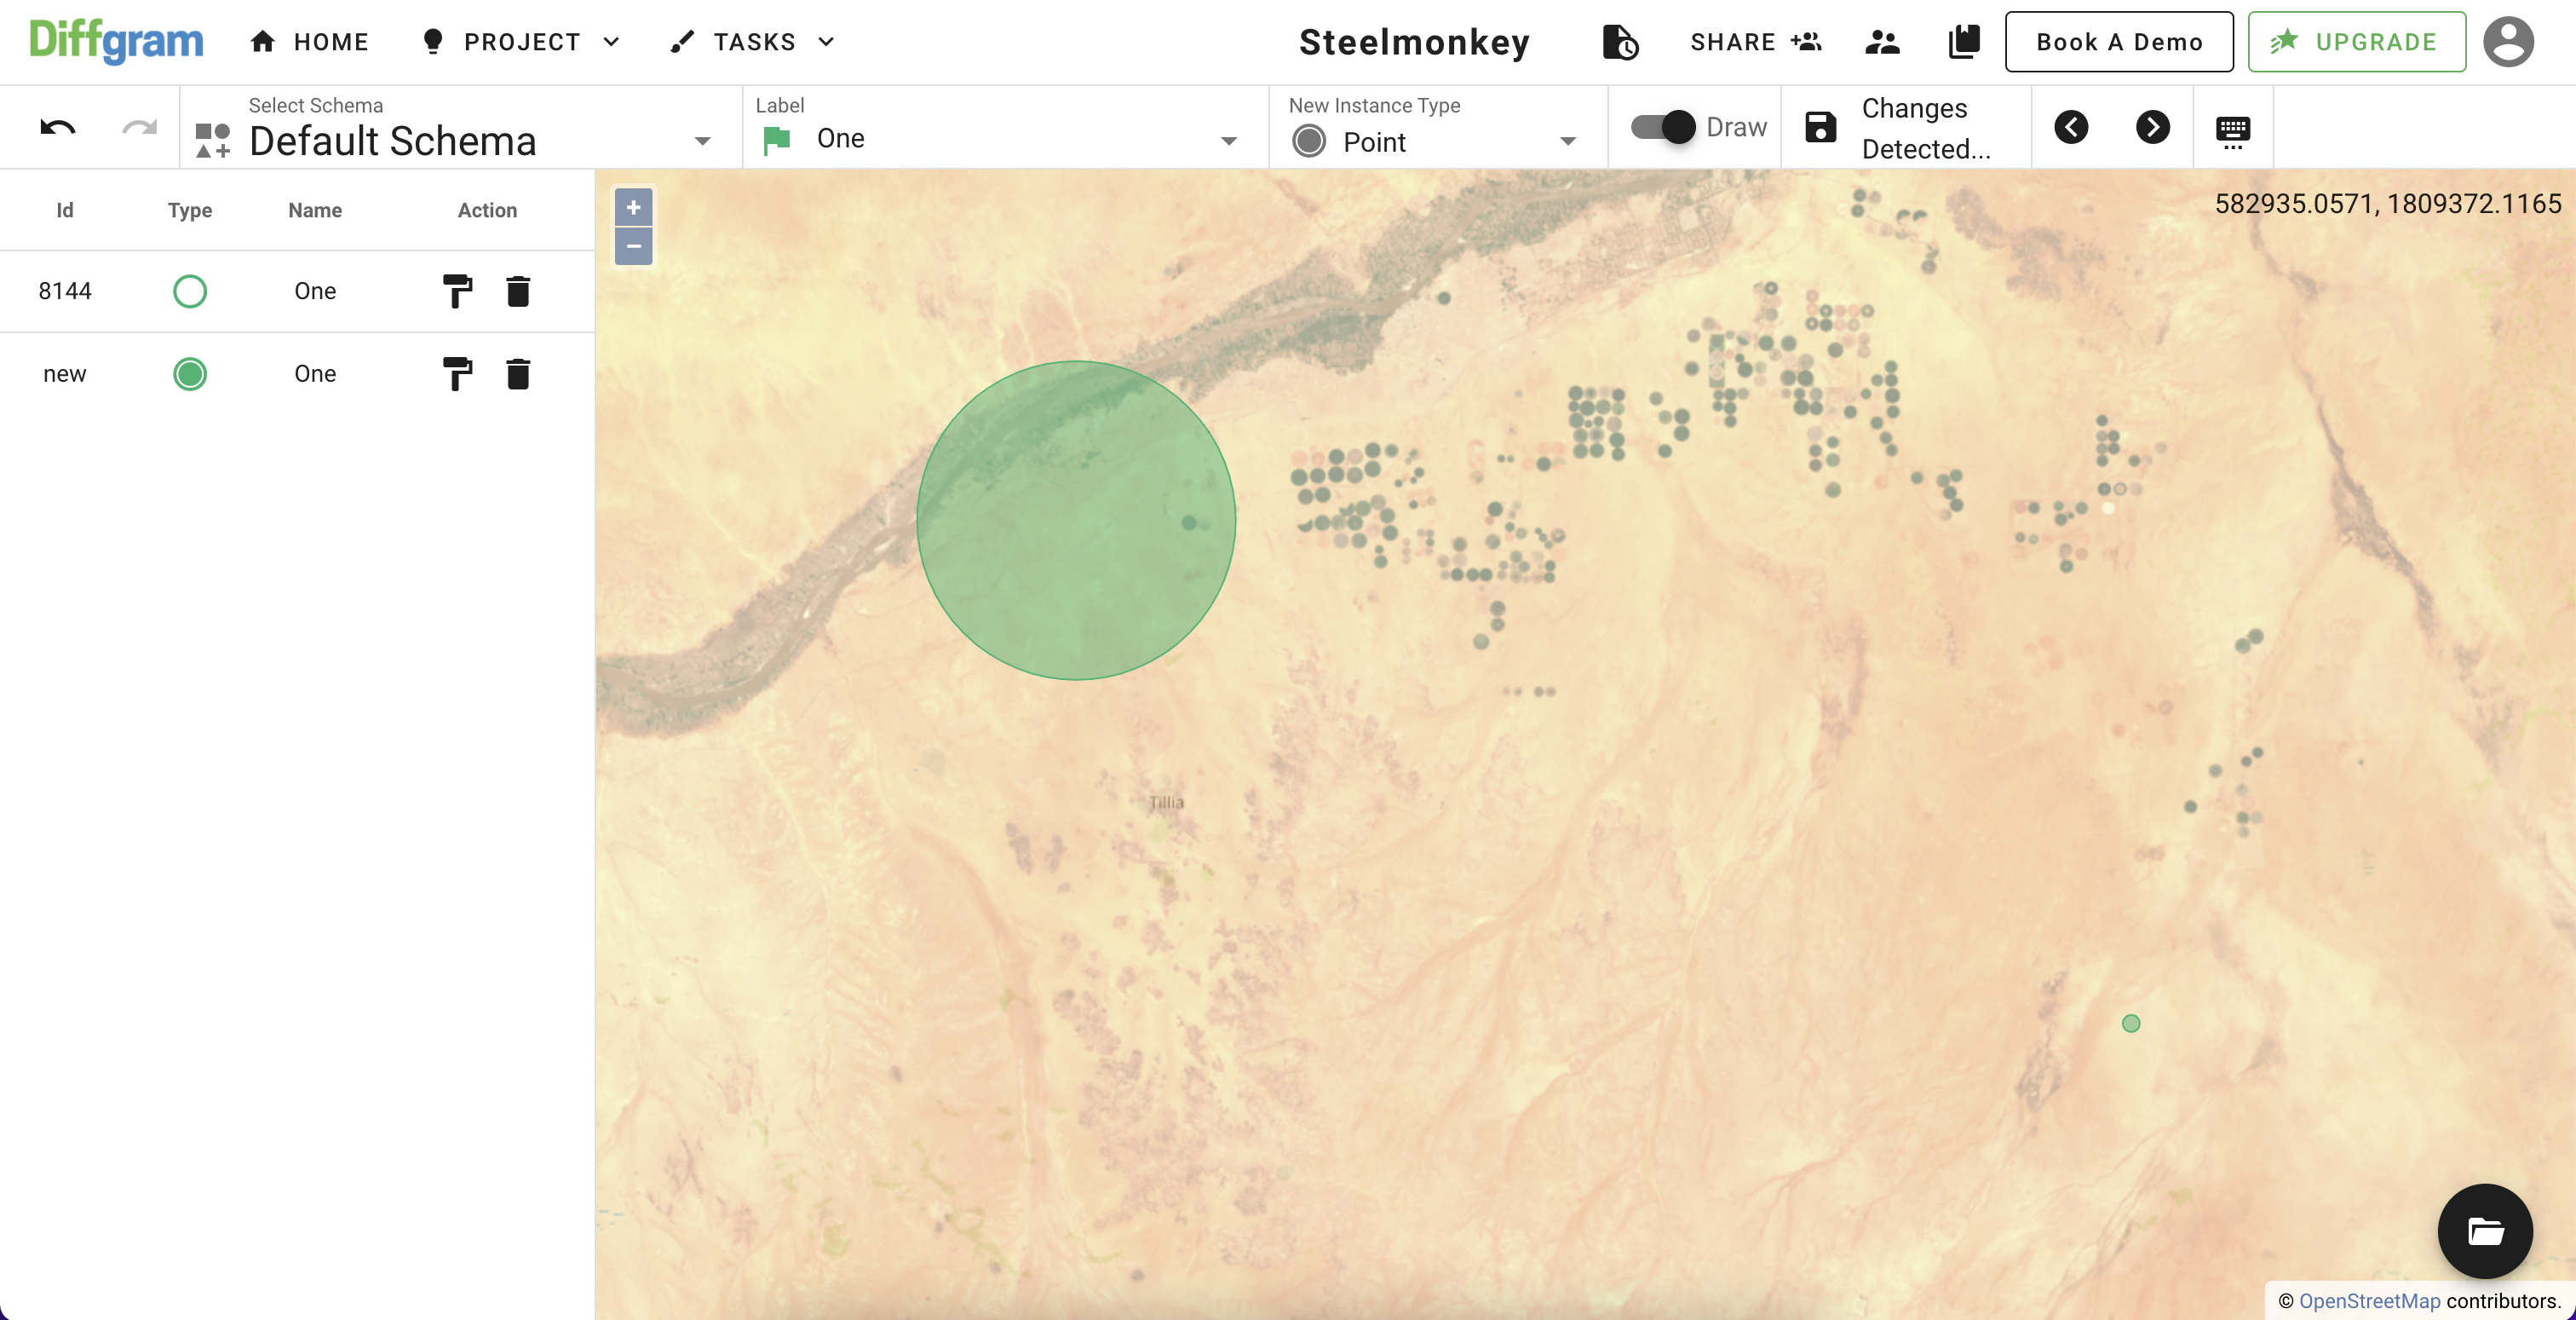
Creation on Box is similar to creation of the circle. Select Box type on the toolbar and where should locate top left corner of the box. After that click second time on the place where bottom right corner should be:
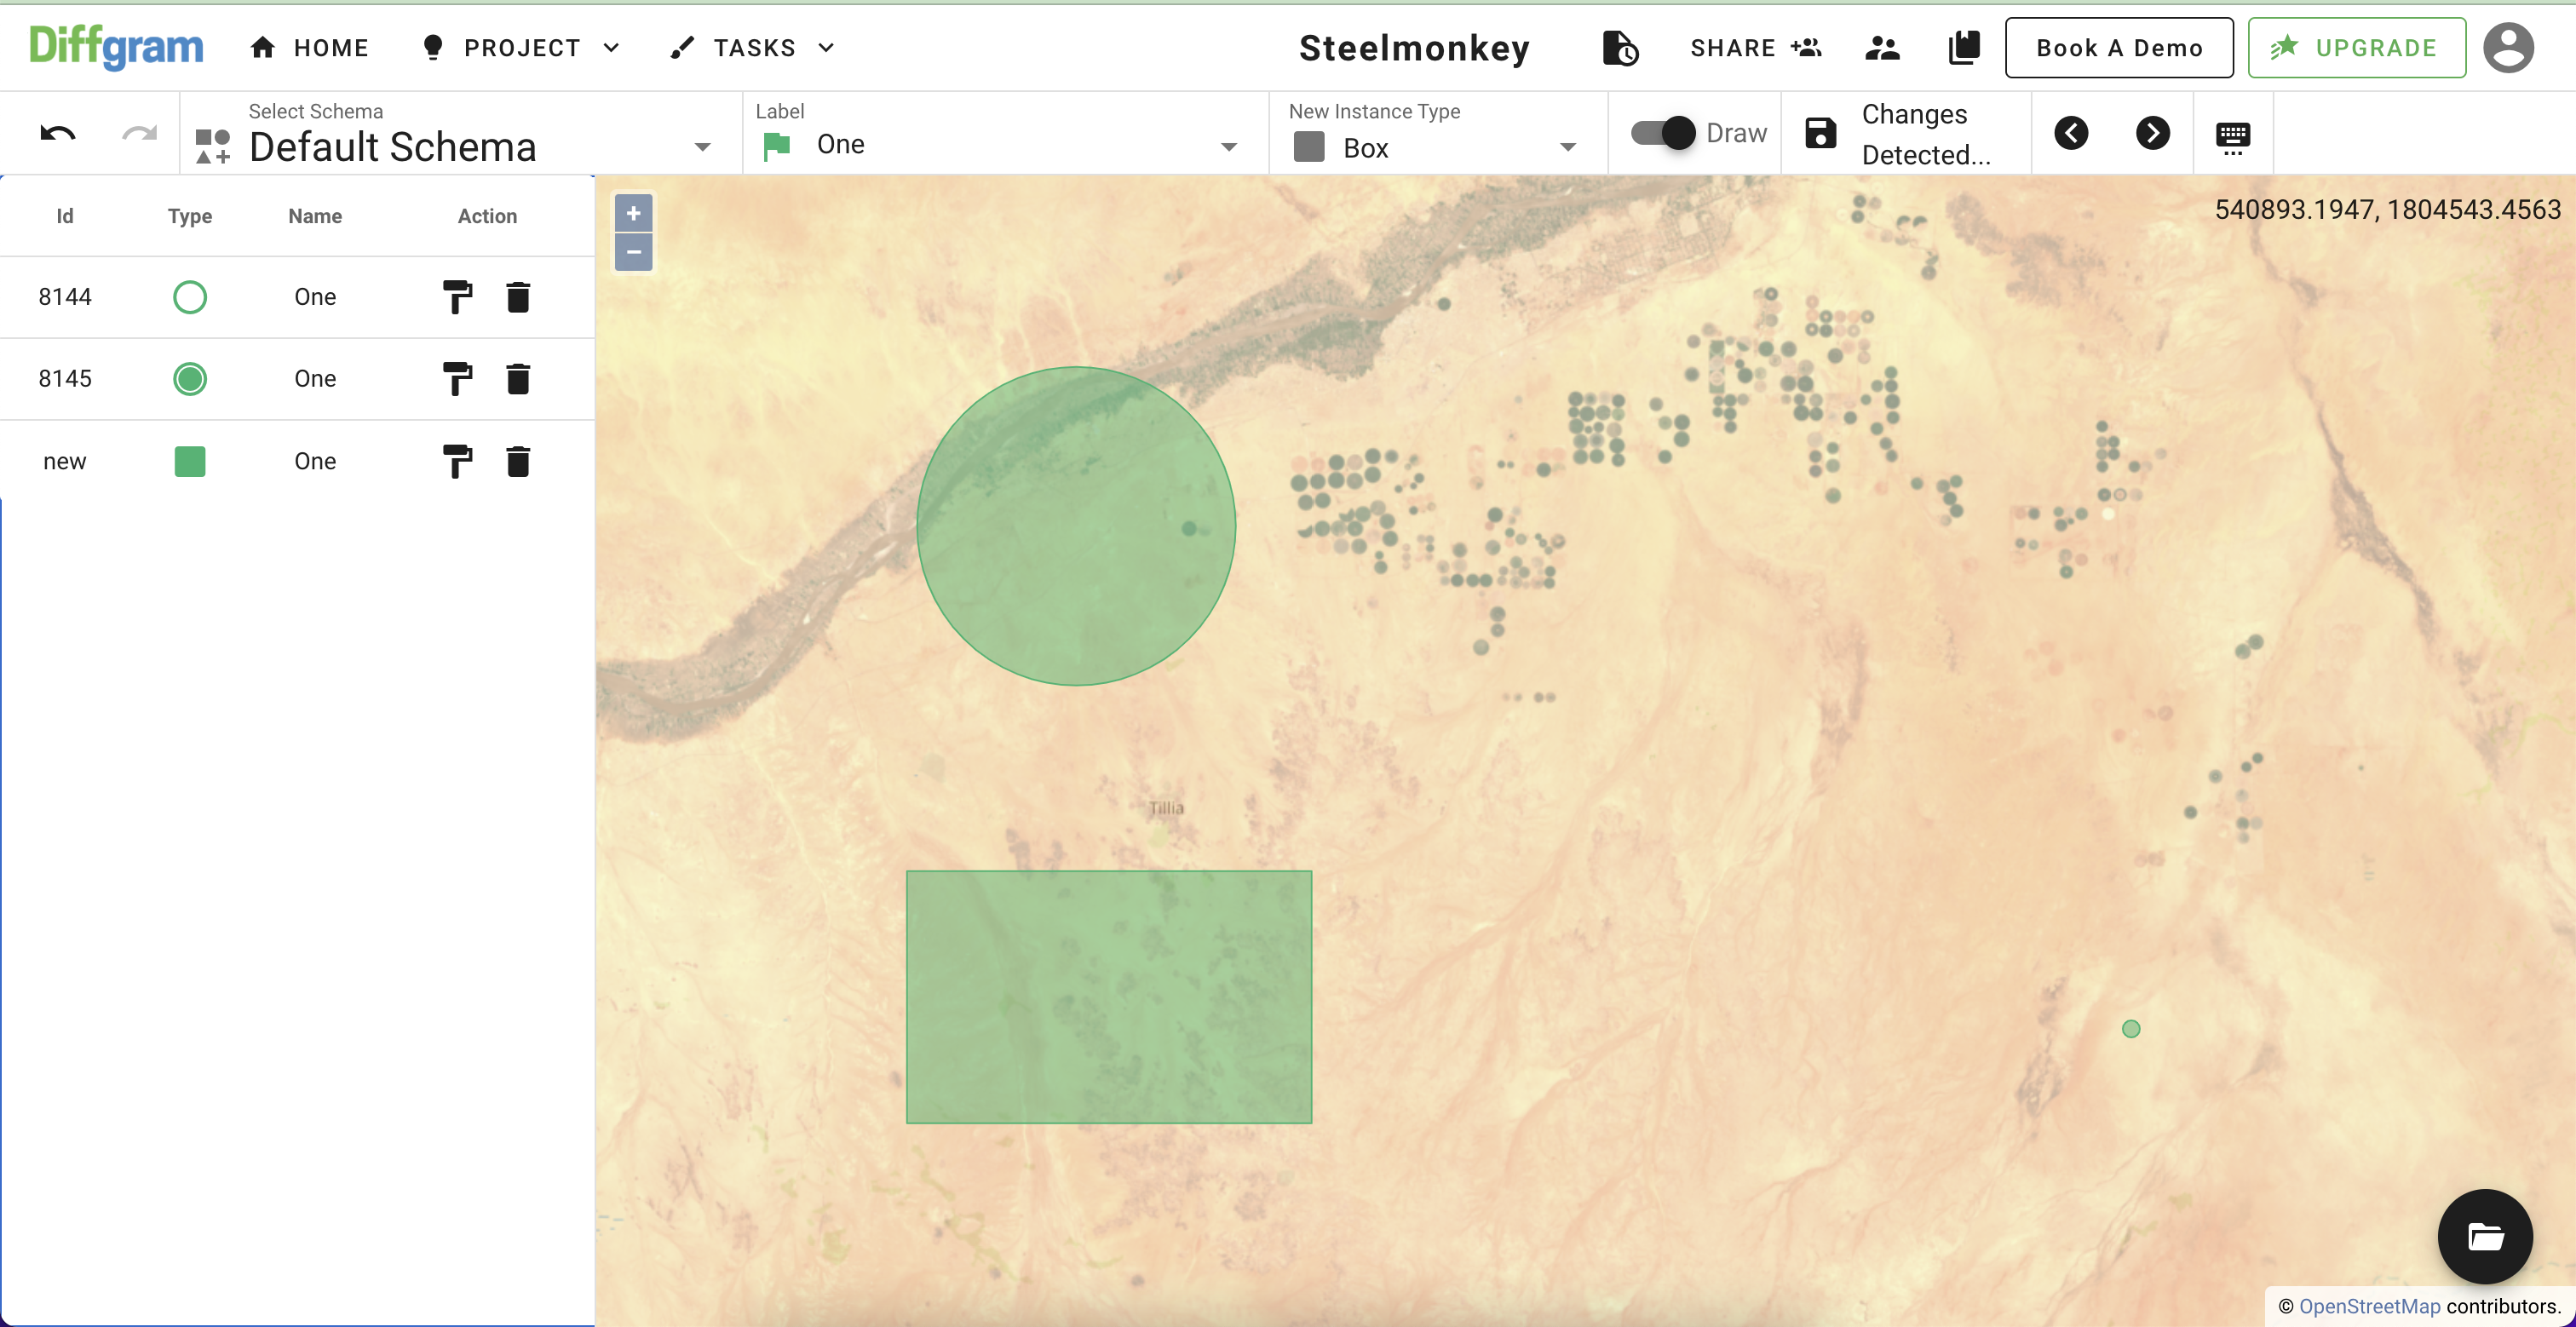
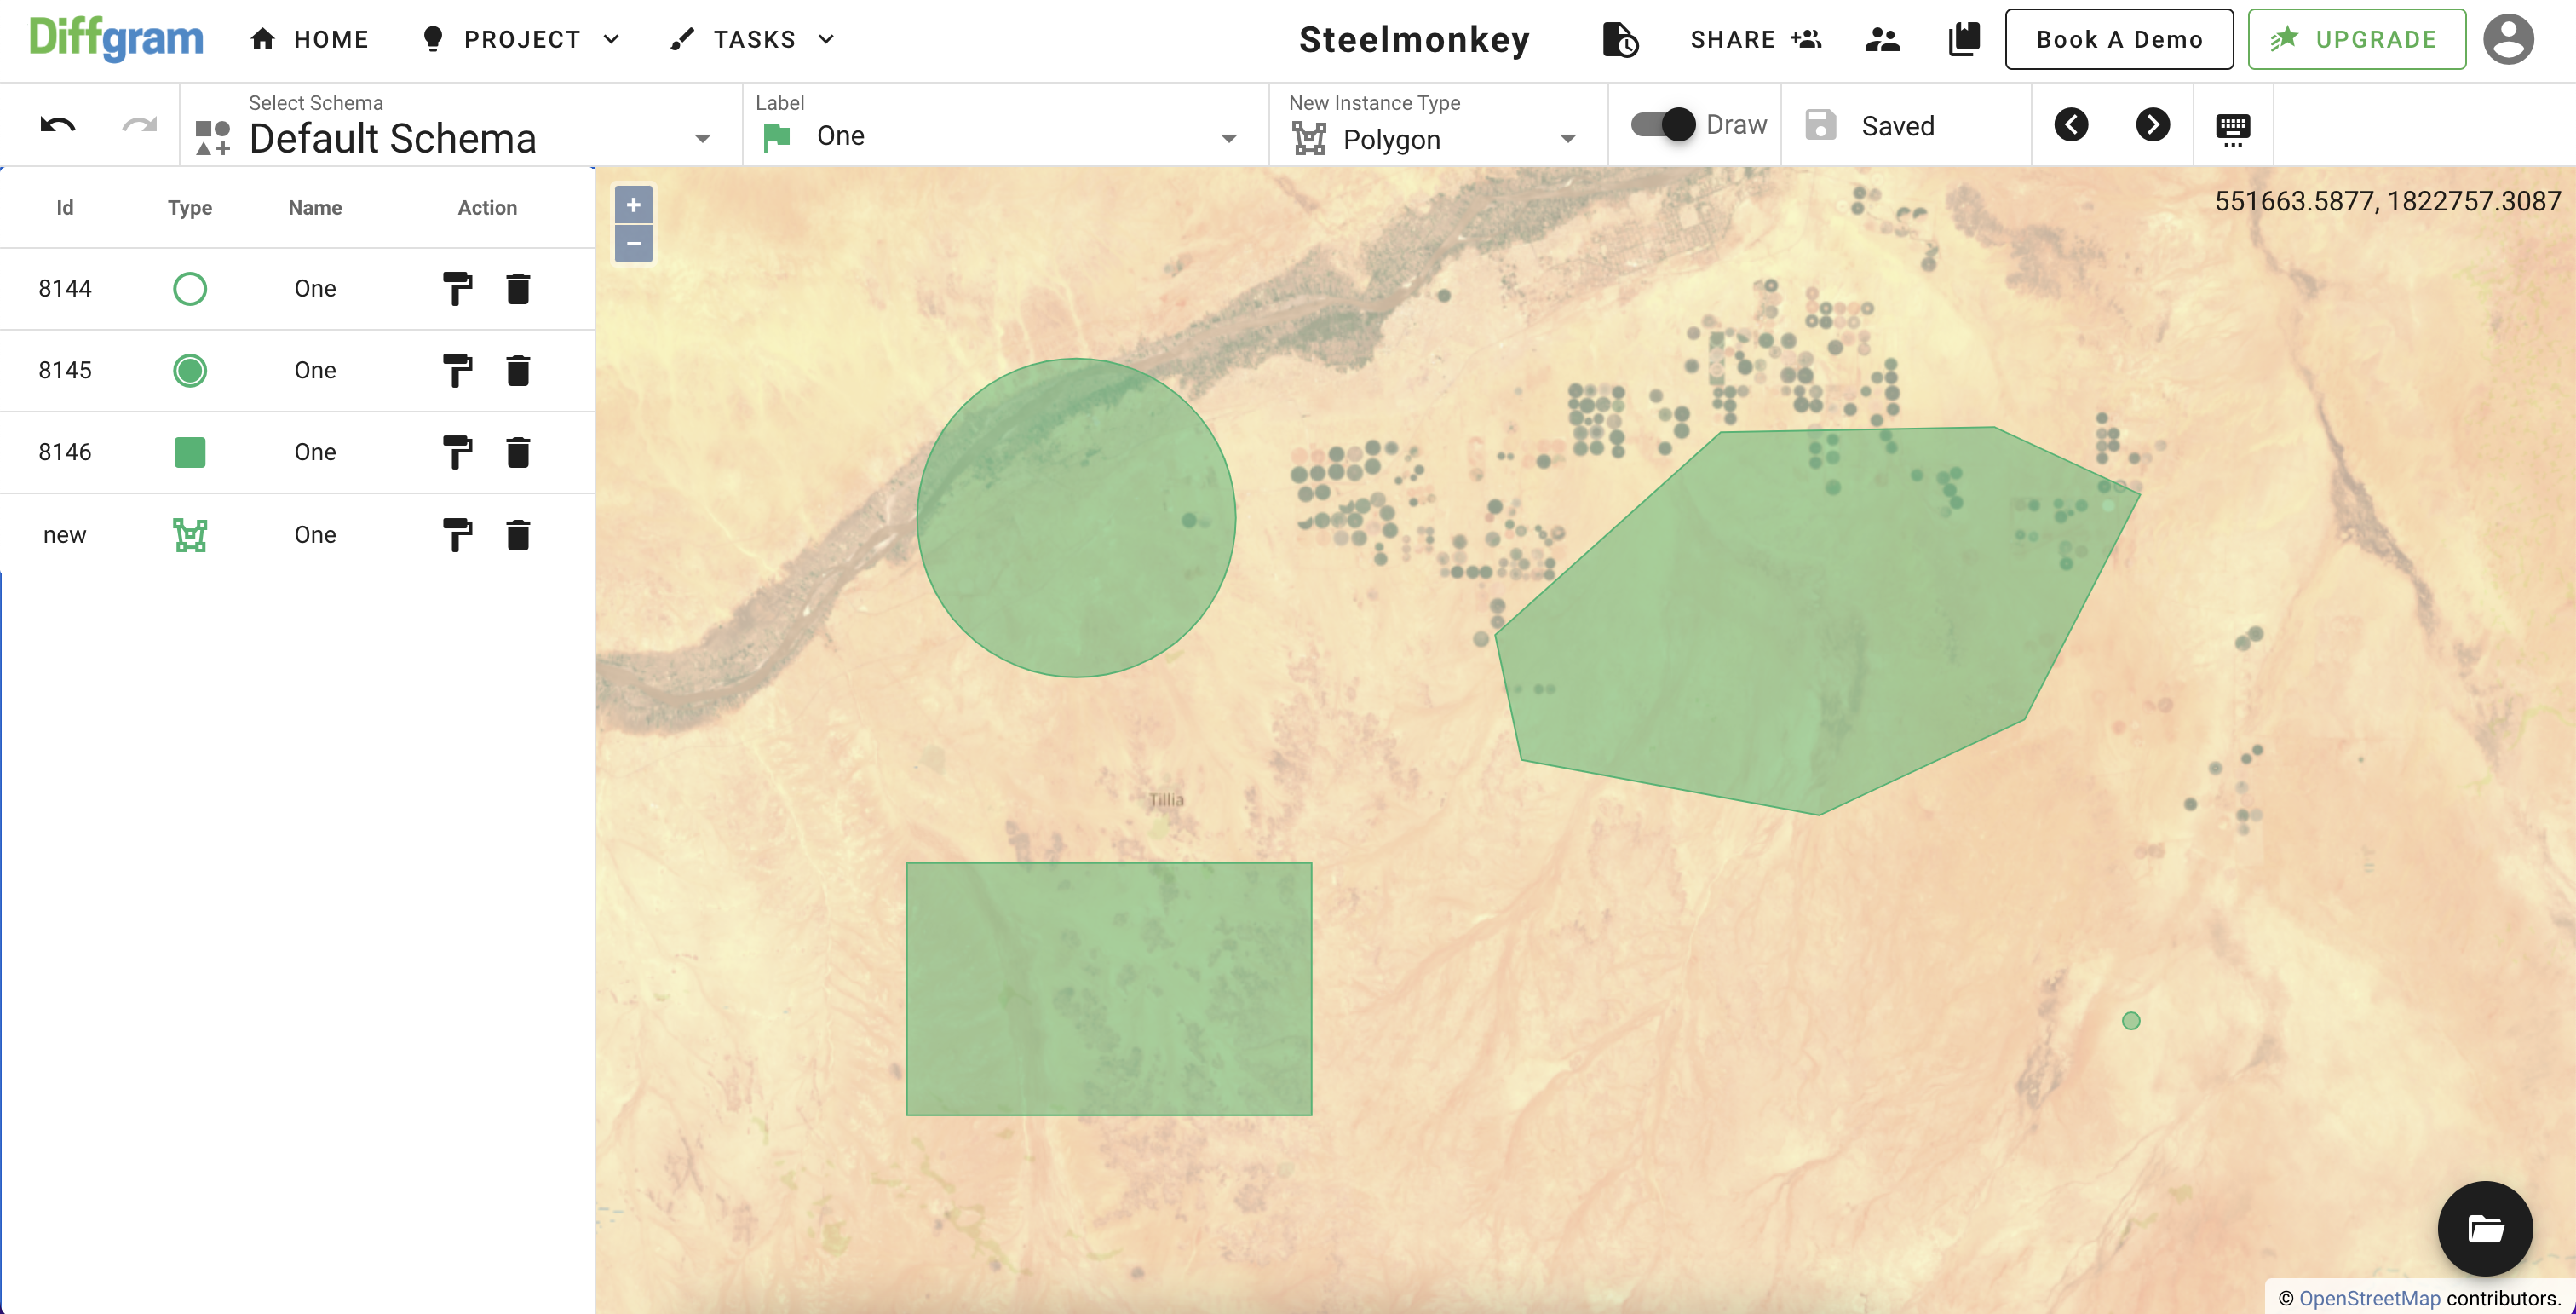
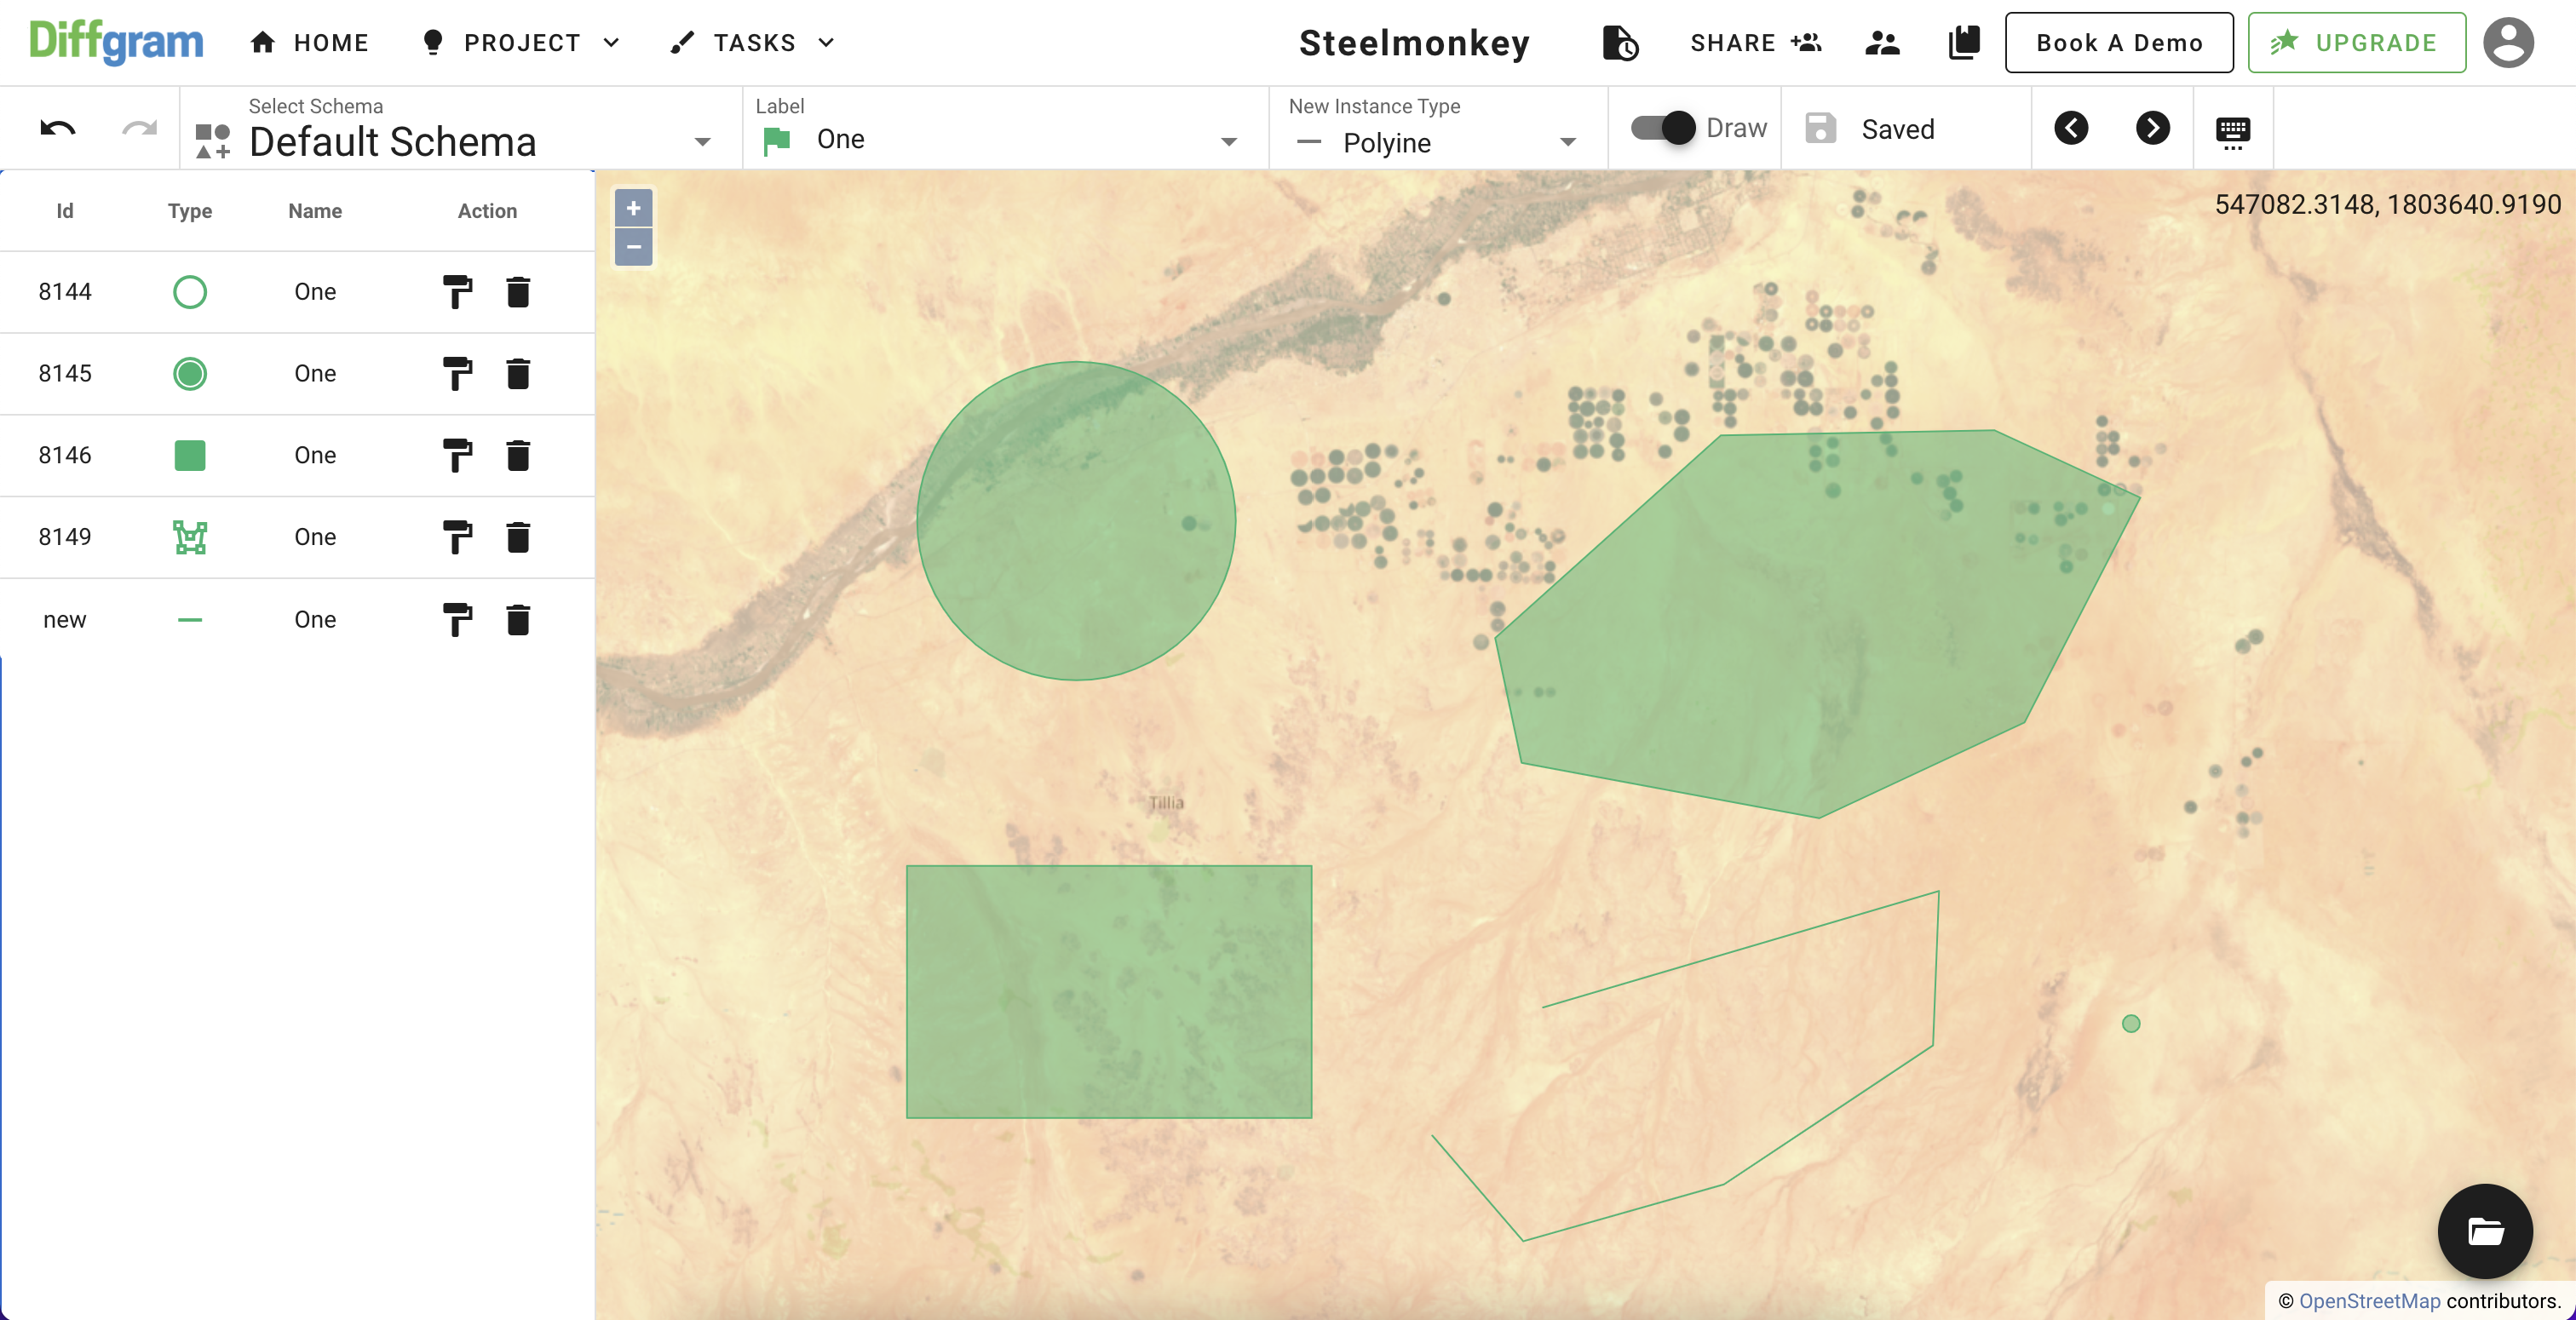
Creation of Polygon and Polyline is similar: select one of these types on the toolbar and start adding points to the map. When it's ready - press "Enter" to finish drawing:
4. Editing instances
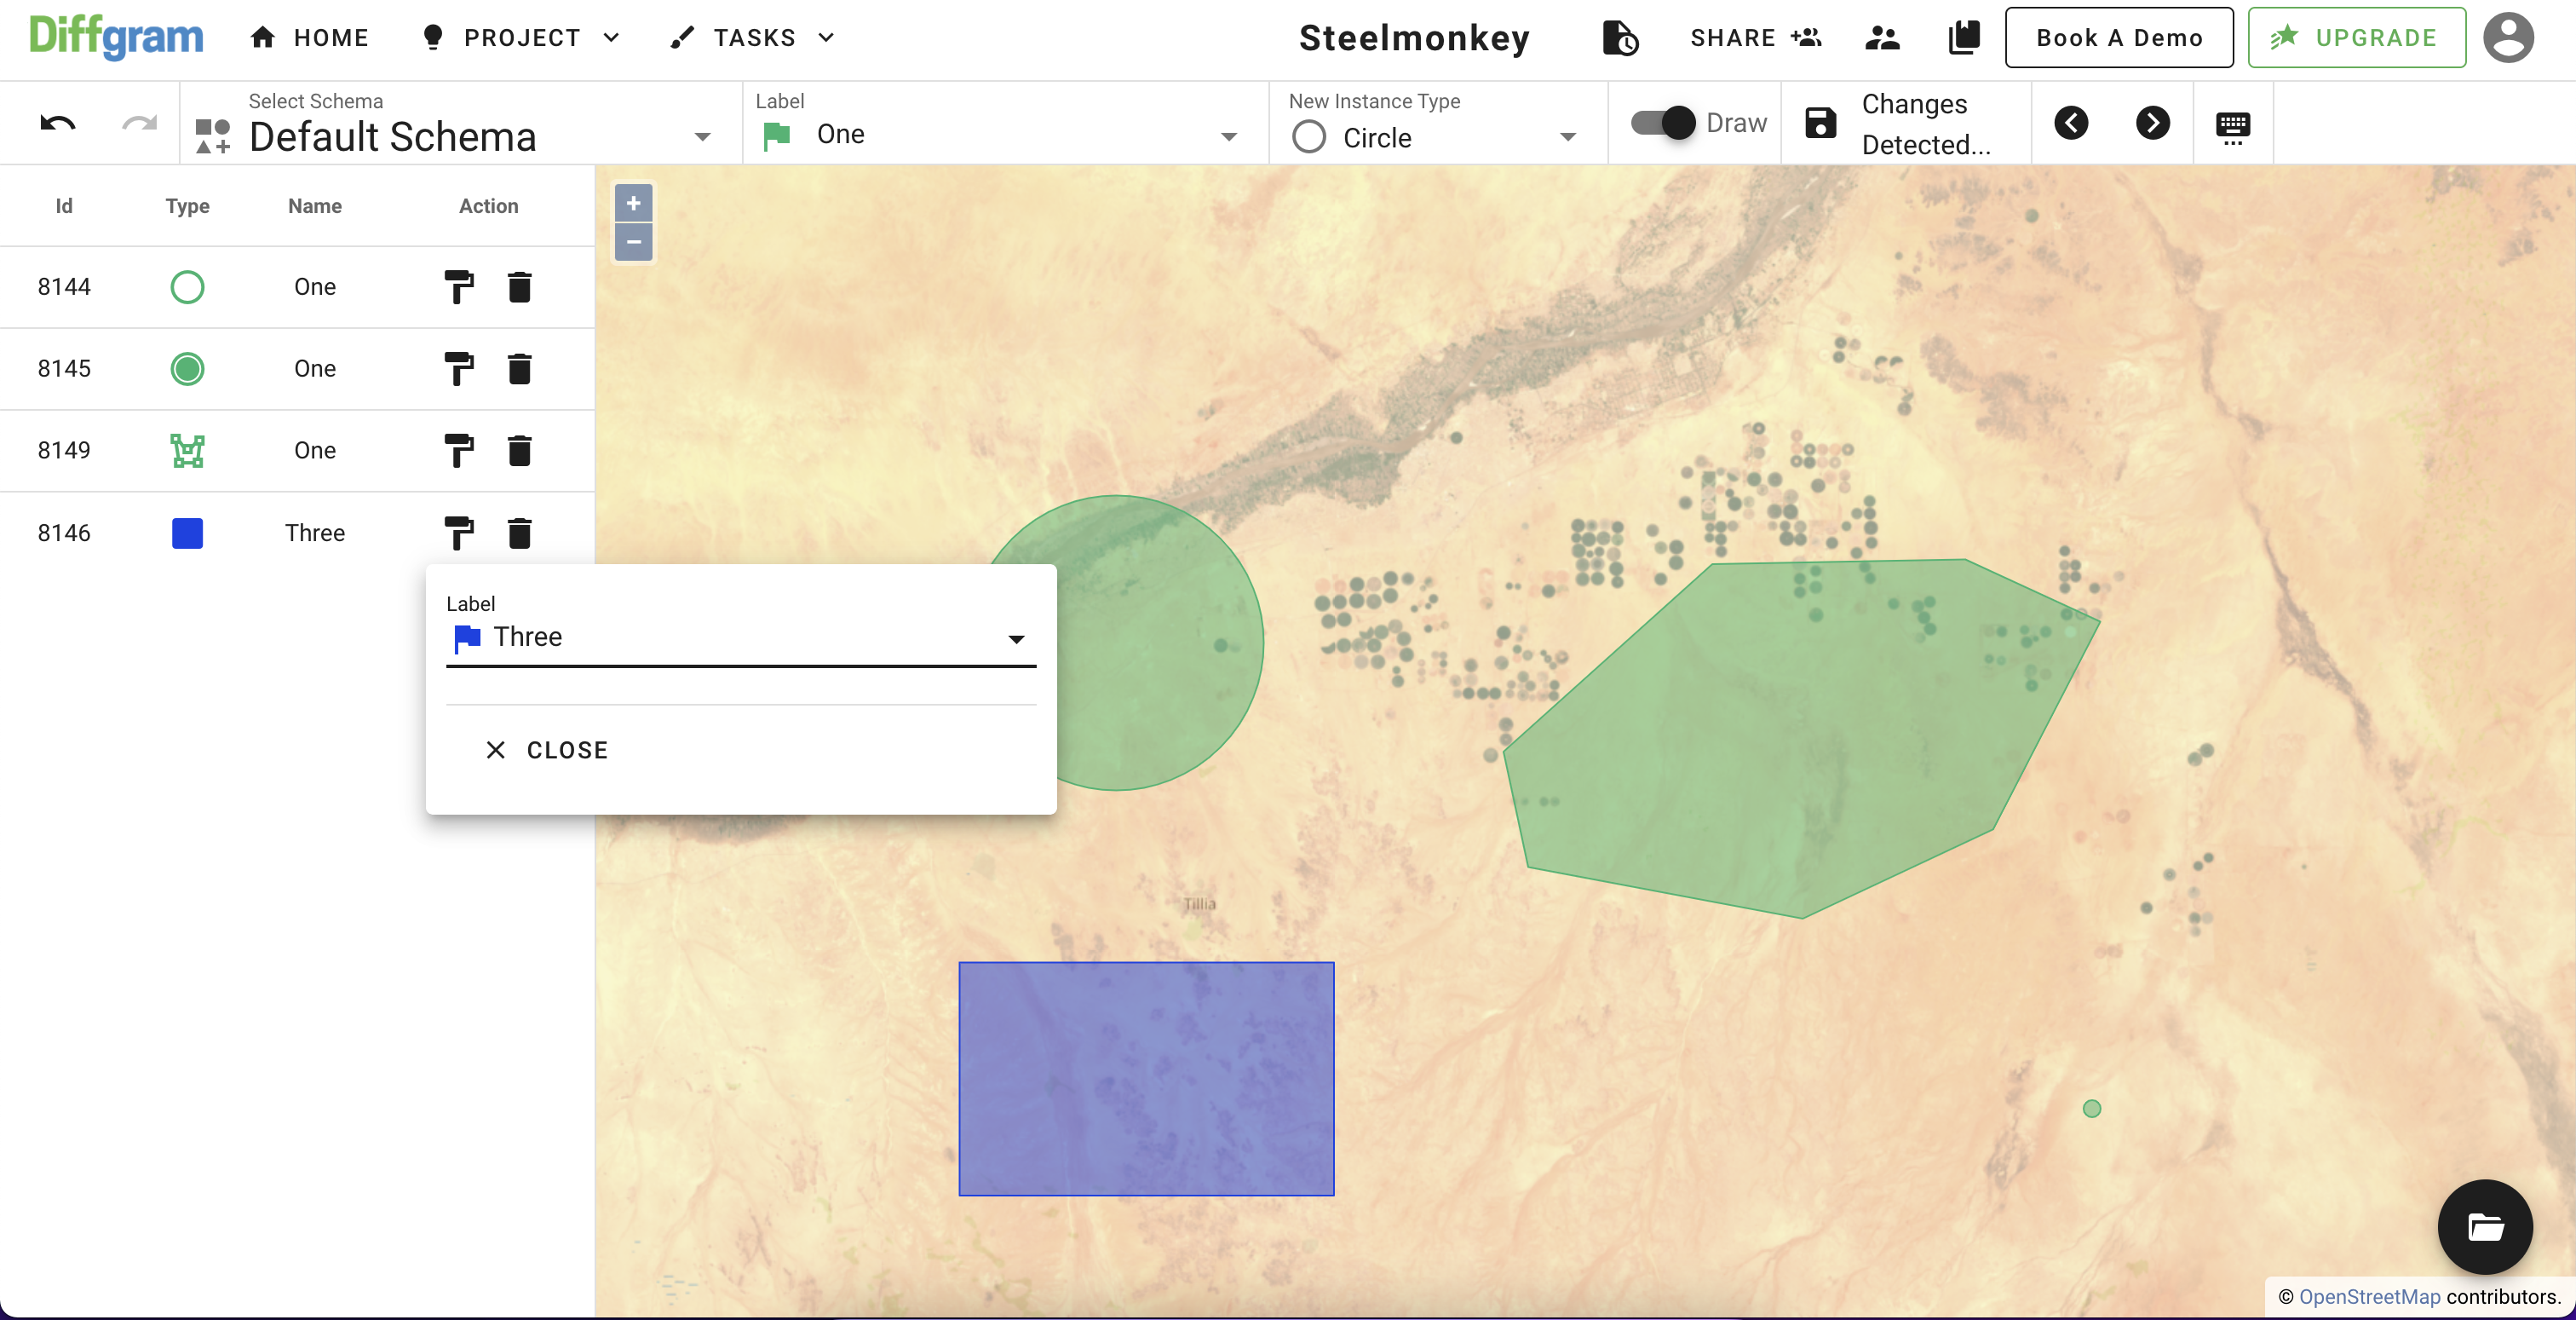
Of you want to update label of your instance, click on the "Change Label Template" icon on the instance list and select a new label from the dropdown:
To delete instance - click "Delete instance" icon
To rotate/resize/move instance - on the toolbar switch to the "Edit" mode and click on the instance that you want to modify and you will see frame appear around it:
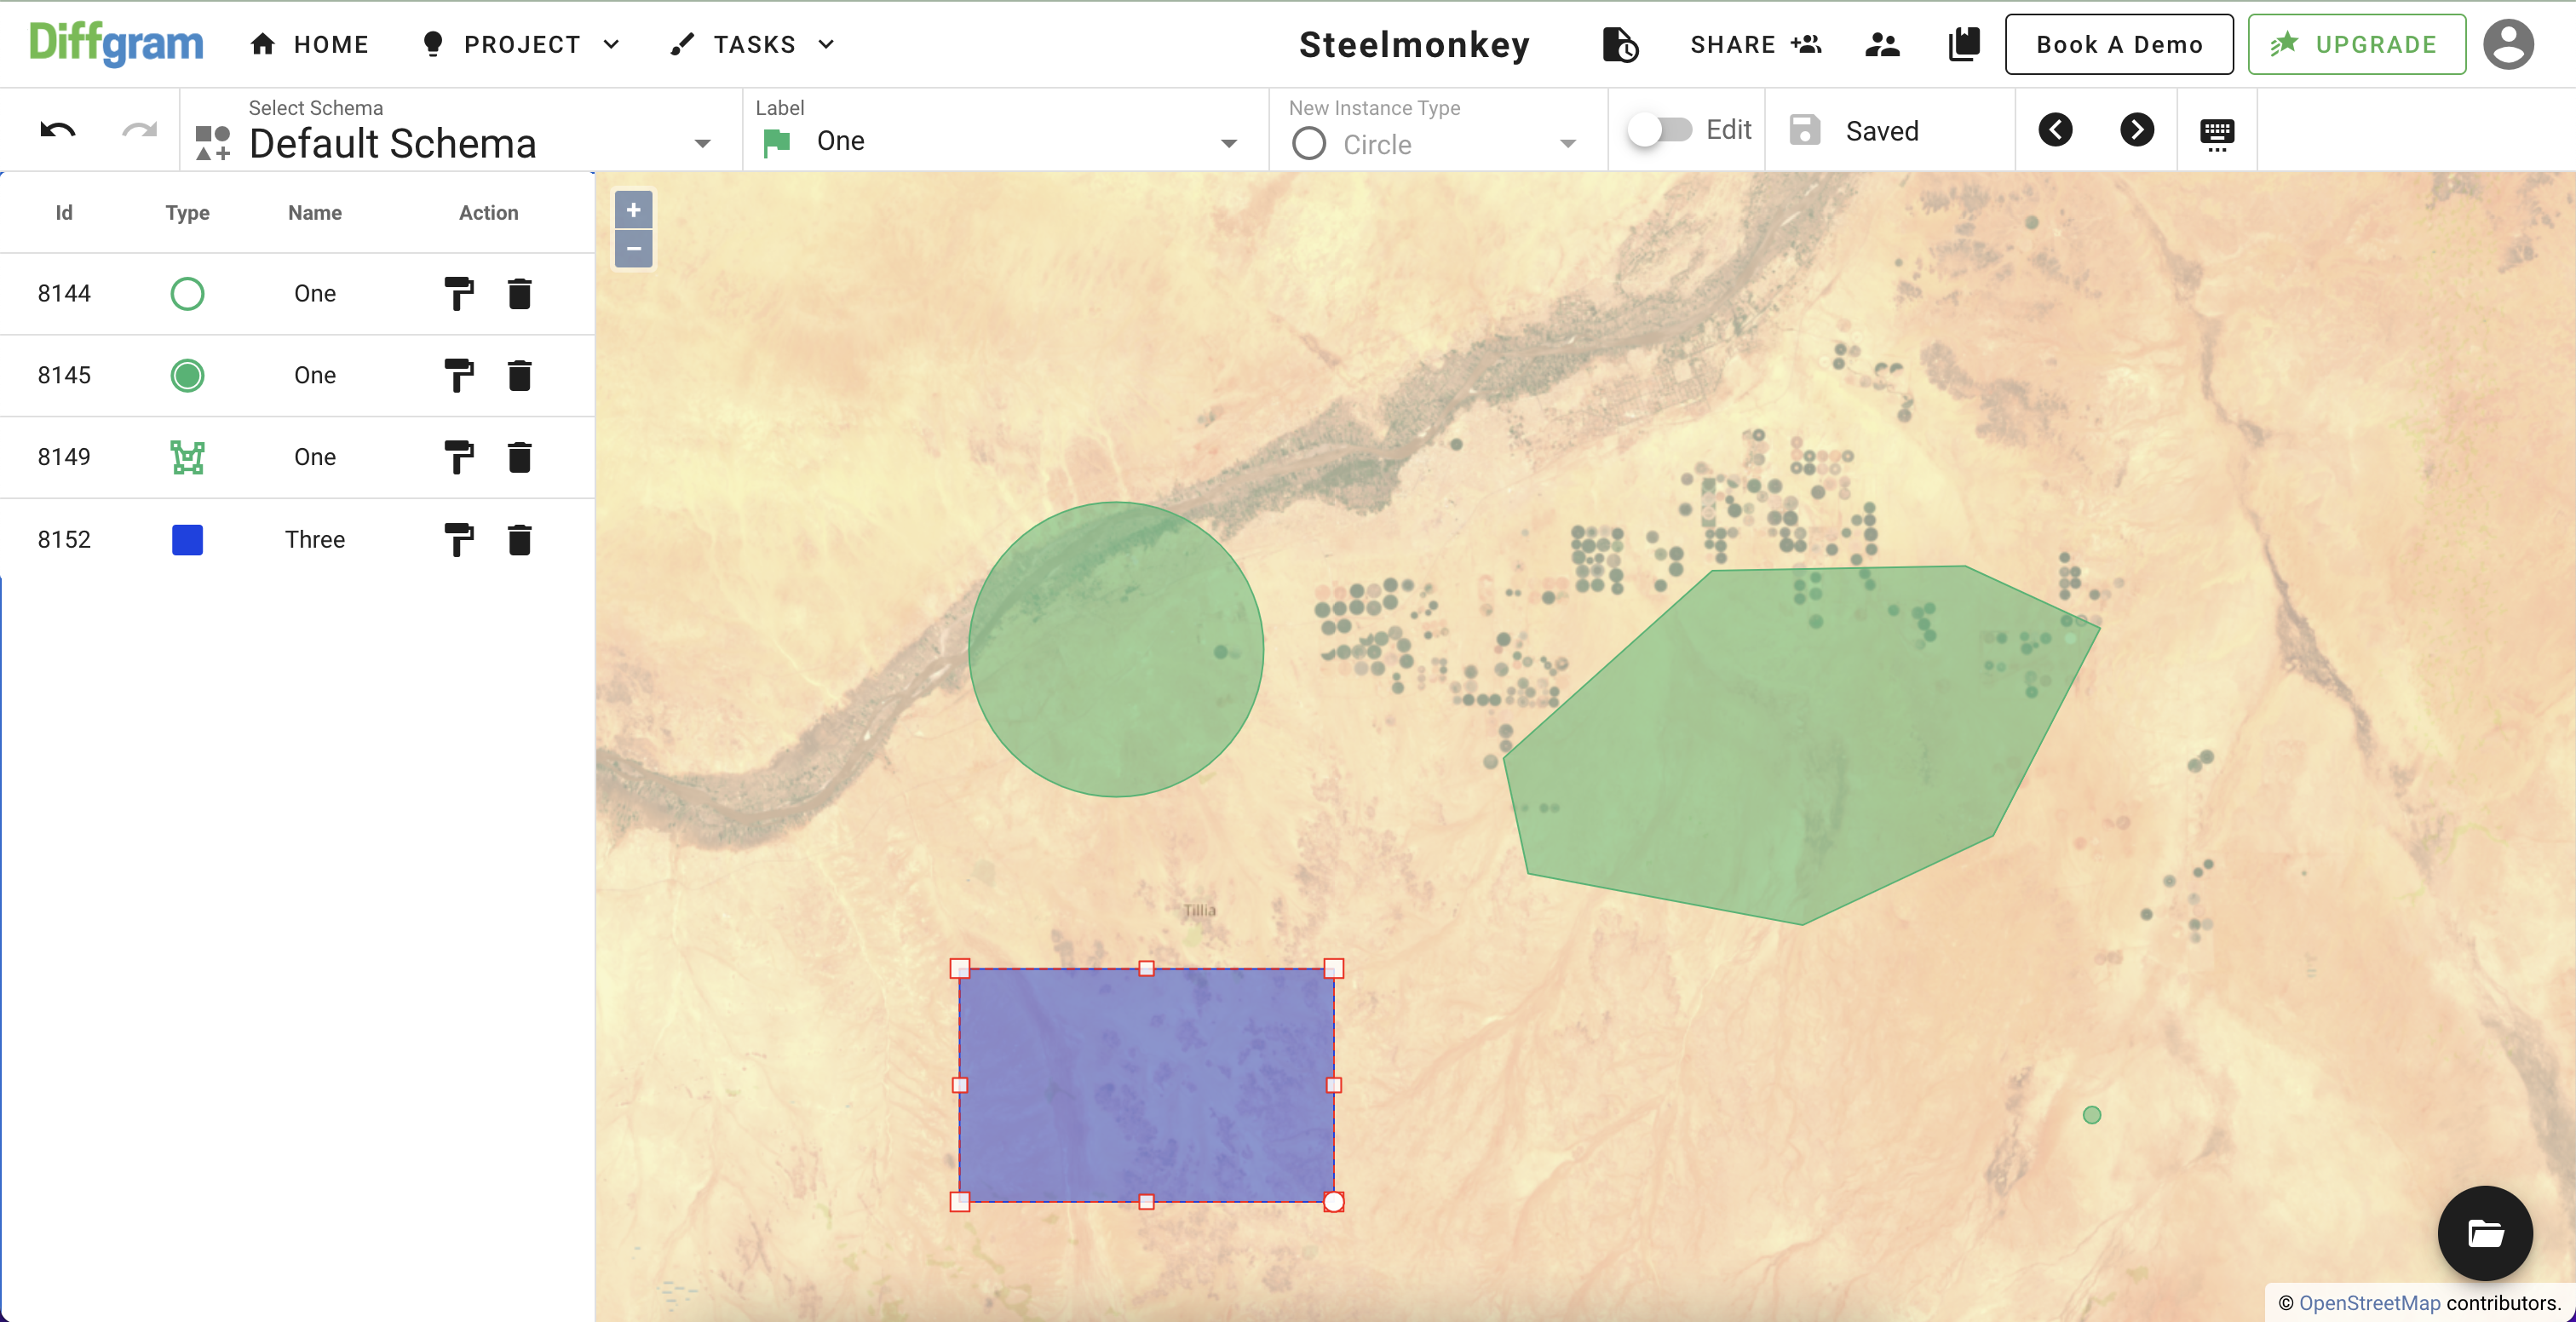
- to move instance - click and hold your mouse on top of it and drag it around the map. When it's on the right position - release your mouse button
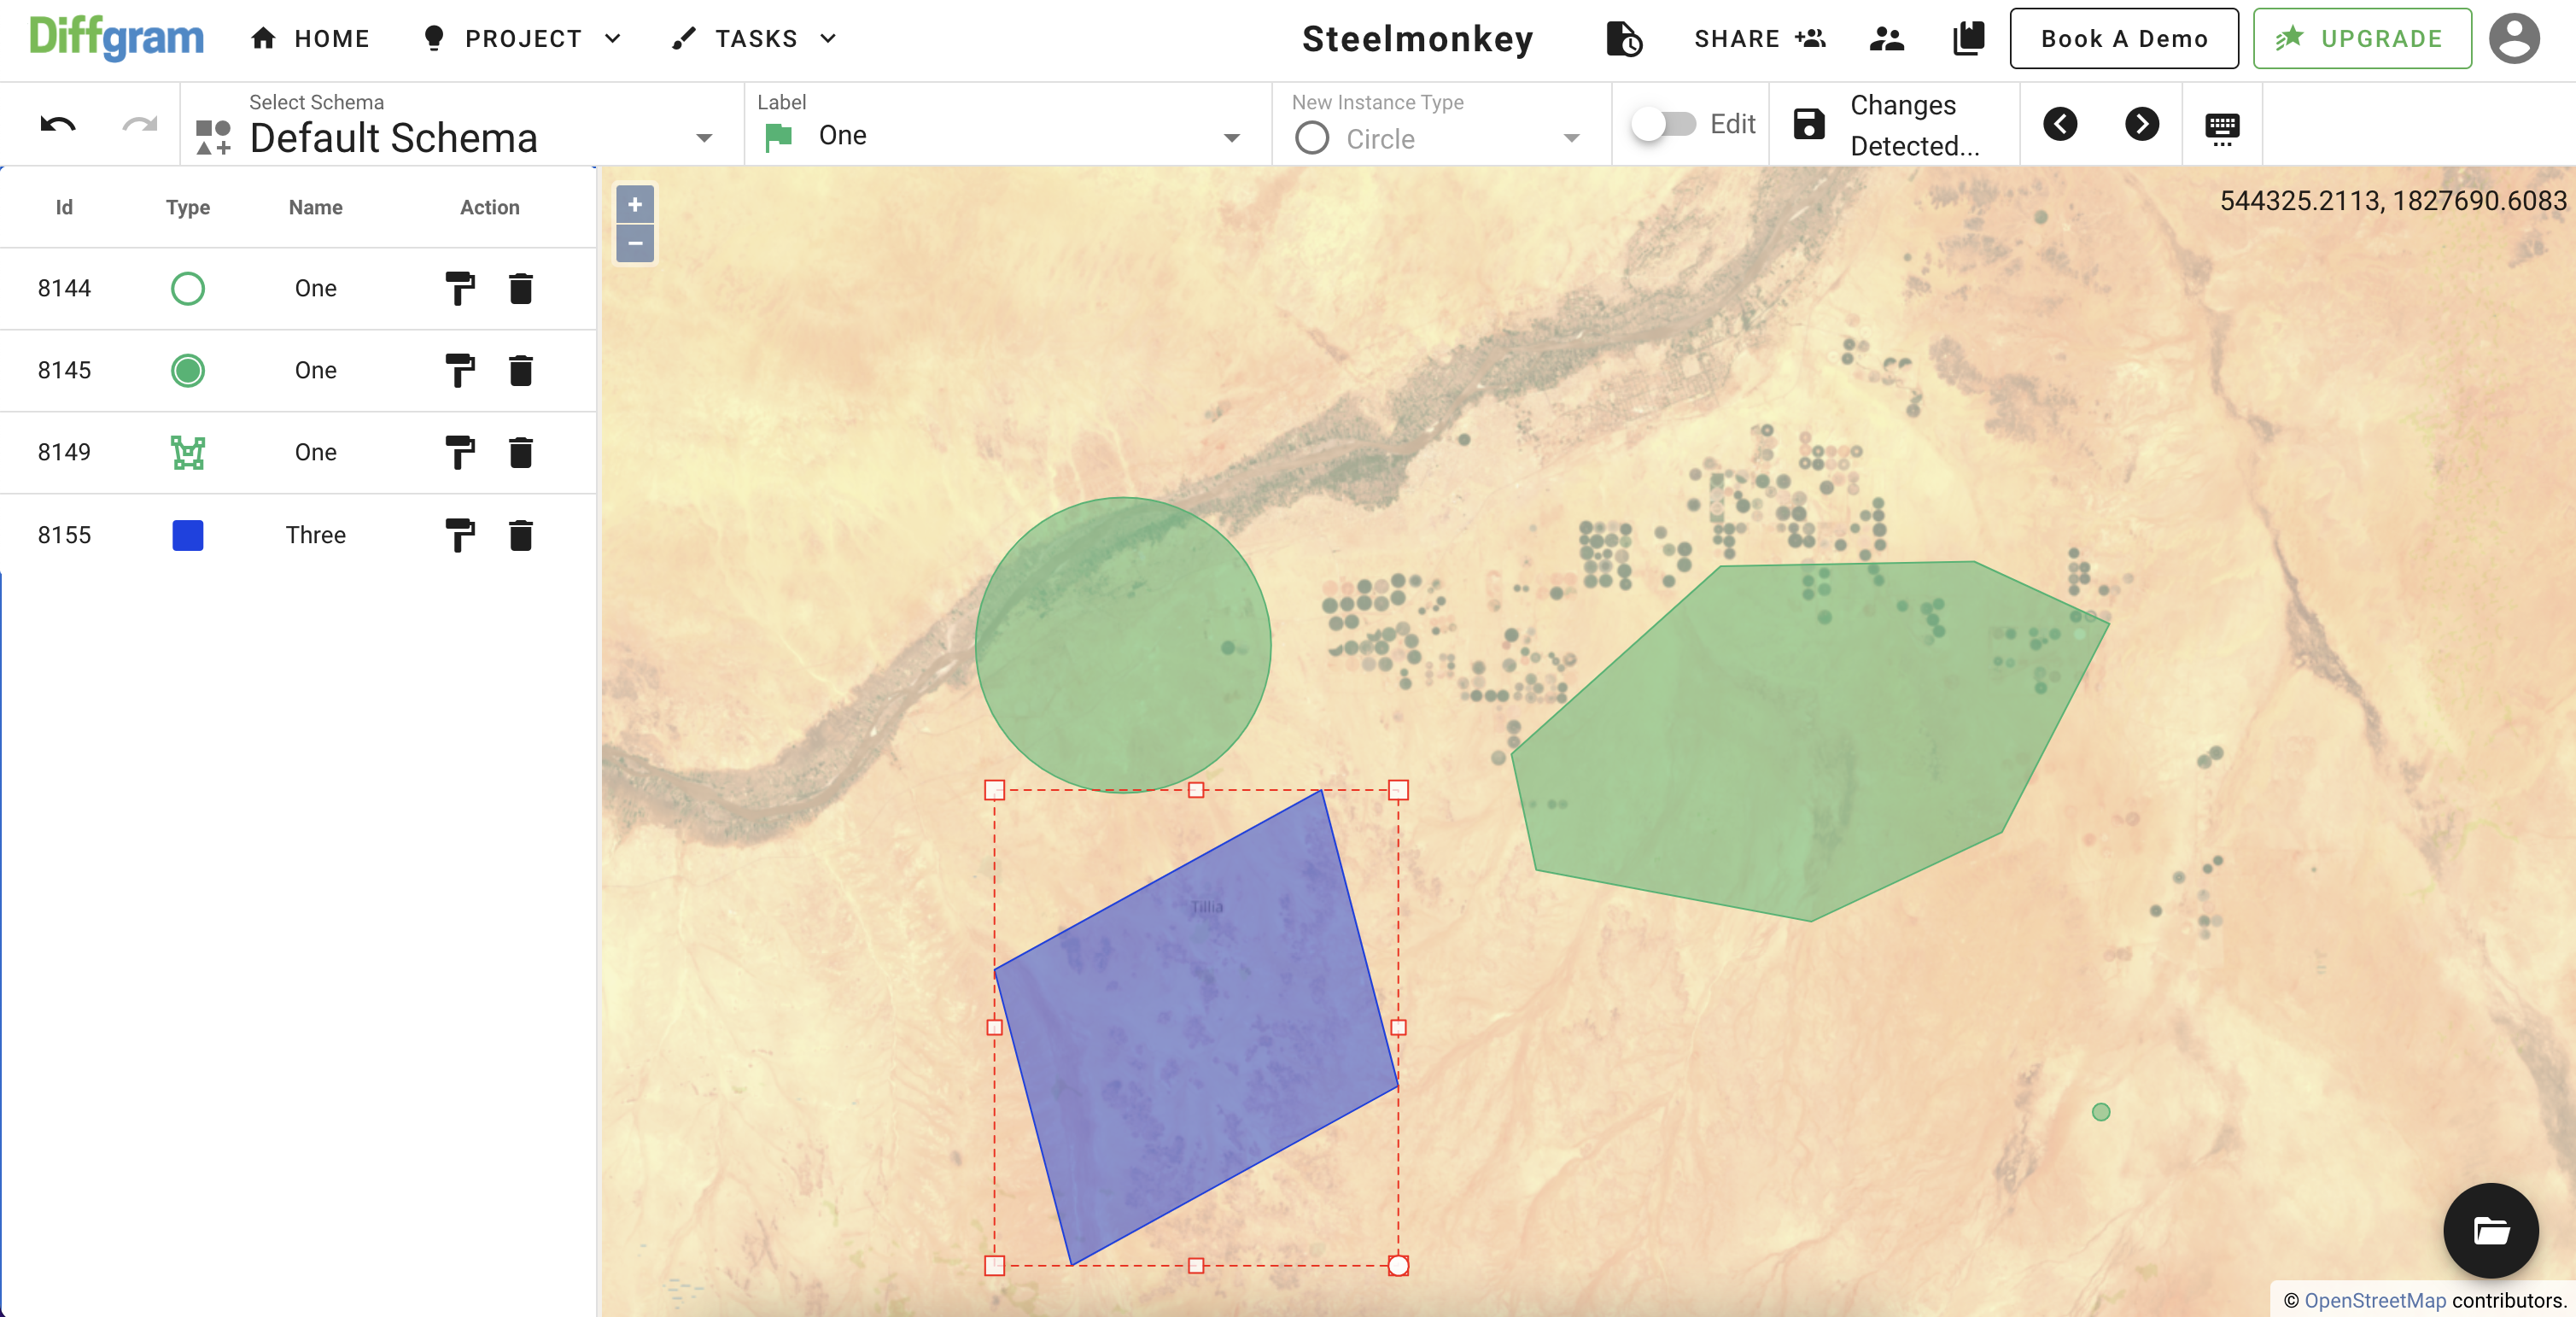
- to rotate instance - press bottom right corner of the frame and start moving it to position you need
- to resize instance - press any of the points you see on the frame and move them to the direction you need
5. Export The Data
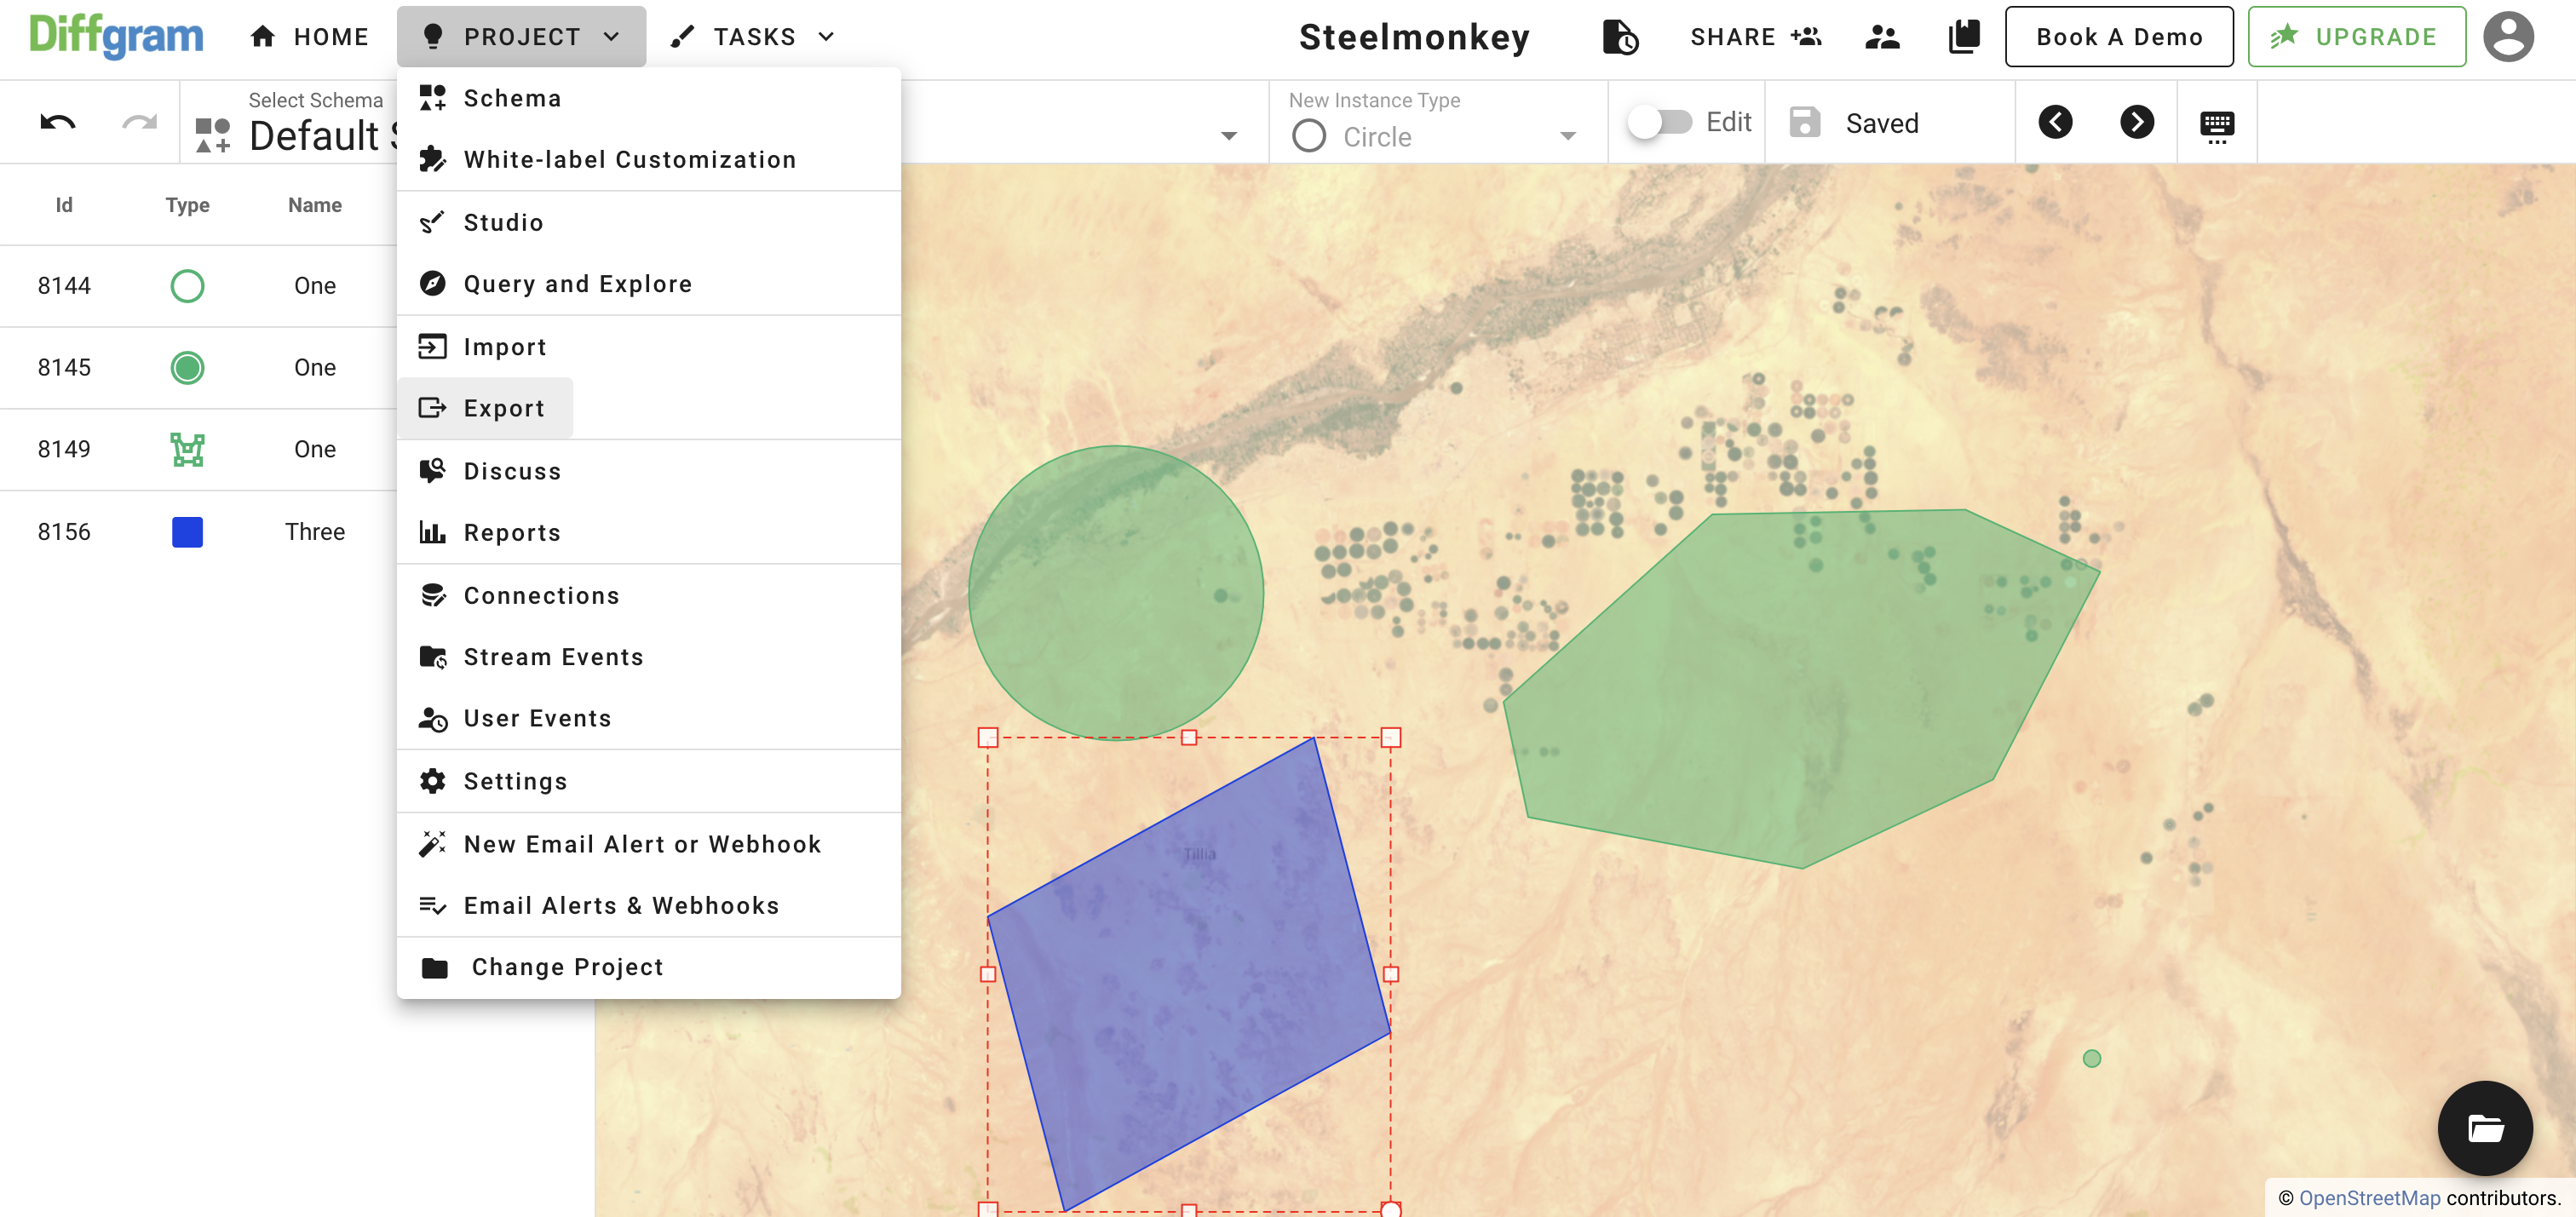
To generate export files, click the "Project" button on the main menu, where you will see the "Export" option:
On the export page, select the dataset you want to export and press "Generate":

Updated about 3 years ago
